....
Lens covers are often used to protect camera lenses from external influences such as dust, scratches and moisture. Camouflage optics are particularly appreciated by us nature photographers to be less conspicuous in the wild. These covers are usually made of lightweight and durable materials such as neoprene or nylon.
In wildlife photography the covers should be designed with a camouflage pattern that blends well with natural environments such as forests, grasslands or mountains. This helps to minimize the attention of shy animals. Especially with white-colored lenses such as from Canon or Sony.
The lens cover should provide protection from dust, dirt, moisture and scratches. This is especially important when shooting in harsh environments or different weather conditions.
The covers can also serve to insulate the lens to compensate for temperature fluctuations if the material is neoprene. This can help prevent condensation on the lens. Finally the lens cover shall be easy to apply and remove. It should have cut-outs to facilitate access to specific lens settings like autofocus or image stabilizer.
......
I decided on a neoprene lens cover to give the lens better protection and insulation. Fabric dealers on the Internet offer neoprene fabrics in various thicknesses and colors, including camouflage colors or the recently popular 3D camouflage effect. I ordered one square meter of 2 mm thick neoprene fabric with a 3D camouflage effect.
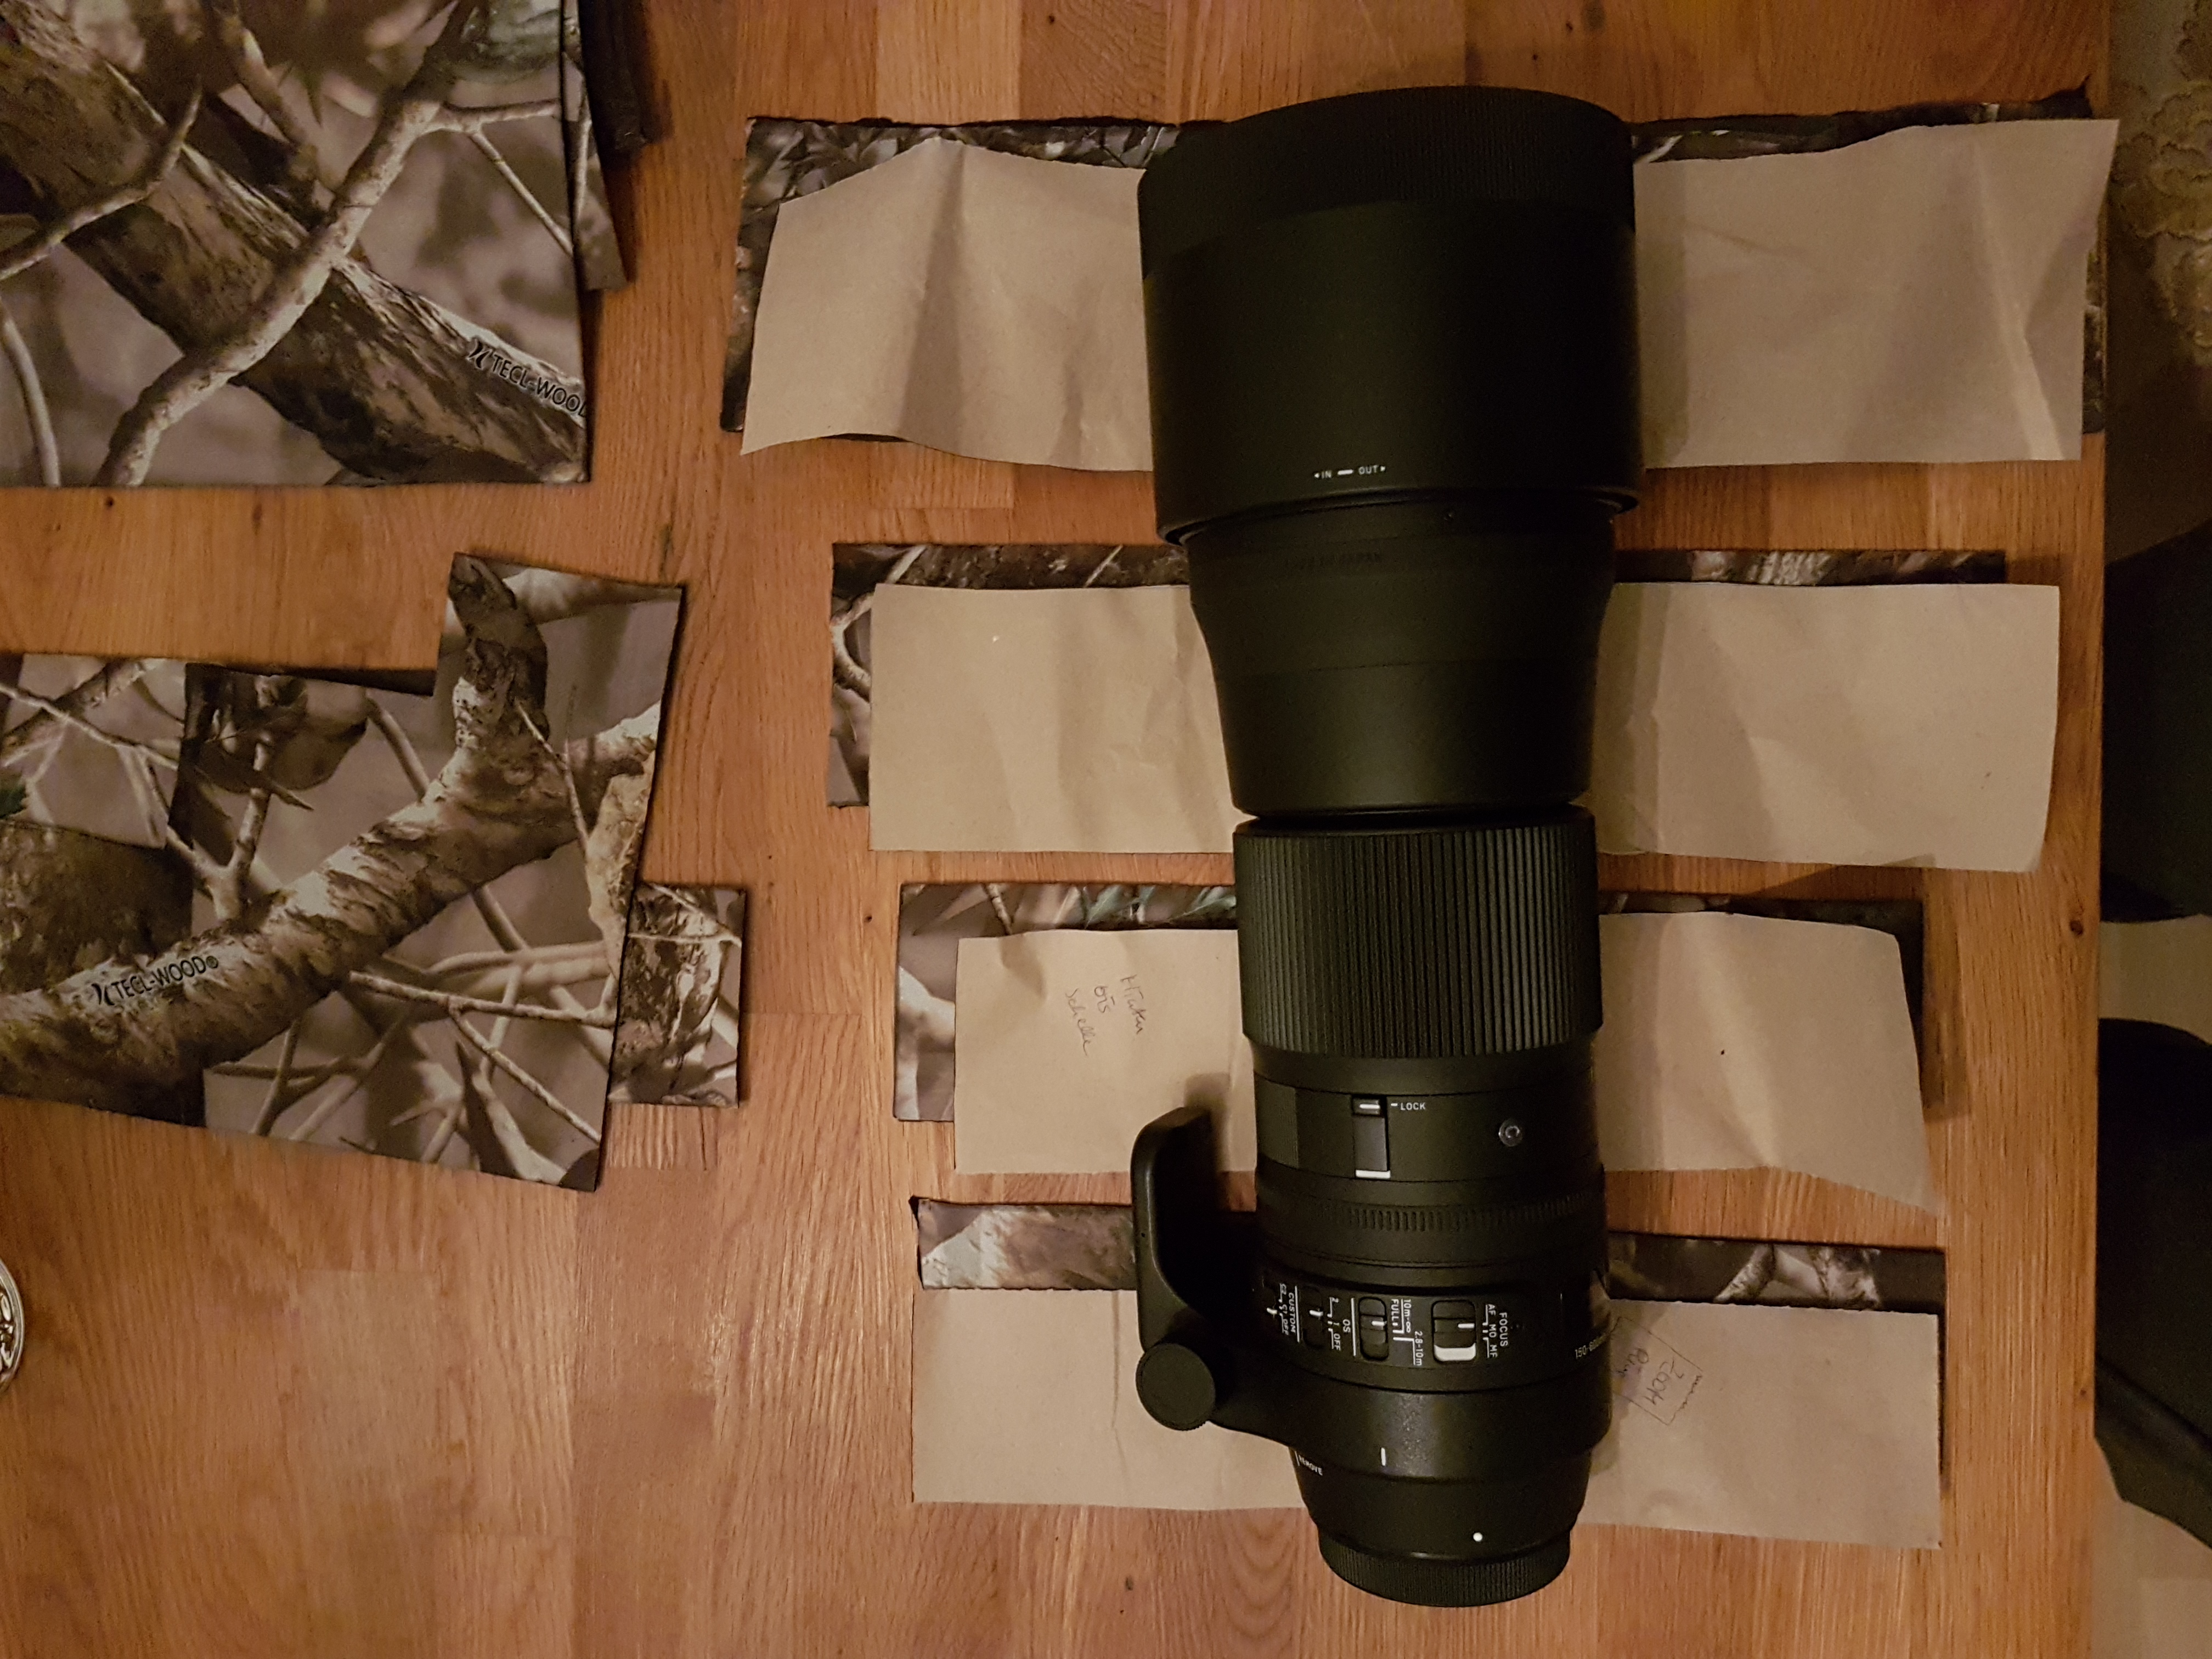
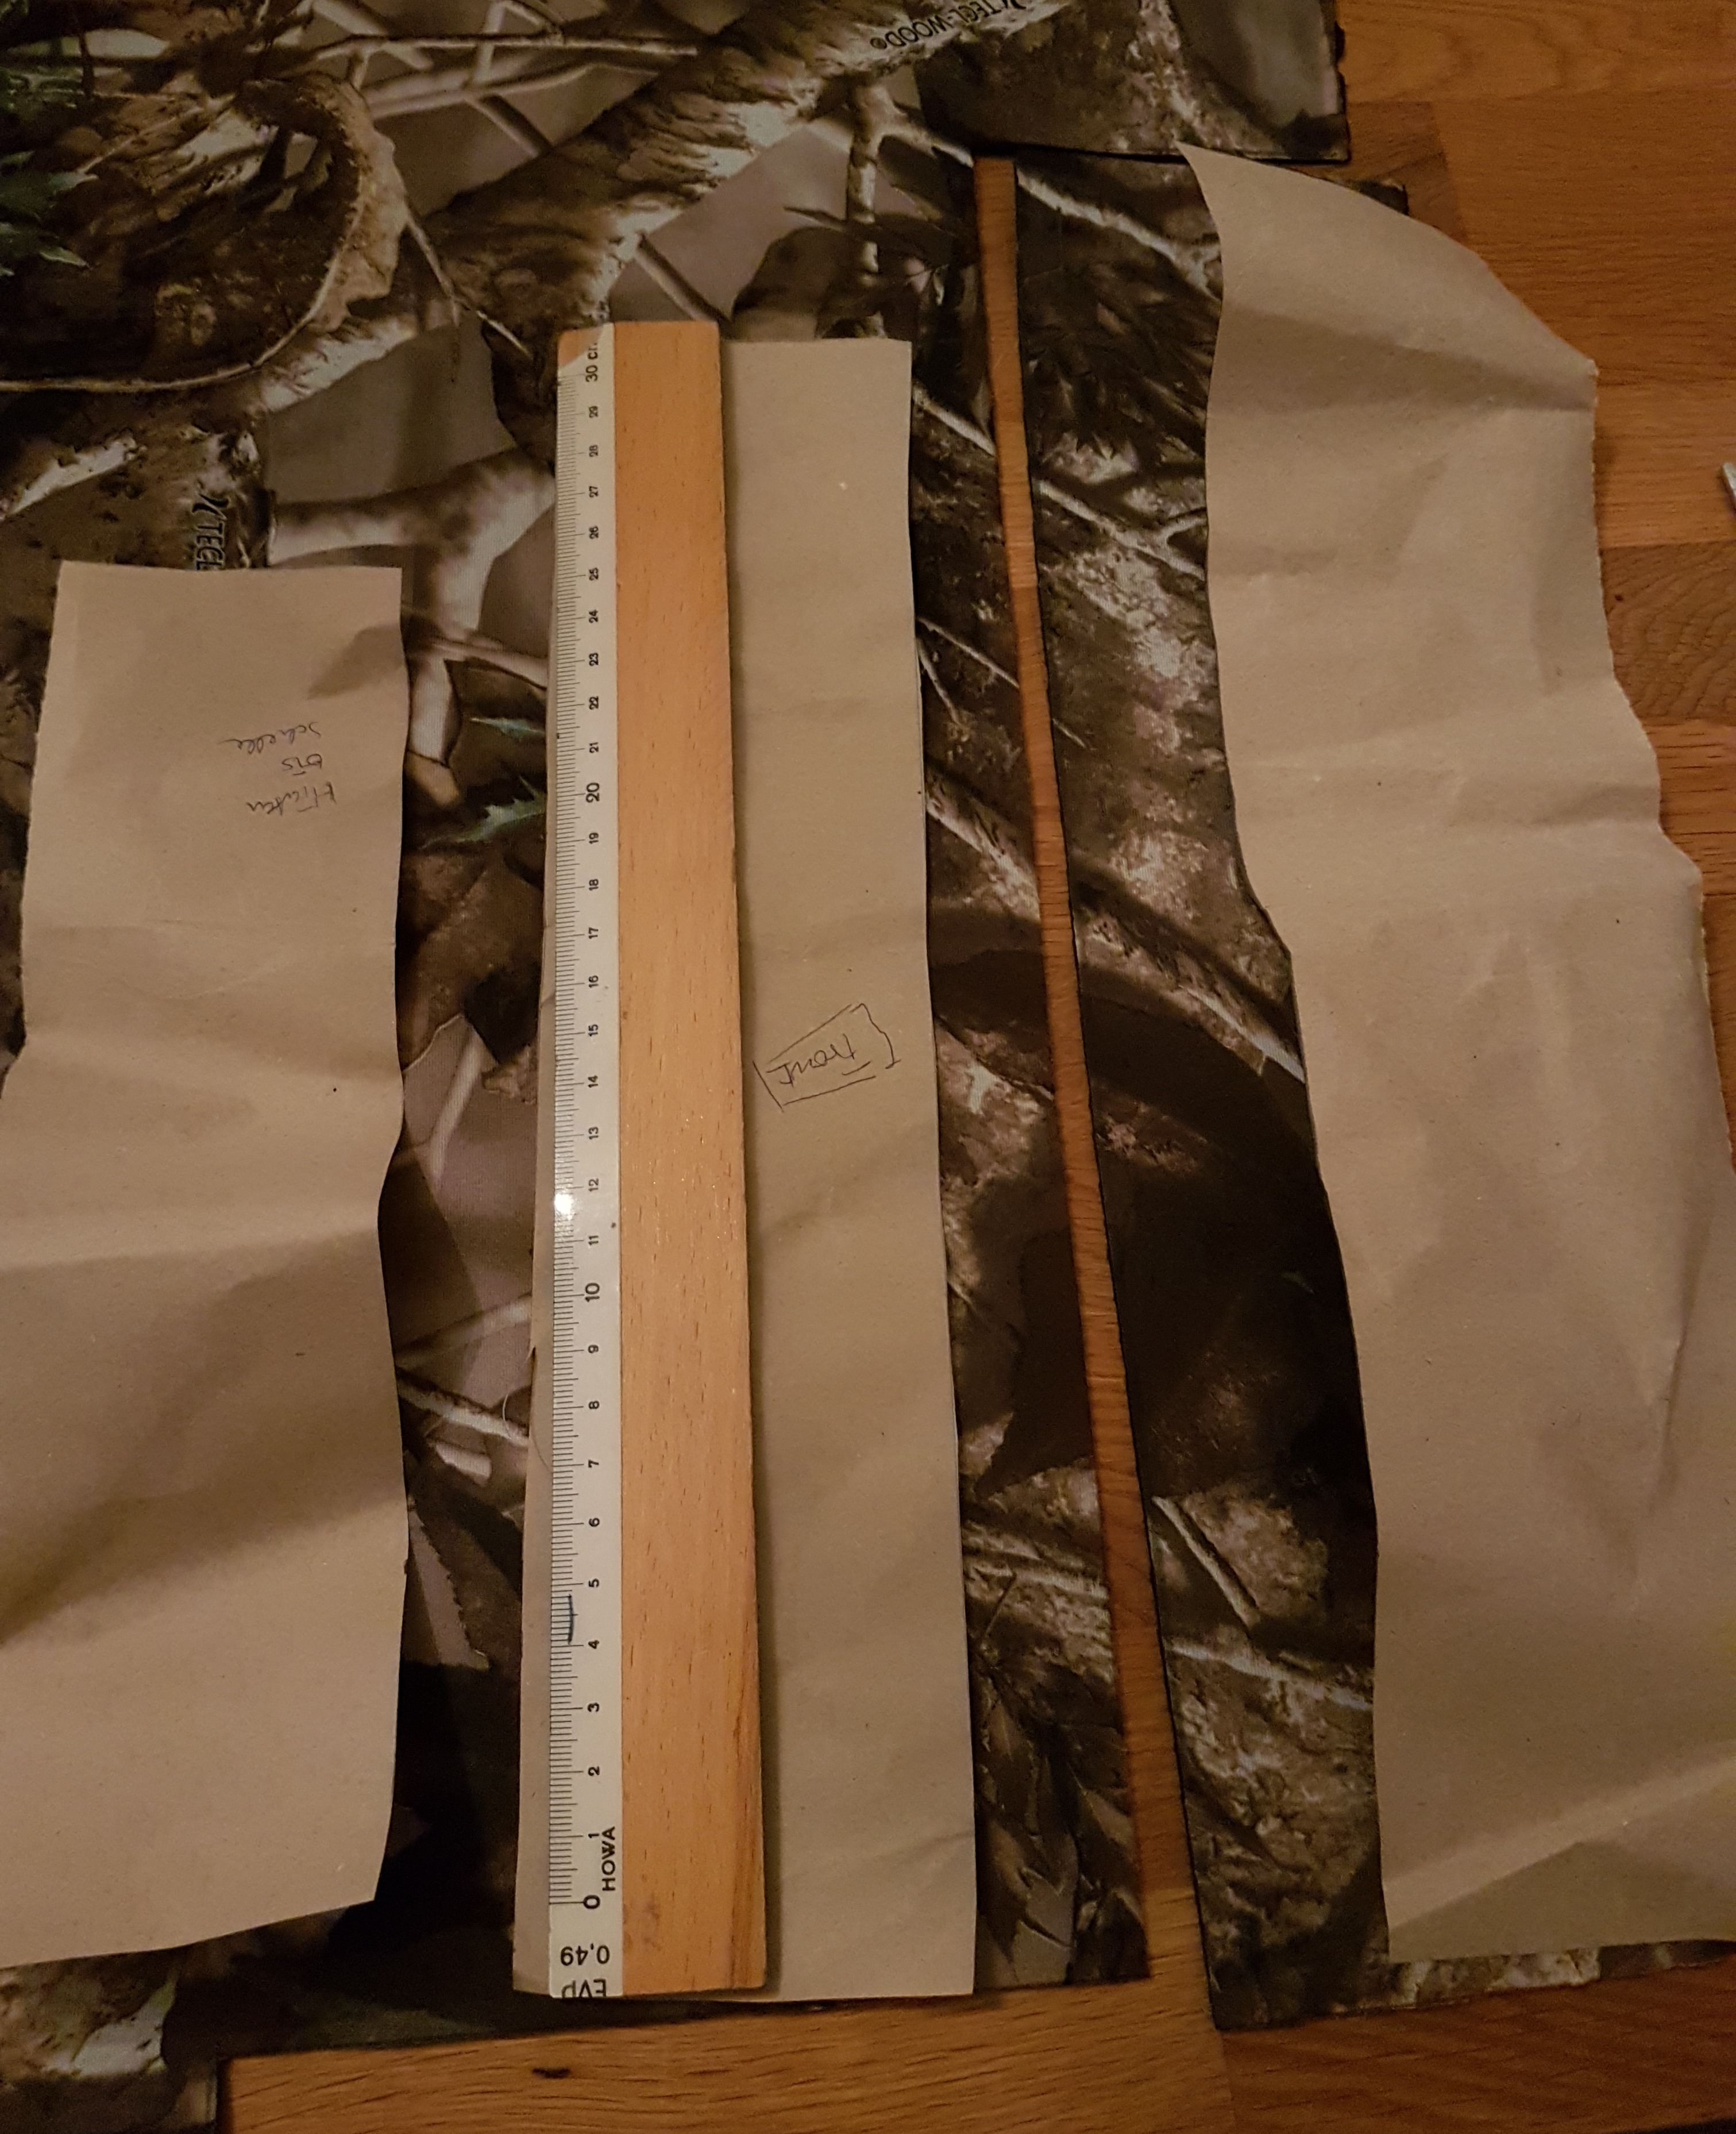
In the next step, I made a template out of paper (in my case wrapping paper) for the various rings that would later encase the individual segments of the lens. For this, I measured the width of each segment. Then I cut a long strip from the paper to the width of each lens segment. To roughly estimate the length of the strip, I multiplied the diameter of the lens hood by pi (circumference = pi x diameter). Round up a little to be on the safe side. I made a strip of paper for each segment. I then checked whether the length and width of the strip of paper enclosed the segment of the lens well.
...
In the next step, the paper strips were placed on the fabric and the outline was transferred using a felt-tip pen. Before the individual pieces of fabric could be cut out, I had to think about how I wanted to join the strips together at the end to create a round, ring-shaped cover.
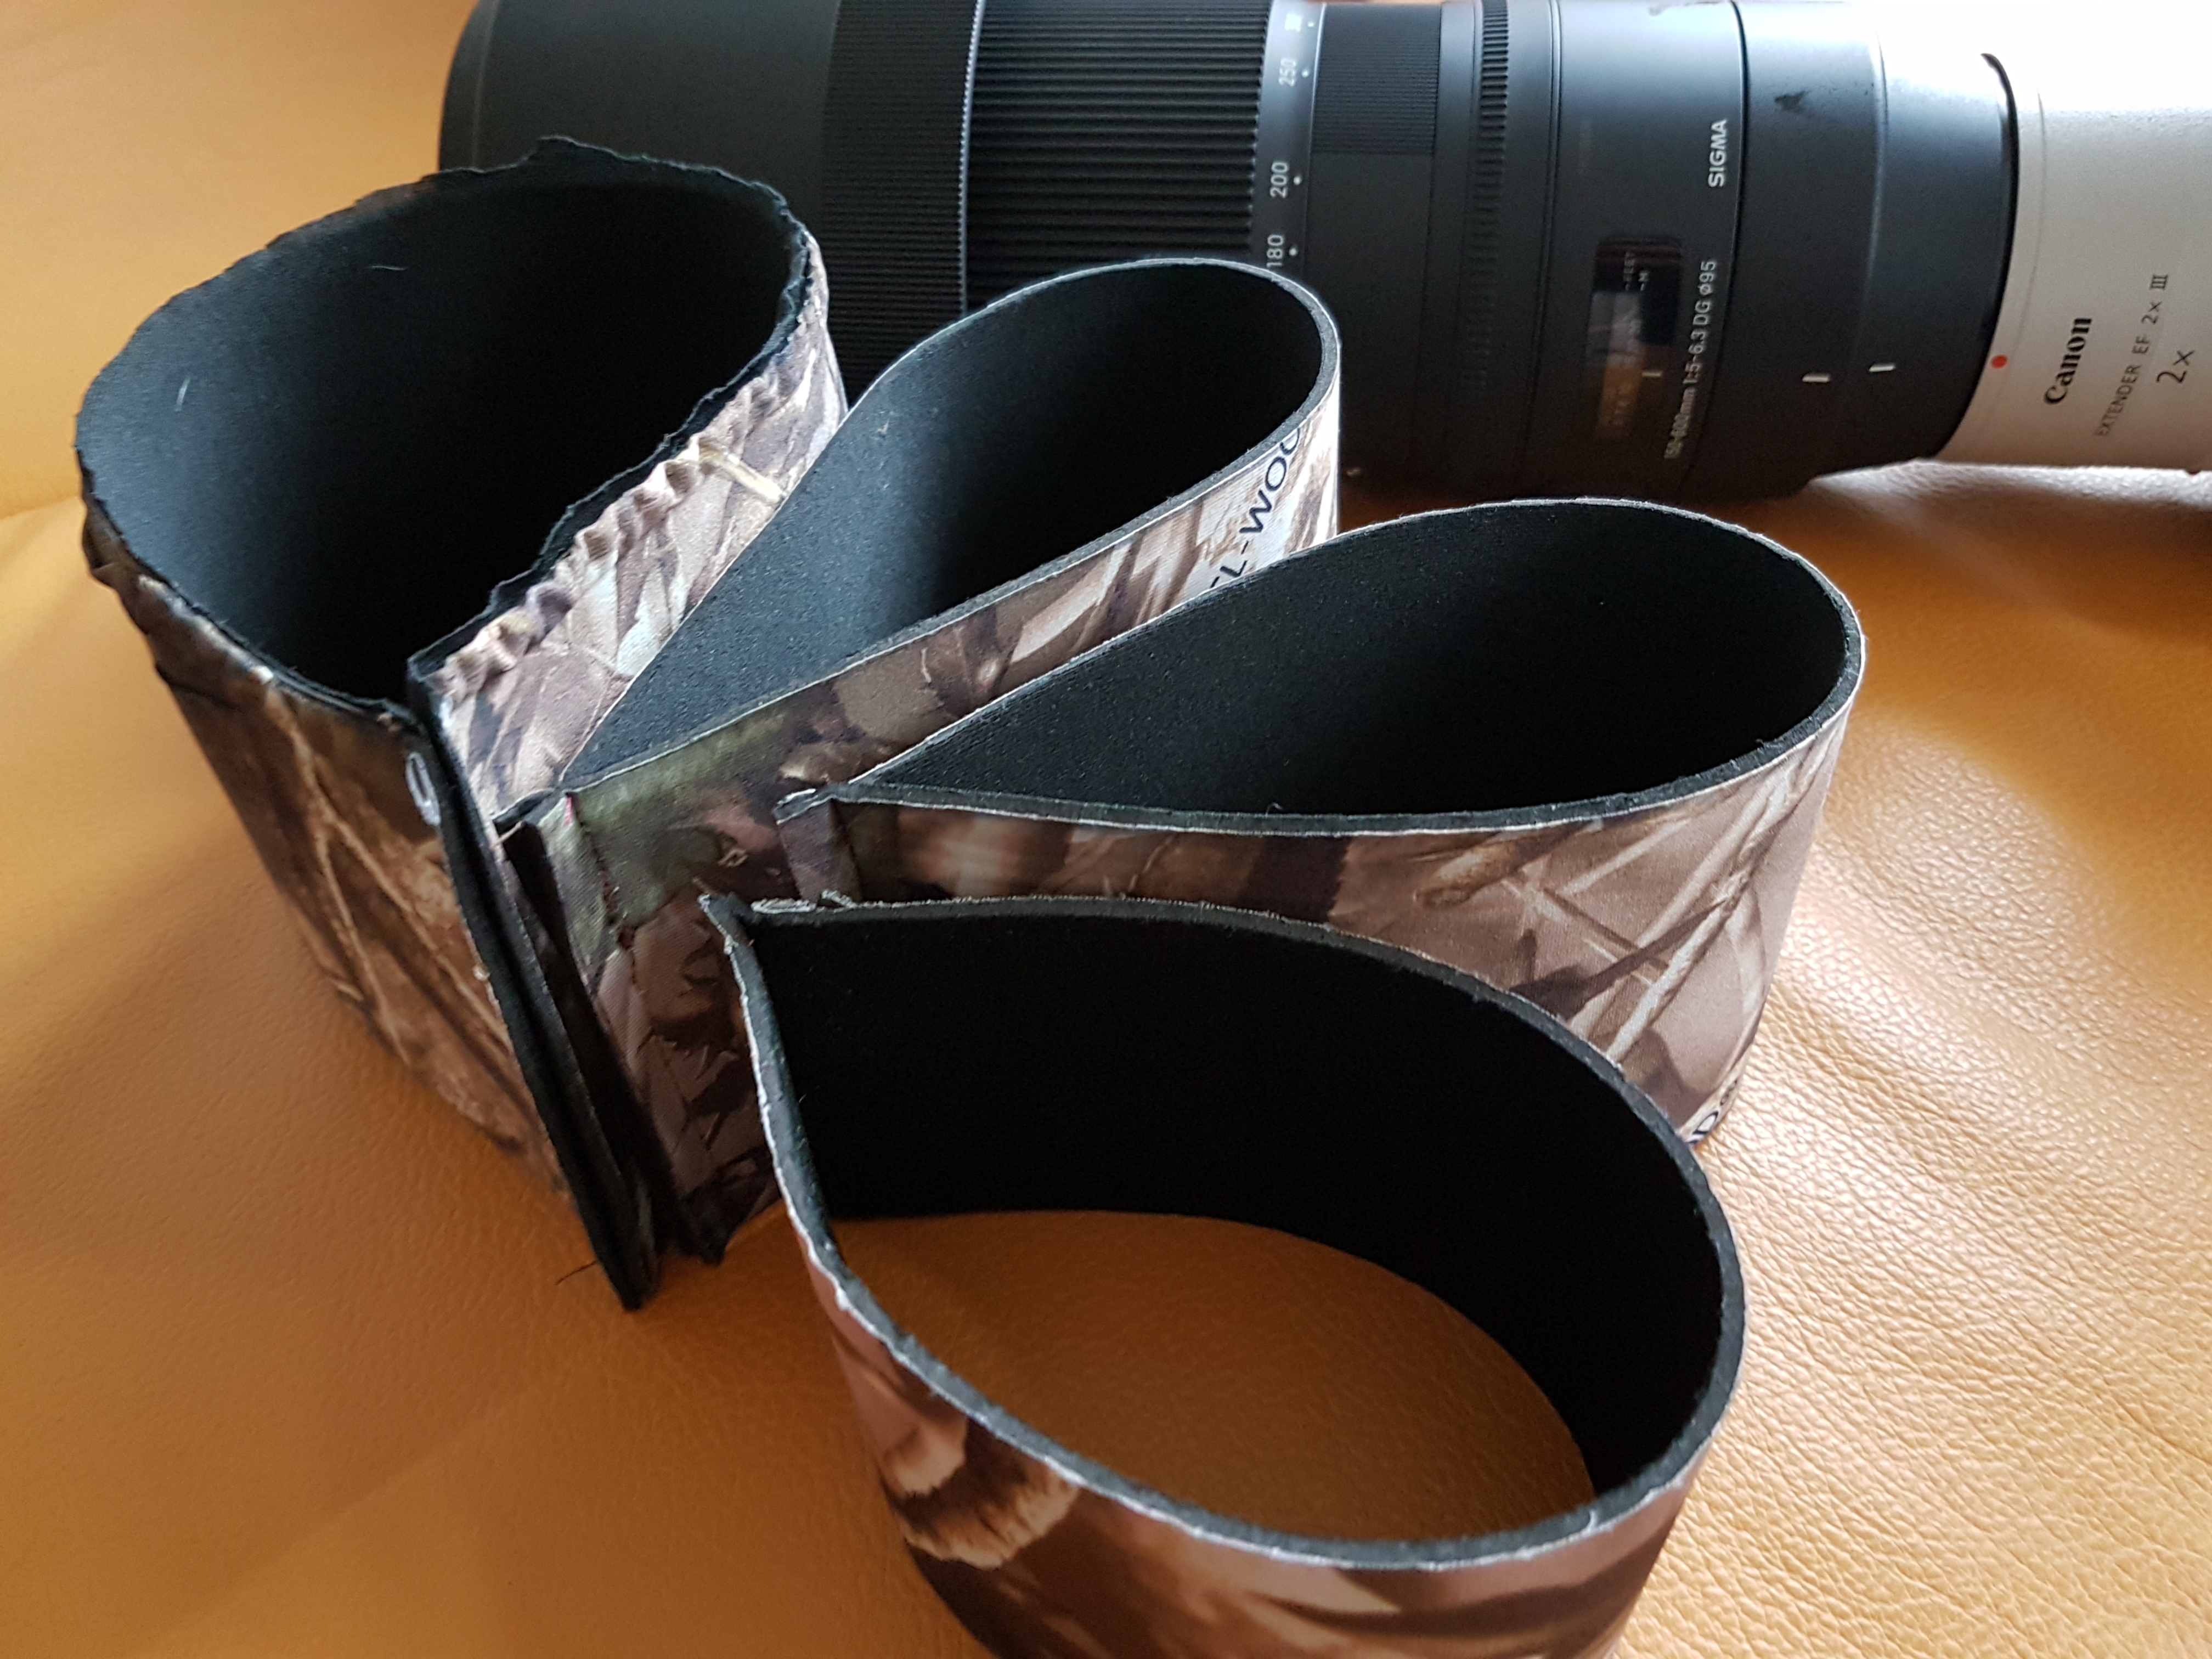
There is glue for neoprene. Good if you don't have a sewing machine or simply don't want to sew or not want a seam to be visible. For my large lens, I decided for the adhesive connection using the neoprene glue. Simply add a few centimeters to the length of the strip to create an adhesive surface.
If the two ends are to be joined with a seam, a little more fabric is also needed for the seam. For the tele zoom shown here, I decided for the sewing solution.
In the meantime, I would prefer the glued connection as the seam quickly causes the neoprene fabric to tear under load. A leason that I've learned.
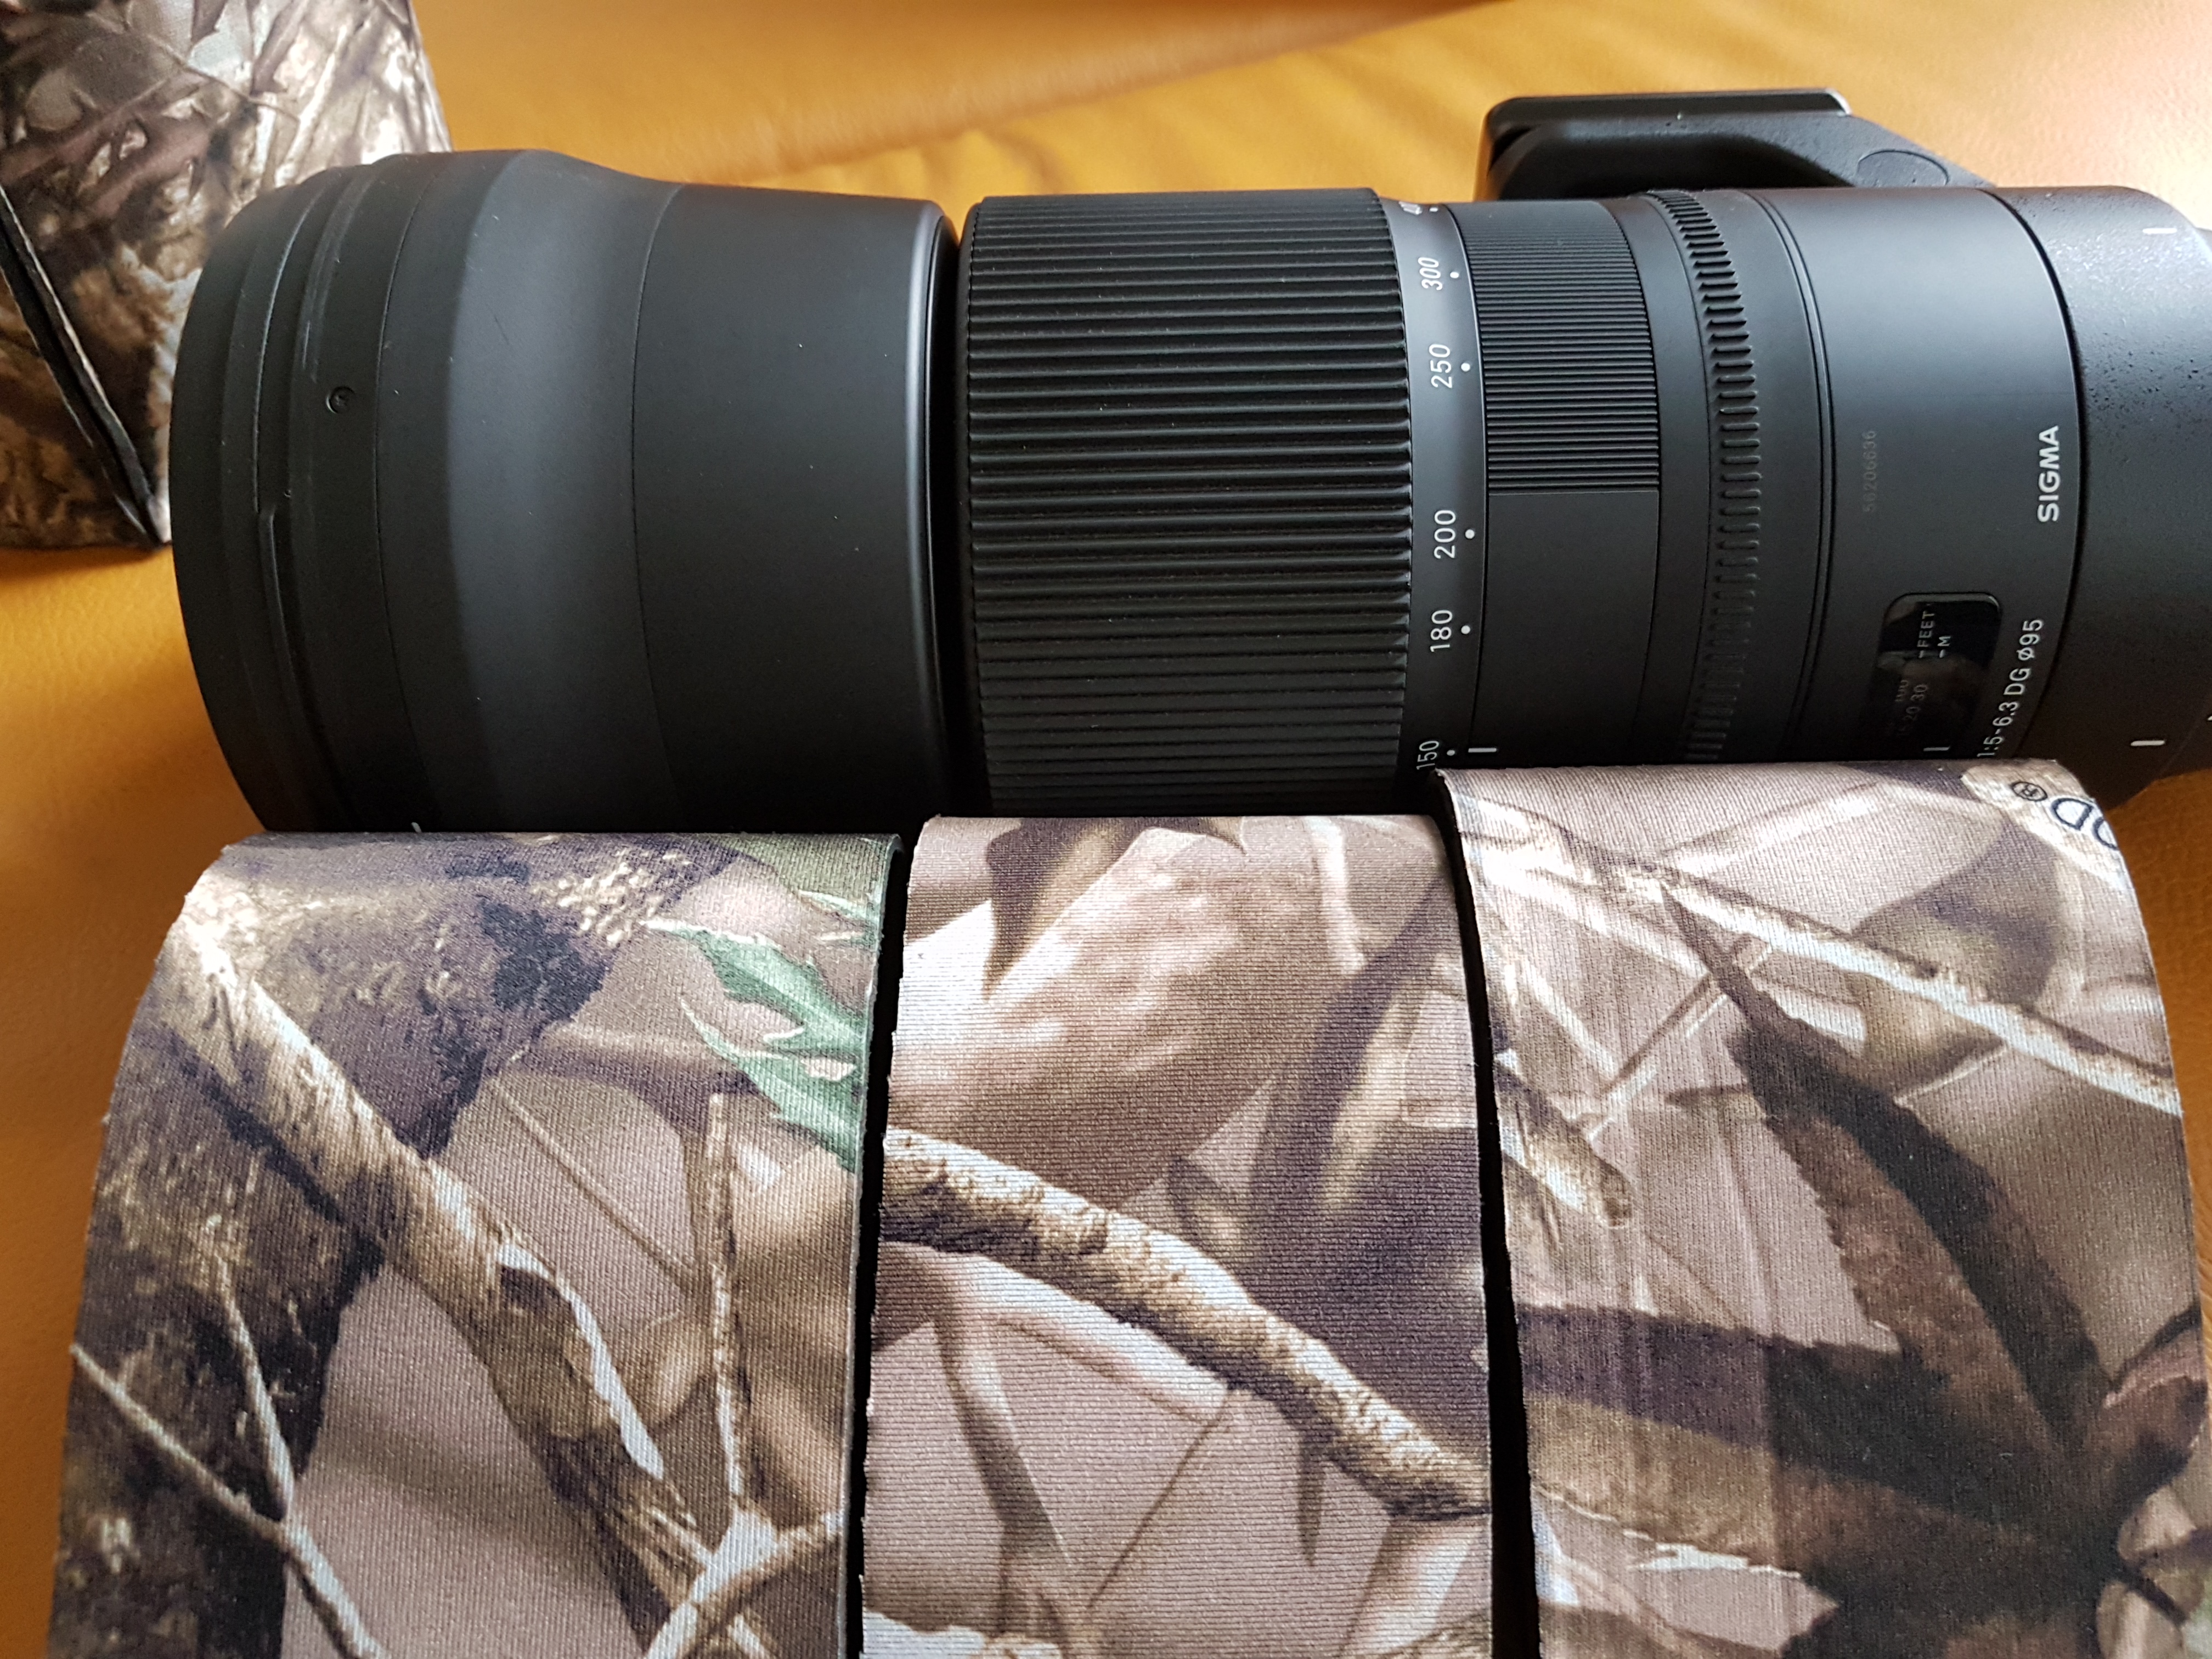
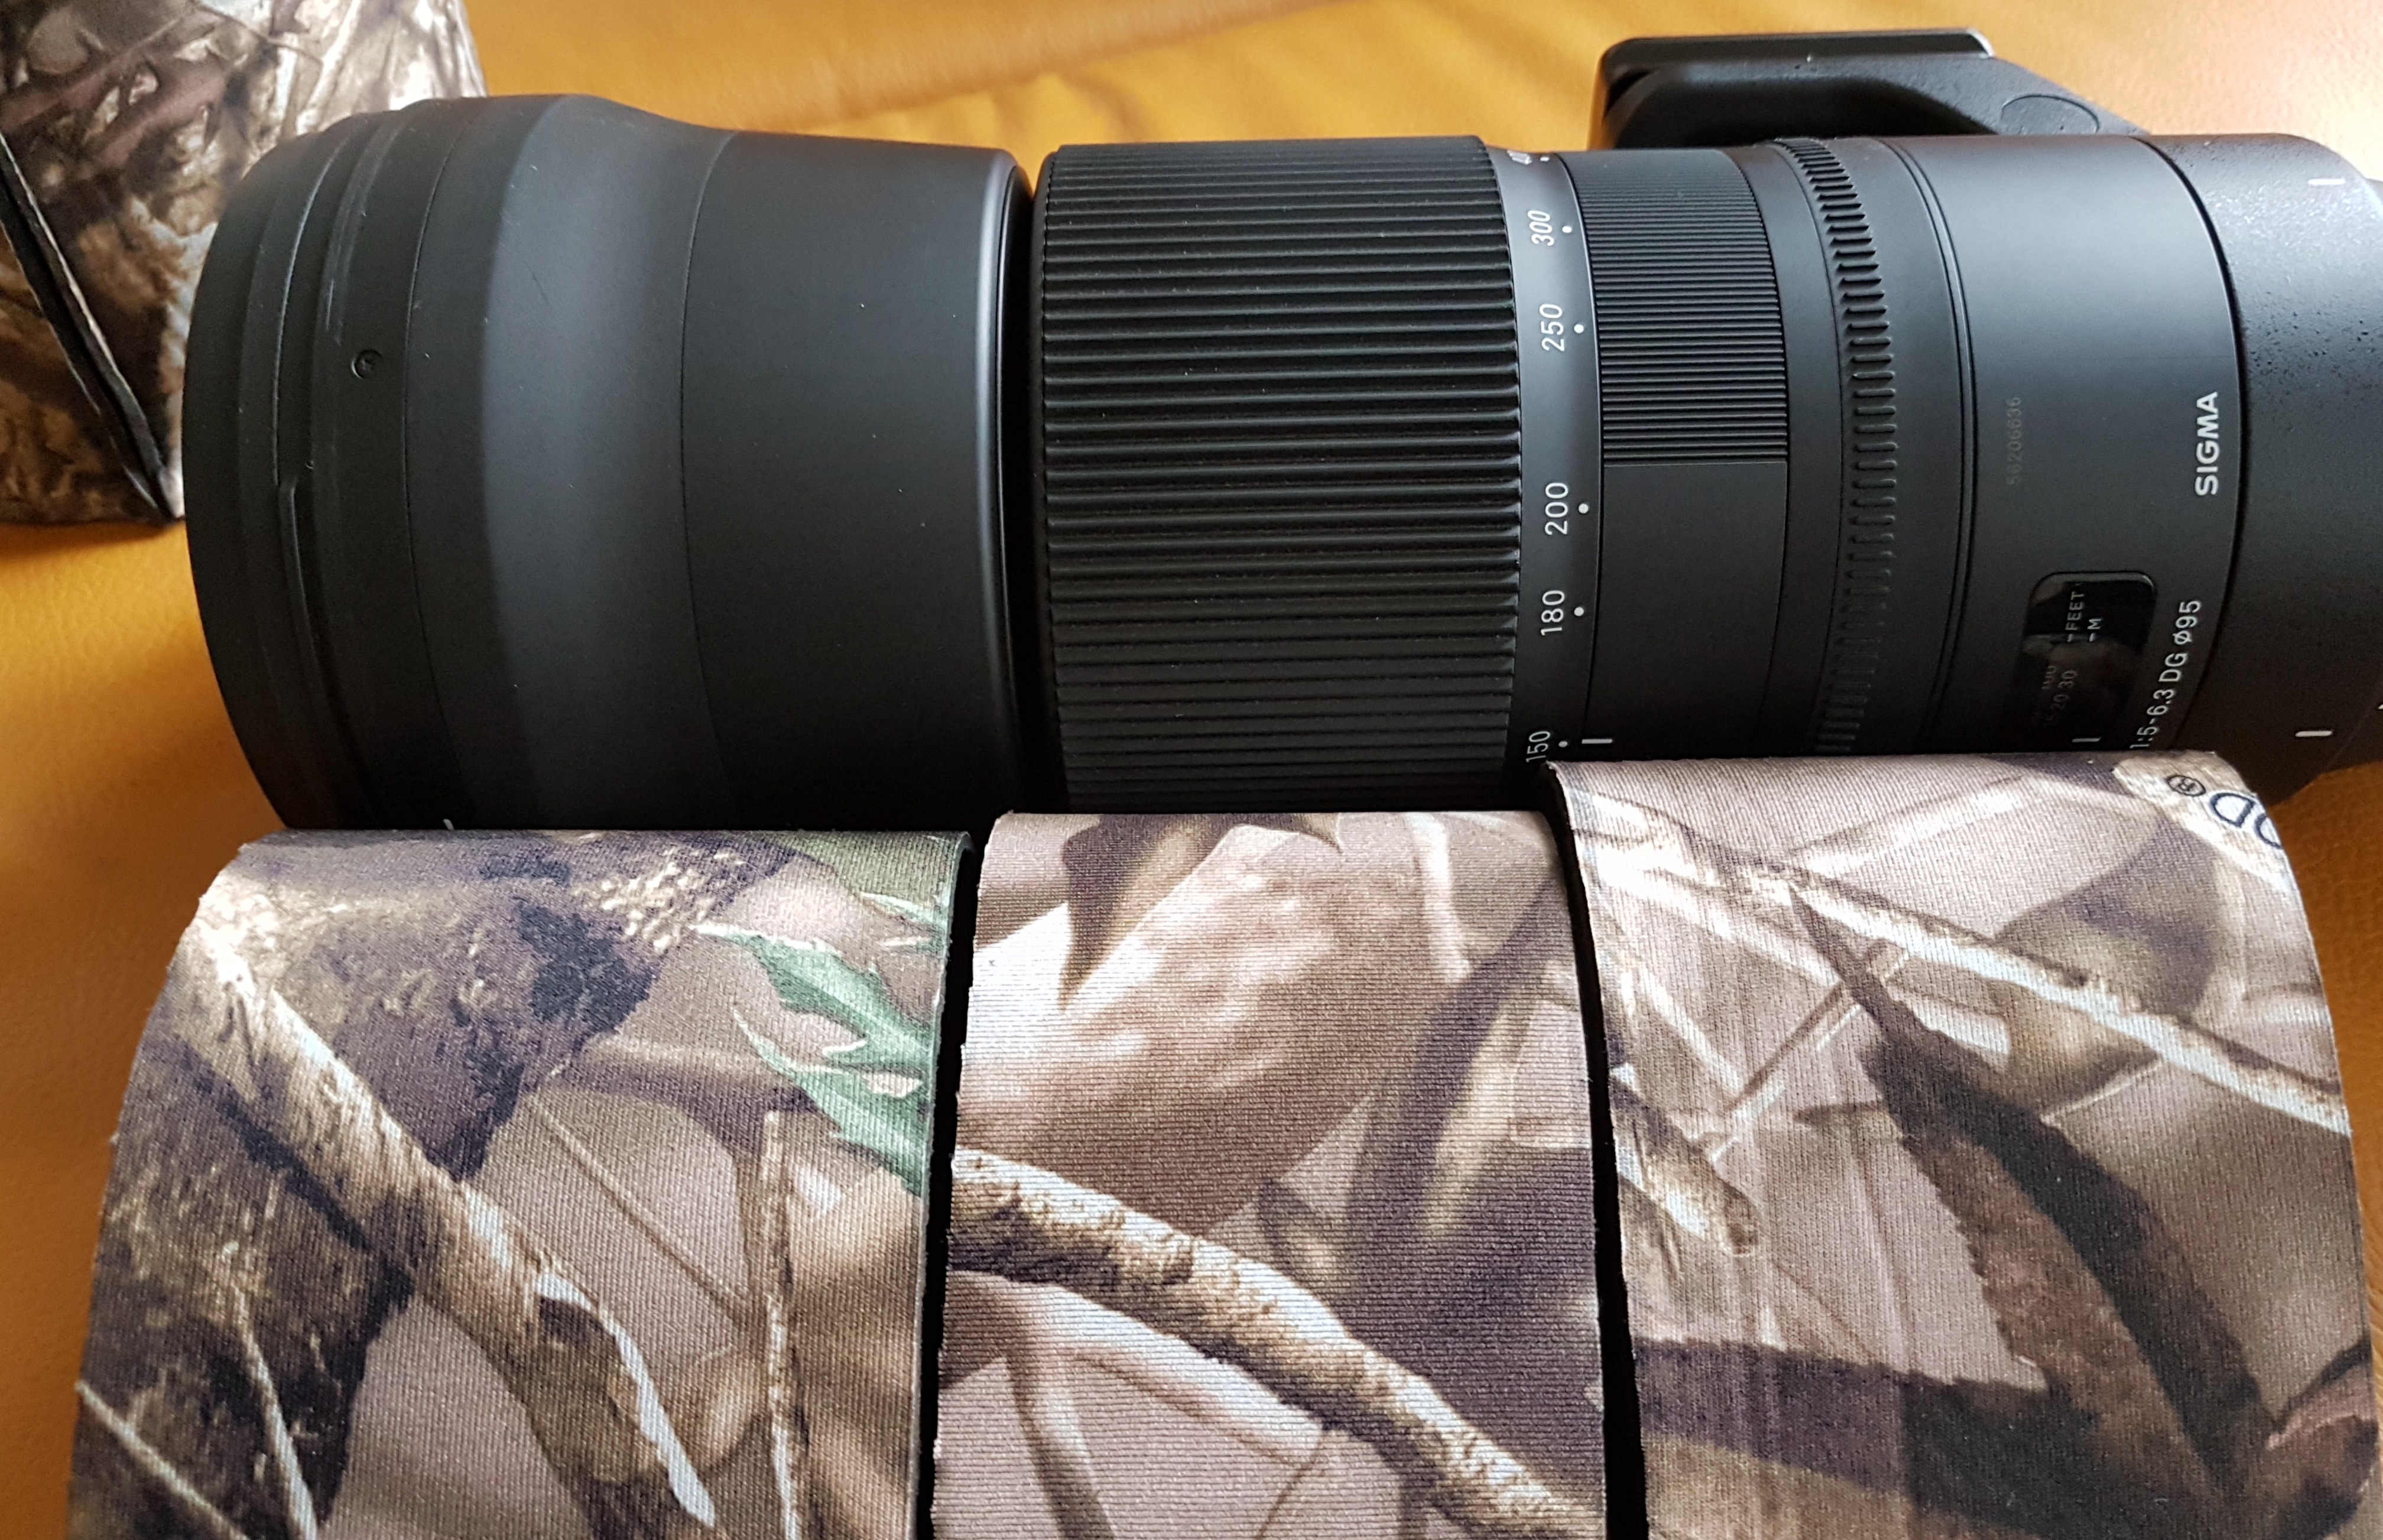
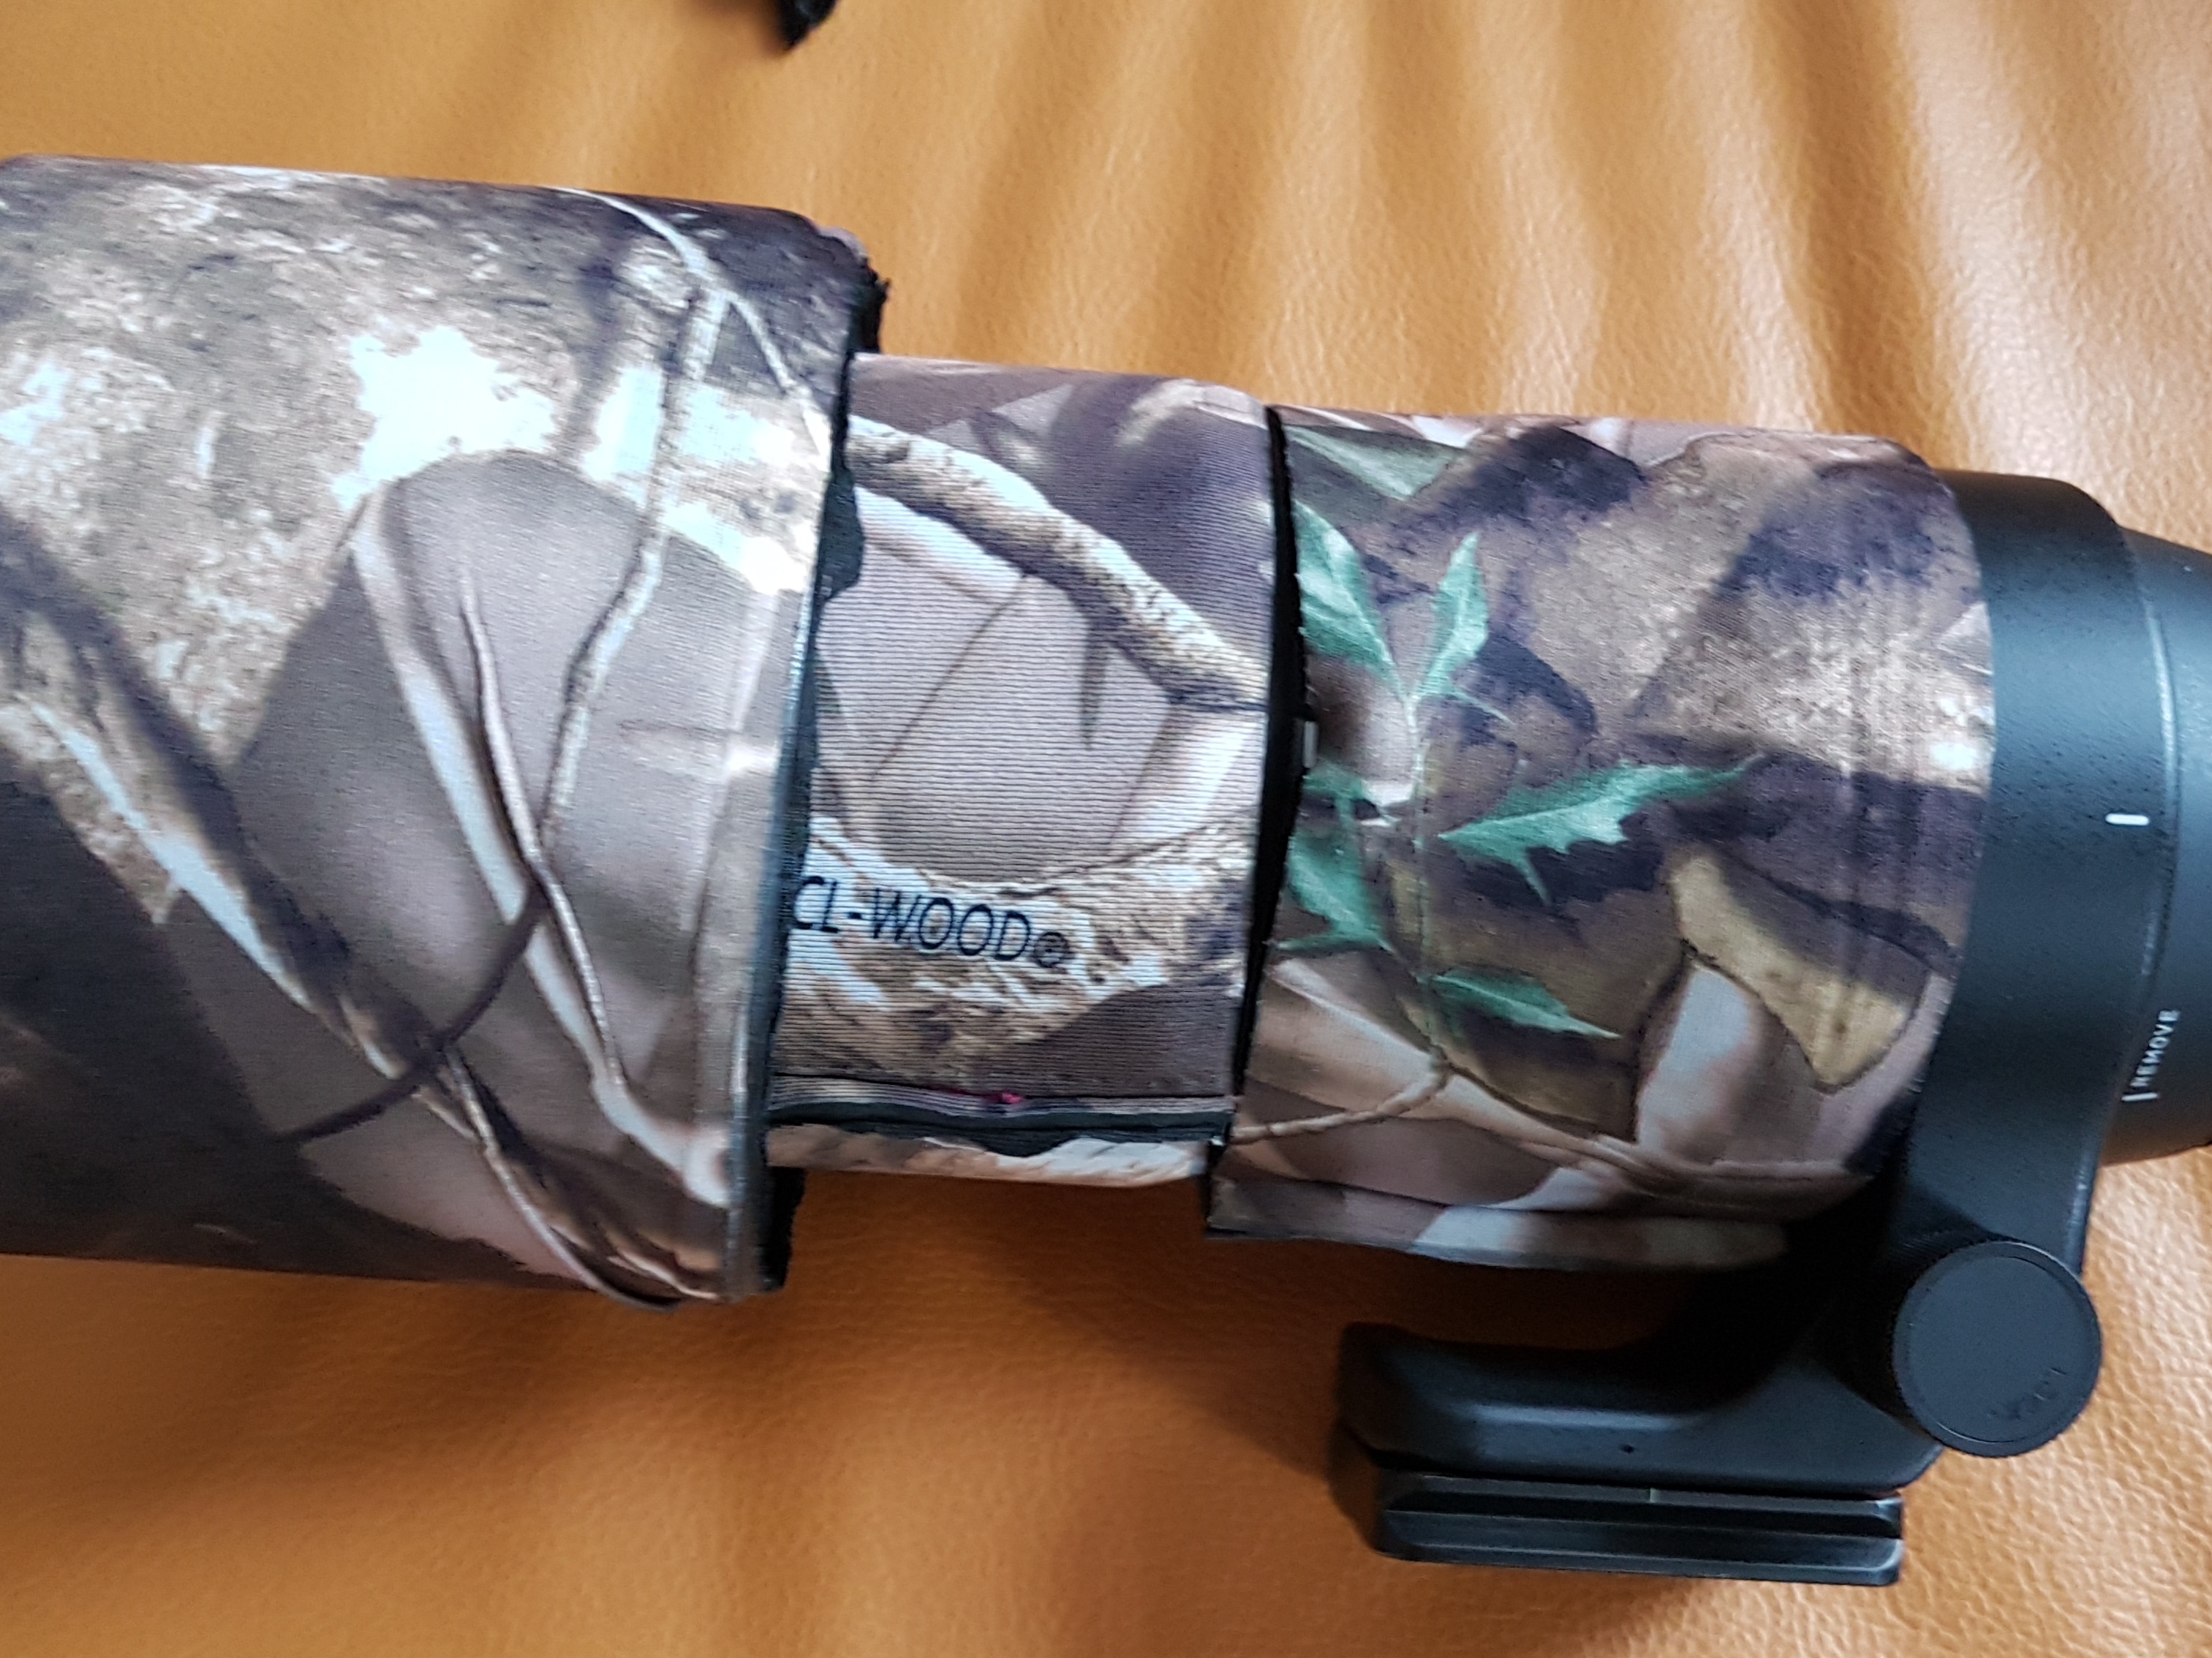
After I had made all the covers, I checked their fit directly on the lens. My telephoto lenses have various function buttons on the side, e.g. to activate the autofocus or the image stabilizer. I later cut a corresponding recess into the respective segment with a nail scissors.
My DIY lens cover was finished.
....
.....
Drag and Drop Website Builder