My floating hide
Do it yourself - my building instructions for a floating hide.
A "floating hide" is a mobile camouflage used in wildlife photography, especially when photographing waterfowl or animals in bodies of water. Here is some information about it:
The Floating Hide is used to allow photographers to photograph animals at close range while floating unobtrusively on water surfaces without disturbing them.
The hide is often camouflaged to blend in with its surroundings and be less noticeable to animals.
The ability to float the hide allows the photographer to move quietly and undisturbed on the water to get unique perspectives.
Floating Hides are particularly useful for waterfowl or shy animals as they allow photographers to get at eye level with the animal without spooking it.
Using a floating hide often requires patience and a certain amount of skill, but offers unique opportunities to authentically photograph animals in their natural environment.
One simple principle in wildlife photography is to photograph the animal at eye level. Another principle in wildlife photography is to camouflage the photographer and camera. If both principles are taken into account, this inevitably leads to a floating camouflage tent with a low opening for the lens, a floating hide. There are some manufacturers who offer a floating hide for sale. This was out of the question for me. I love the challenge of building something of my own that is tailored to my needs. I wanted my floating hide to be inexpensive, made from commercially available components, quick and easy to assemble and easy to transport when disassembled. If you search the internet for instructions on how to build a floating hide, you will quickly find a large number of websites that offer very detailed instructions. For example, the pages of Wanda and Michal Narozni or the pages of Daniel van Duinkerken and Albert Stoecker.
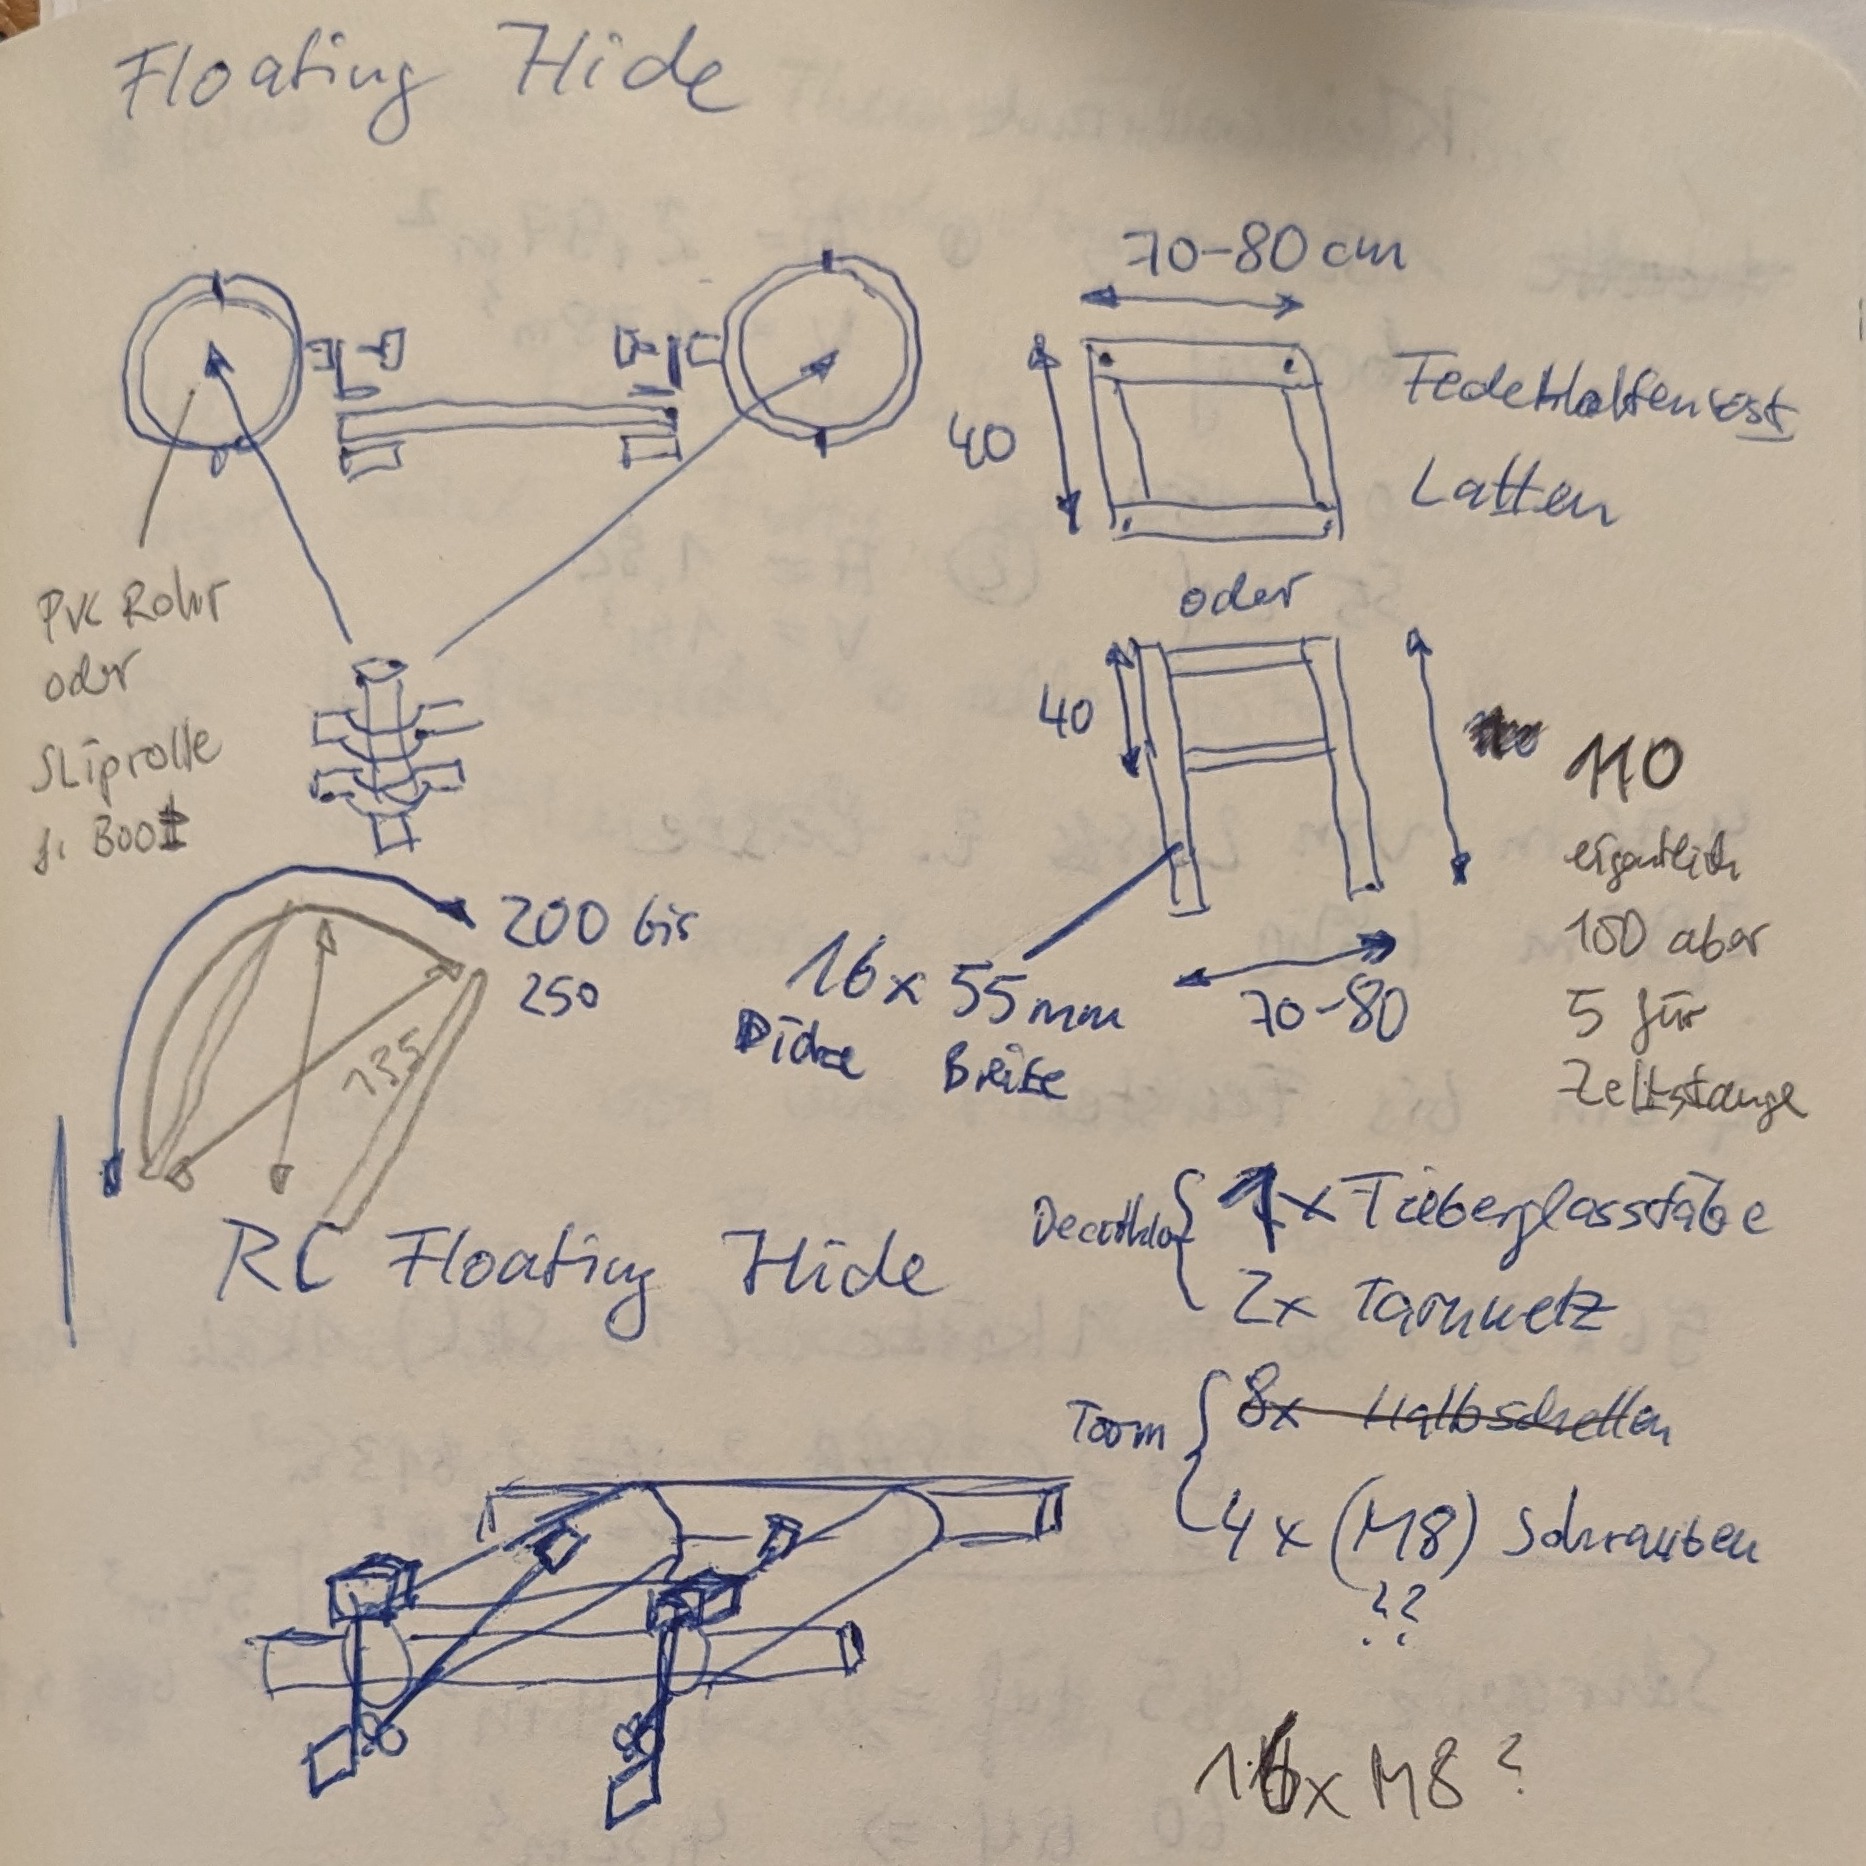
Some of my notes
Two unused drainpipes from a previous project had been sitting in my cellar for some time. I also found a few tent poles from my old igloo tent. As a floating hide had been on my to-do list for some time, I decided to build one myself.
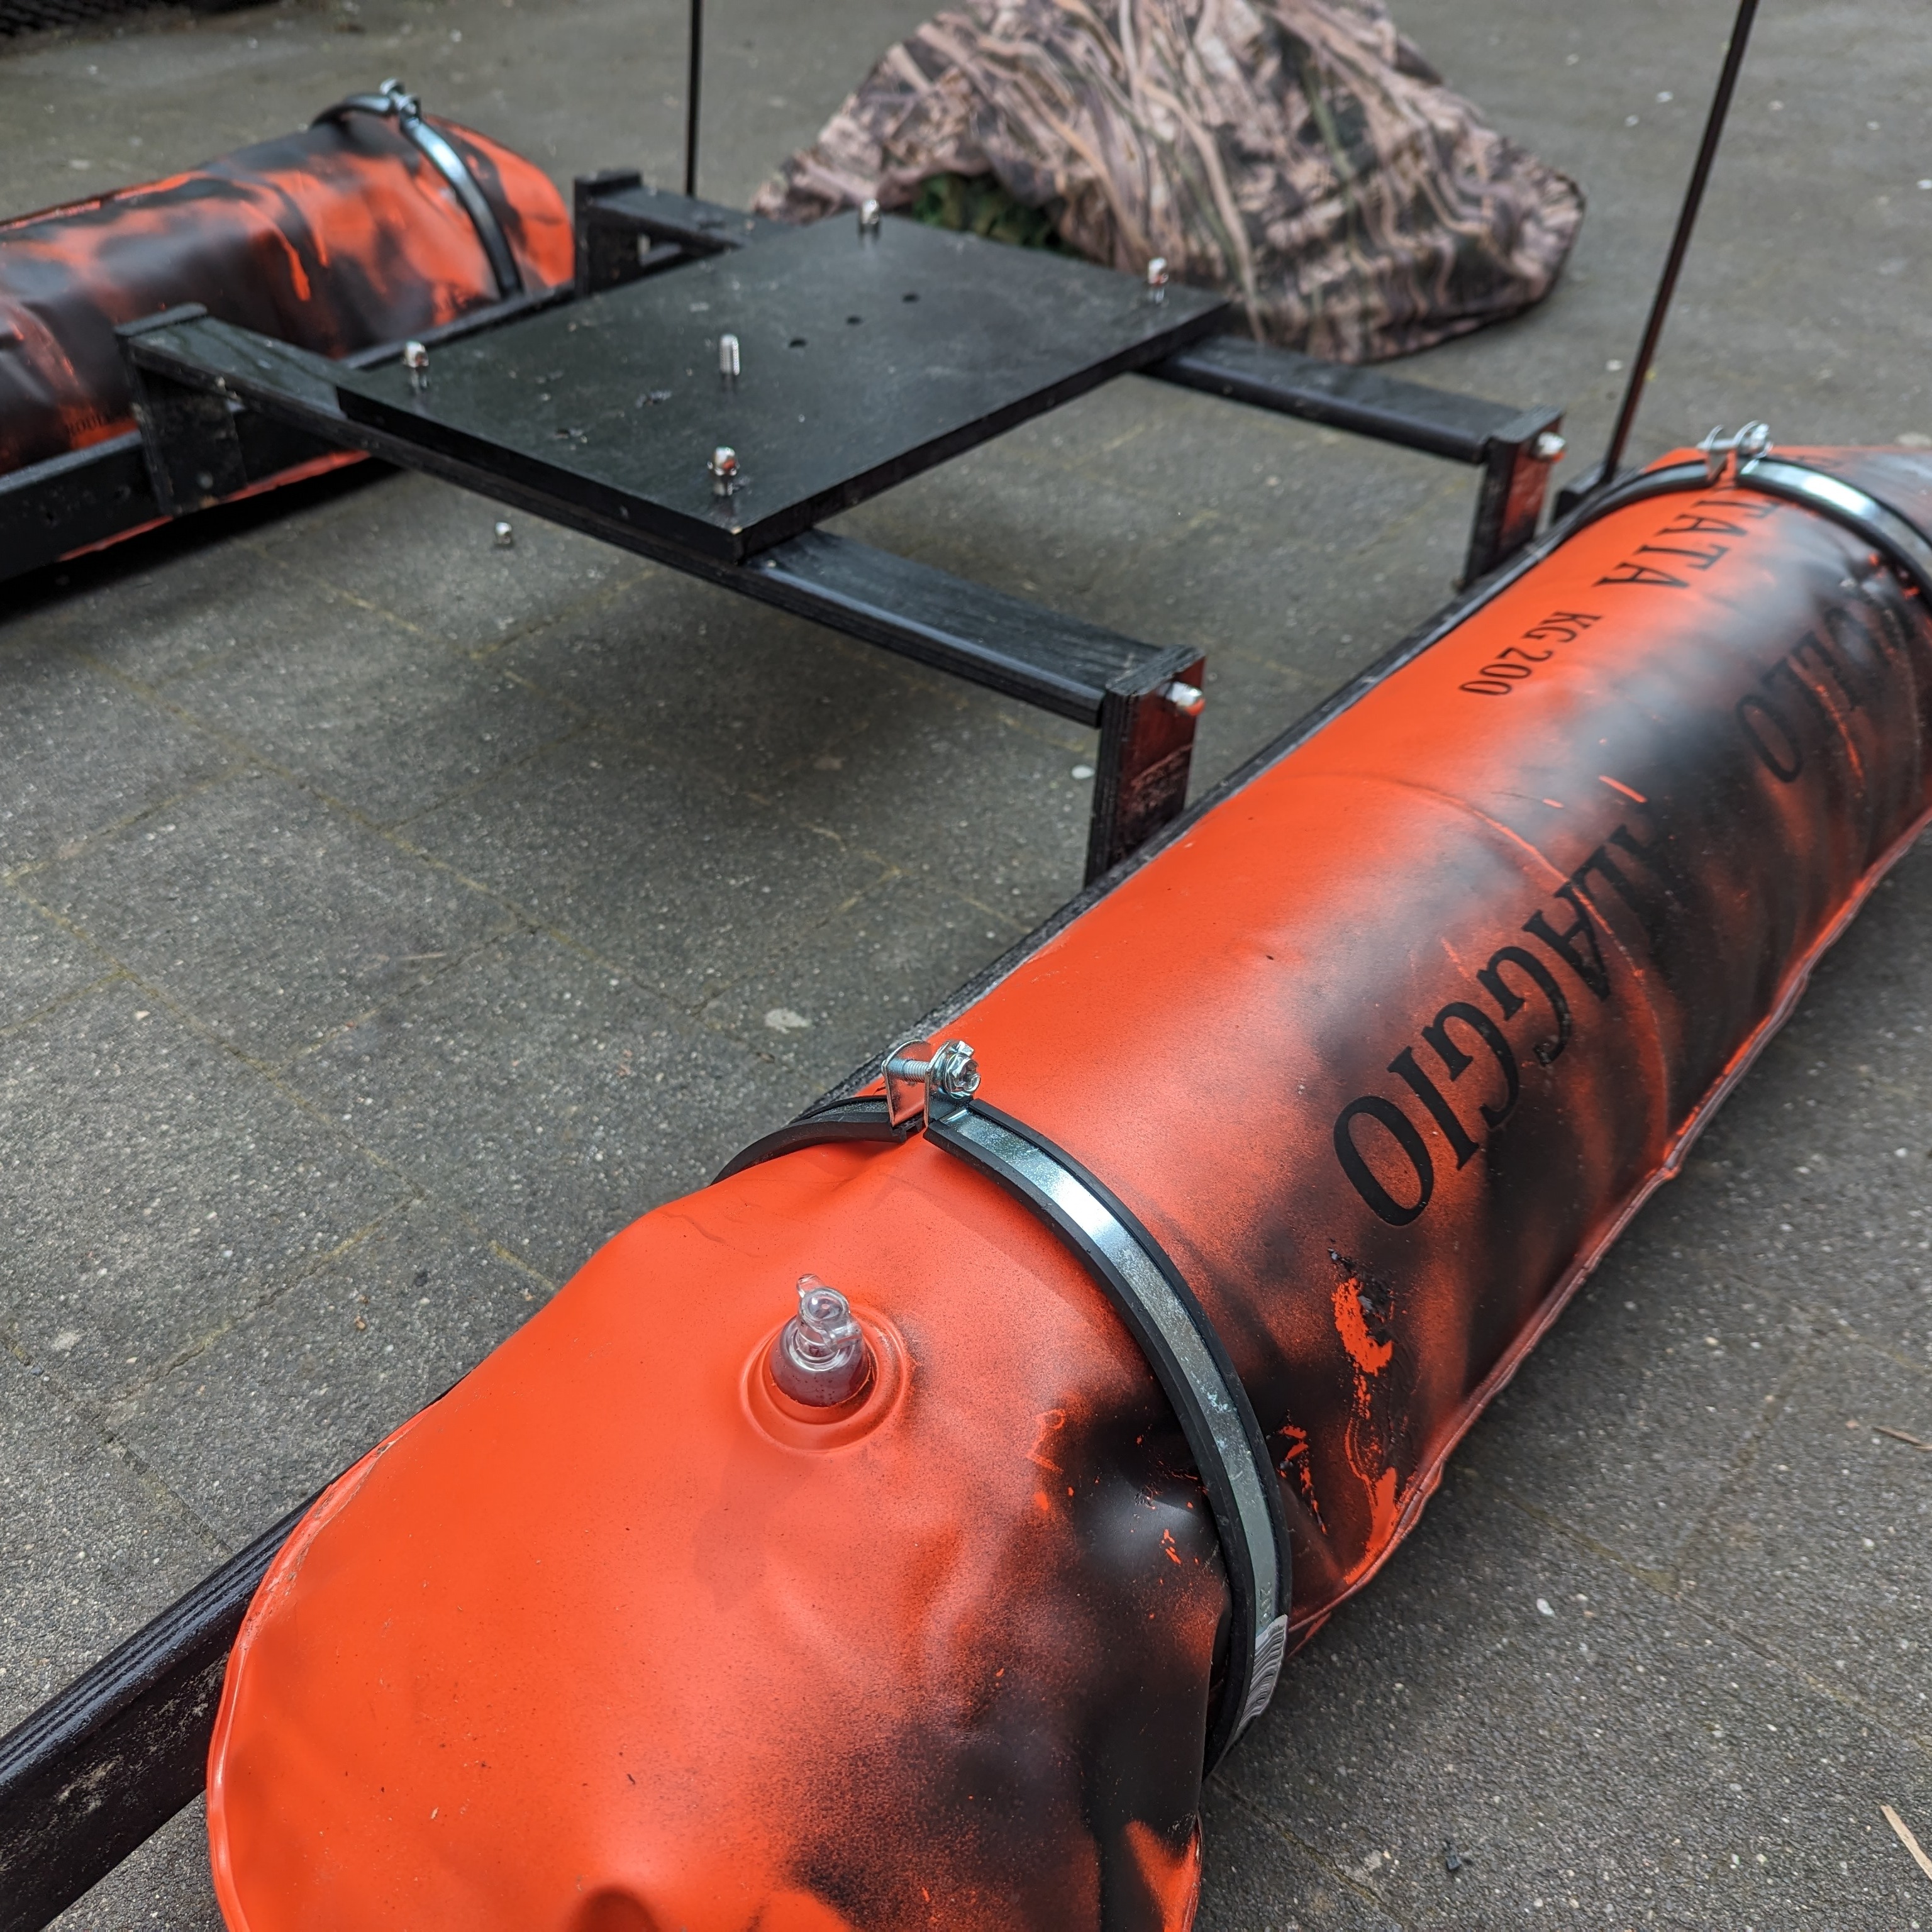
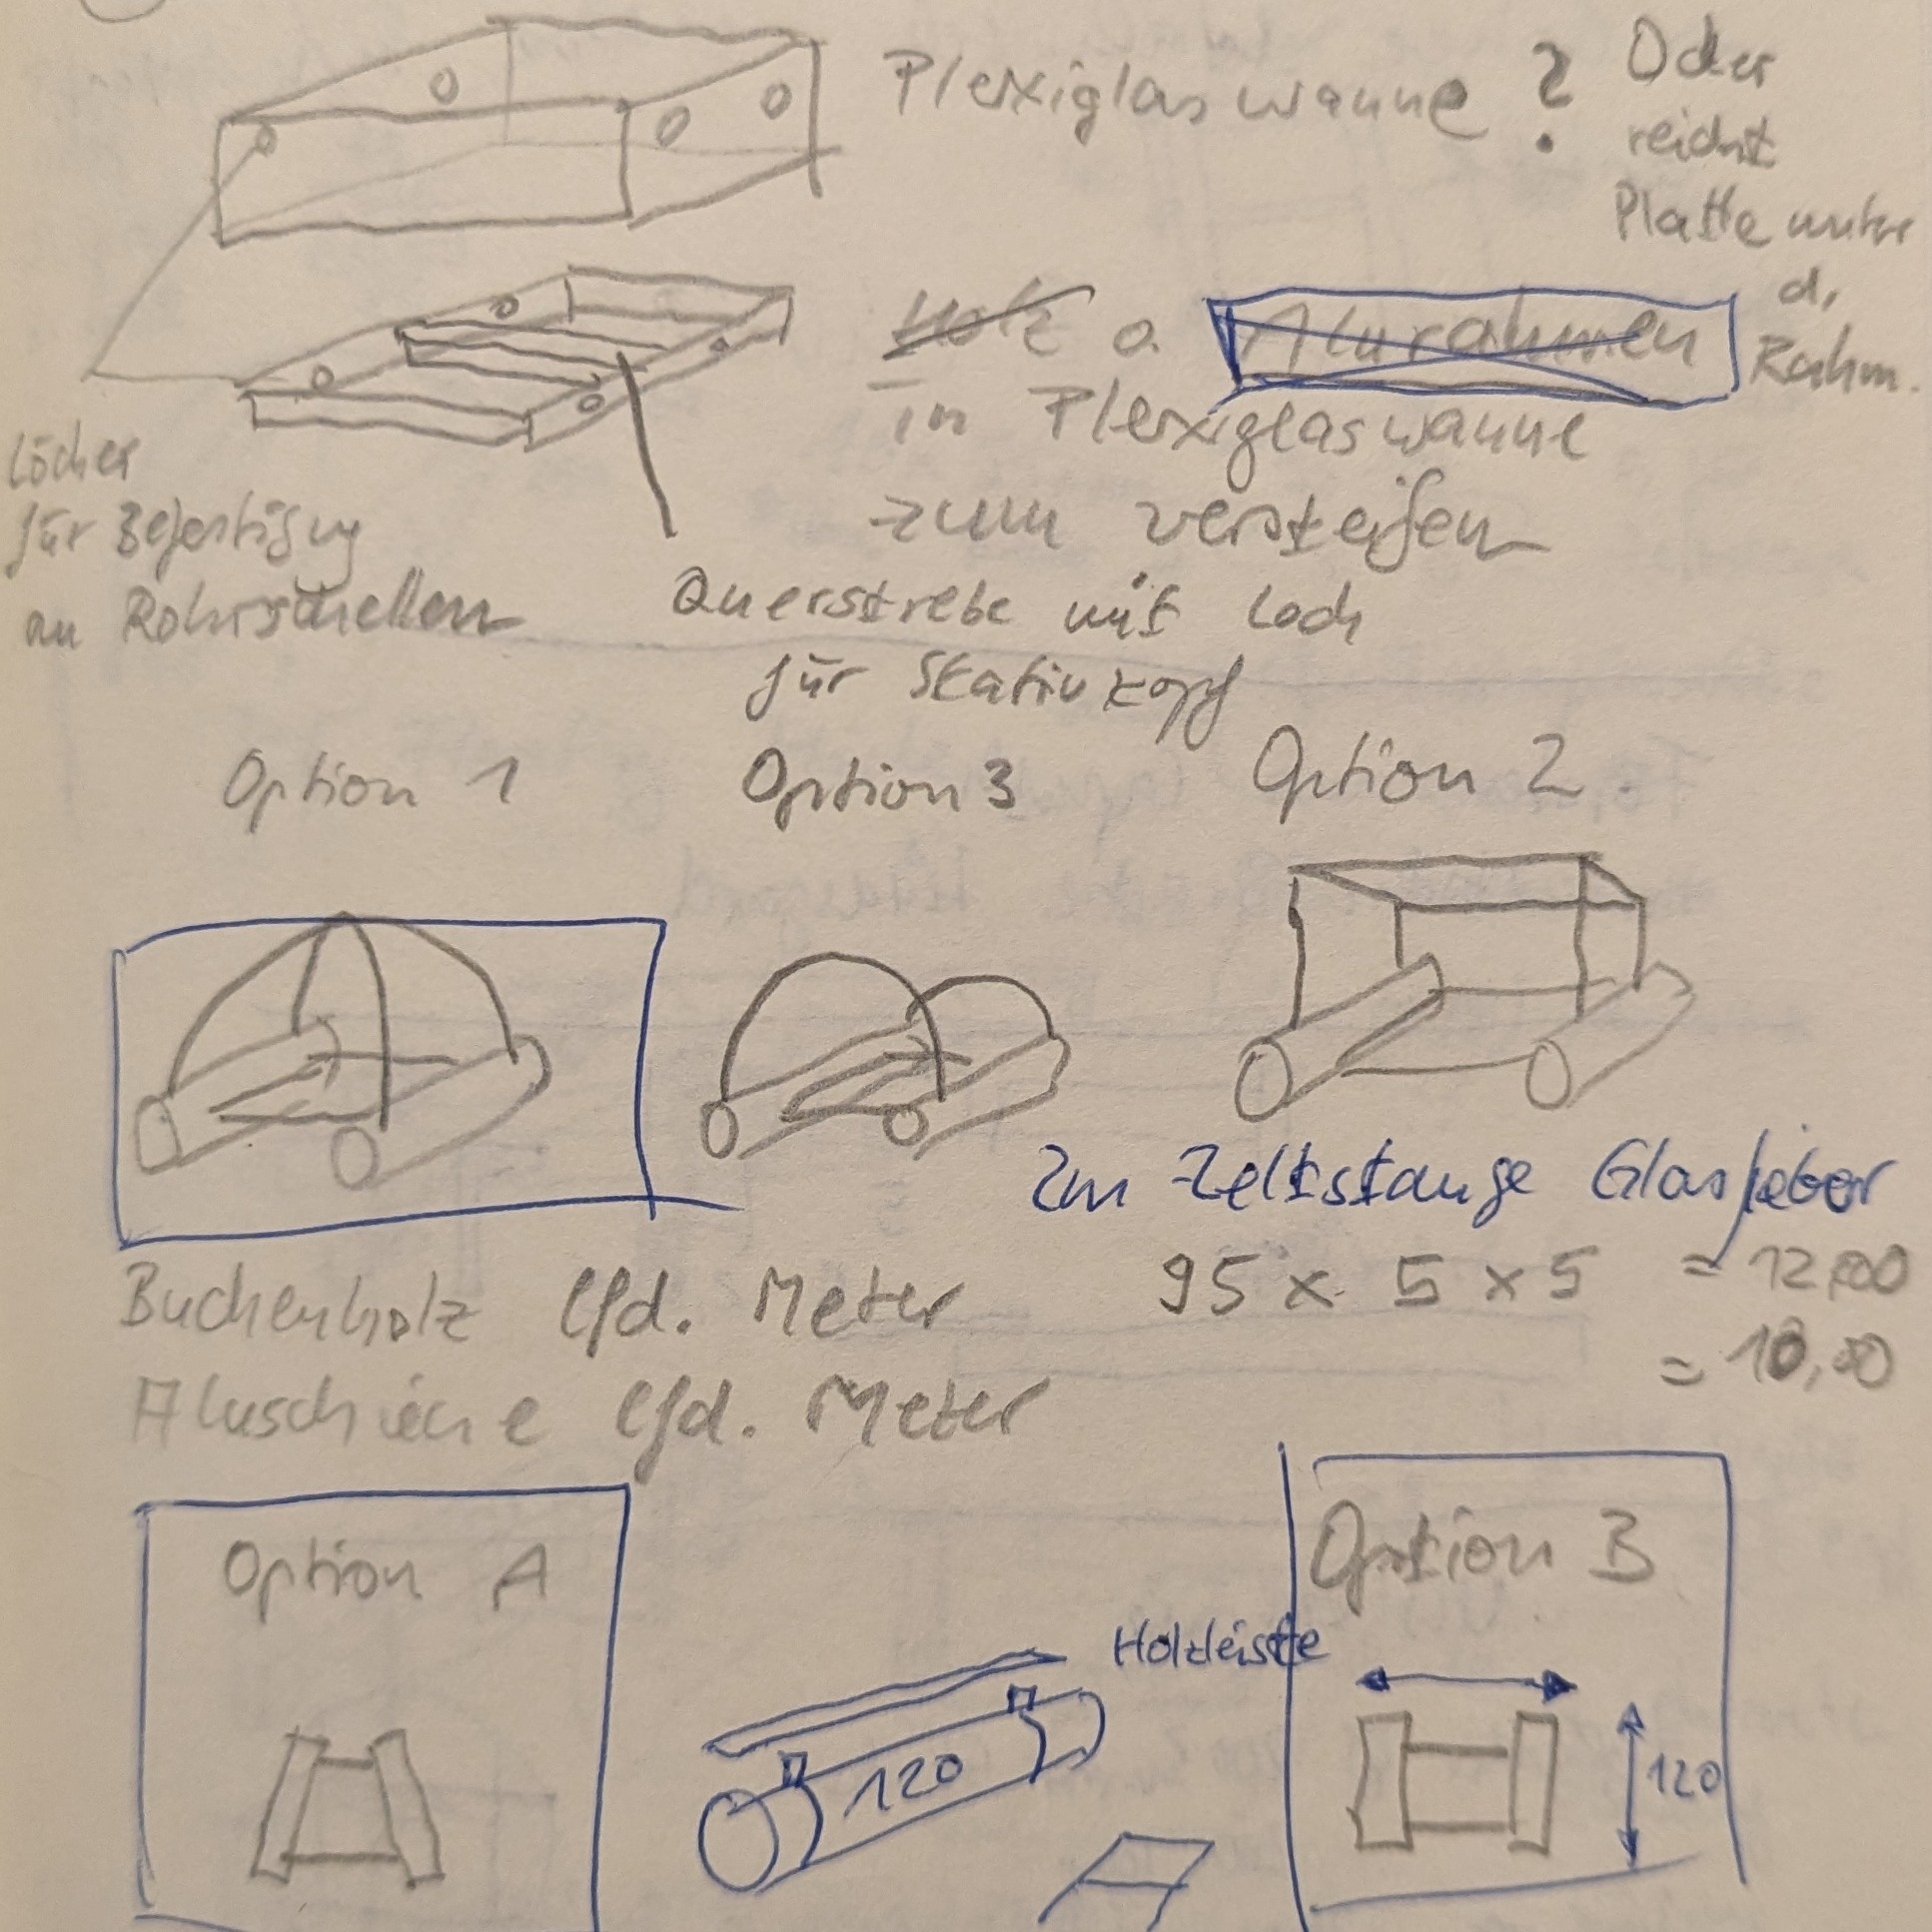
I searched the internet for possible variations on before mentioned websites. However, I quickly realized that two larger drainpipes were rather impractical for use. A floating foam body was also out of the question for me due to its size during transportation. However, I found the idea of using two inflatable floats interesting. Large enough and with enough volume to carry the tent along with the camera, the big tele-lens and a frame. And even when inflated, not too heavy to carry and lower into the water. But where do you get two inflatable round floats? I found what I was looking for in a boat shop. A slip roll had the right dimensions. There are inflatable slip rolls that met my practical requirements exactly. So I had two rolls and now only had to worry about the frame structure and the tent construction.
Some further notes
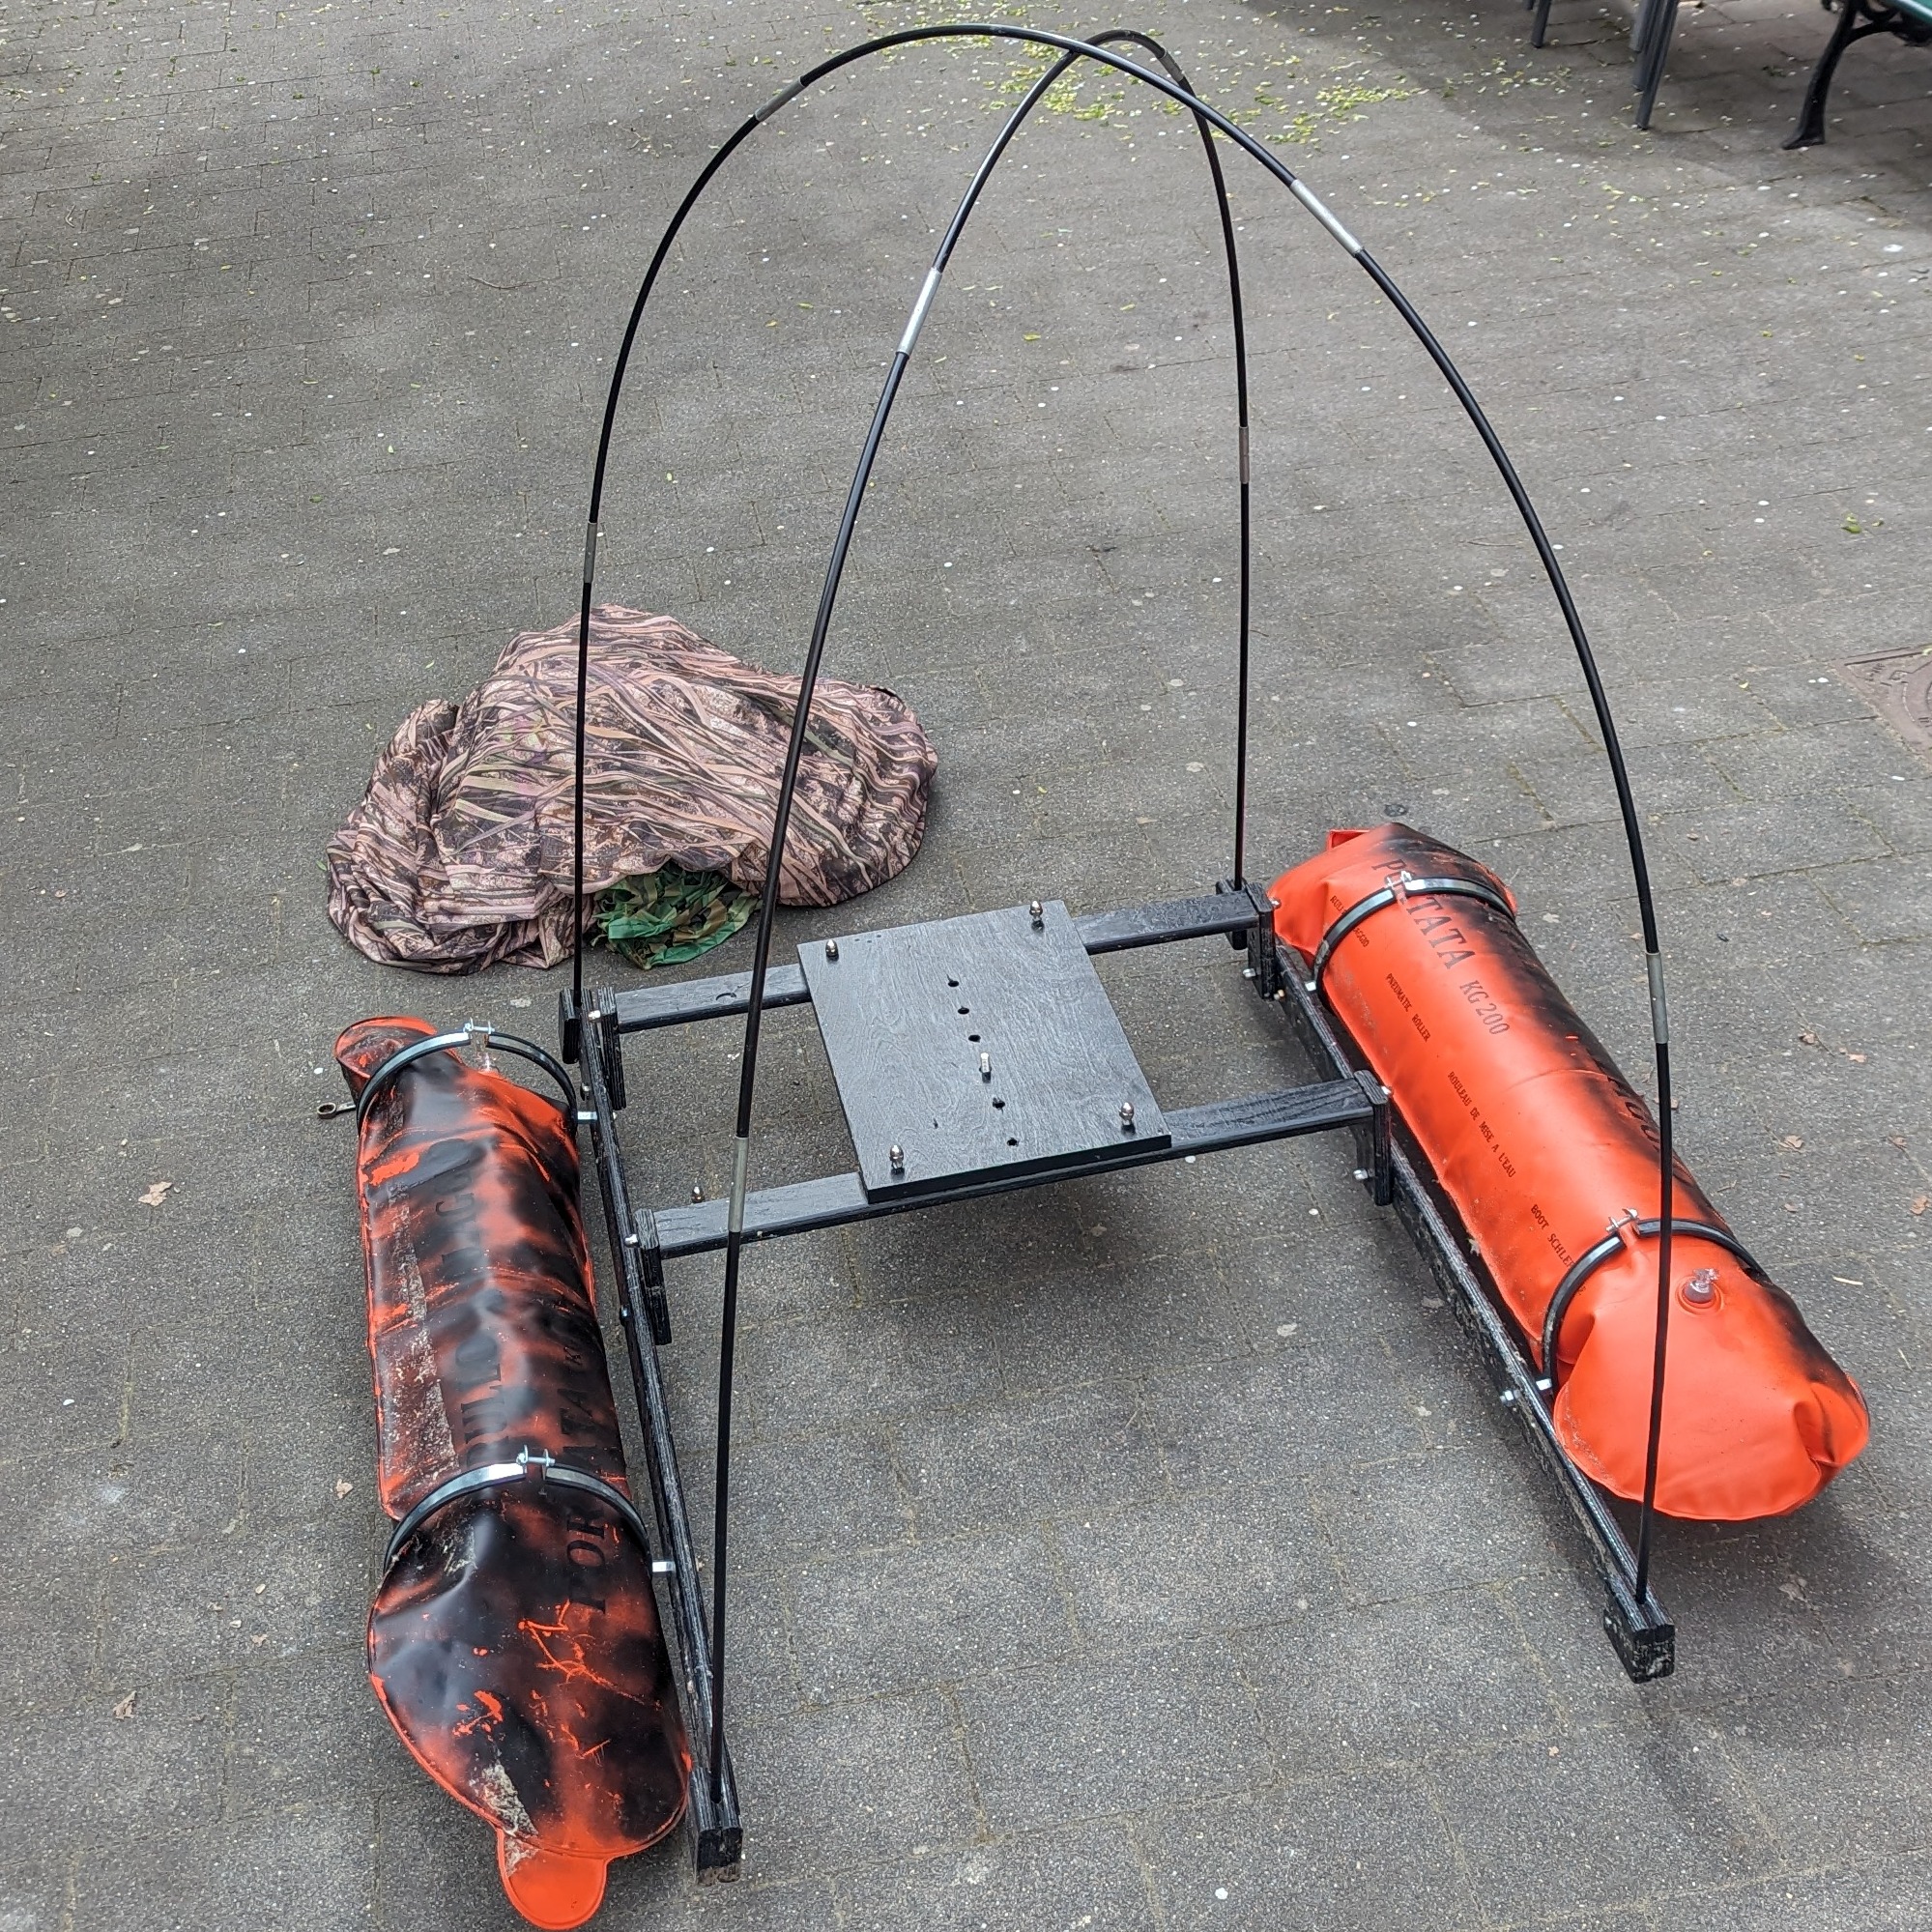
For the frame structure, I initially decided to use wood instead of aluminum. Wooden slats were cut to length and painted black. A base frame in the shape of an "A" gave me the opportunity to attach two brackets for the slip rolls on each of the long sides. To do this, I bought wall brackets for stove pipes of the appropriate diameter from my local hardware store.
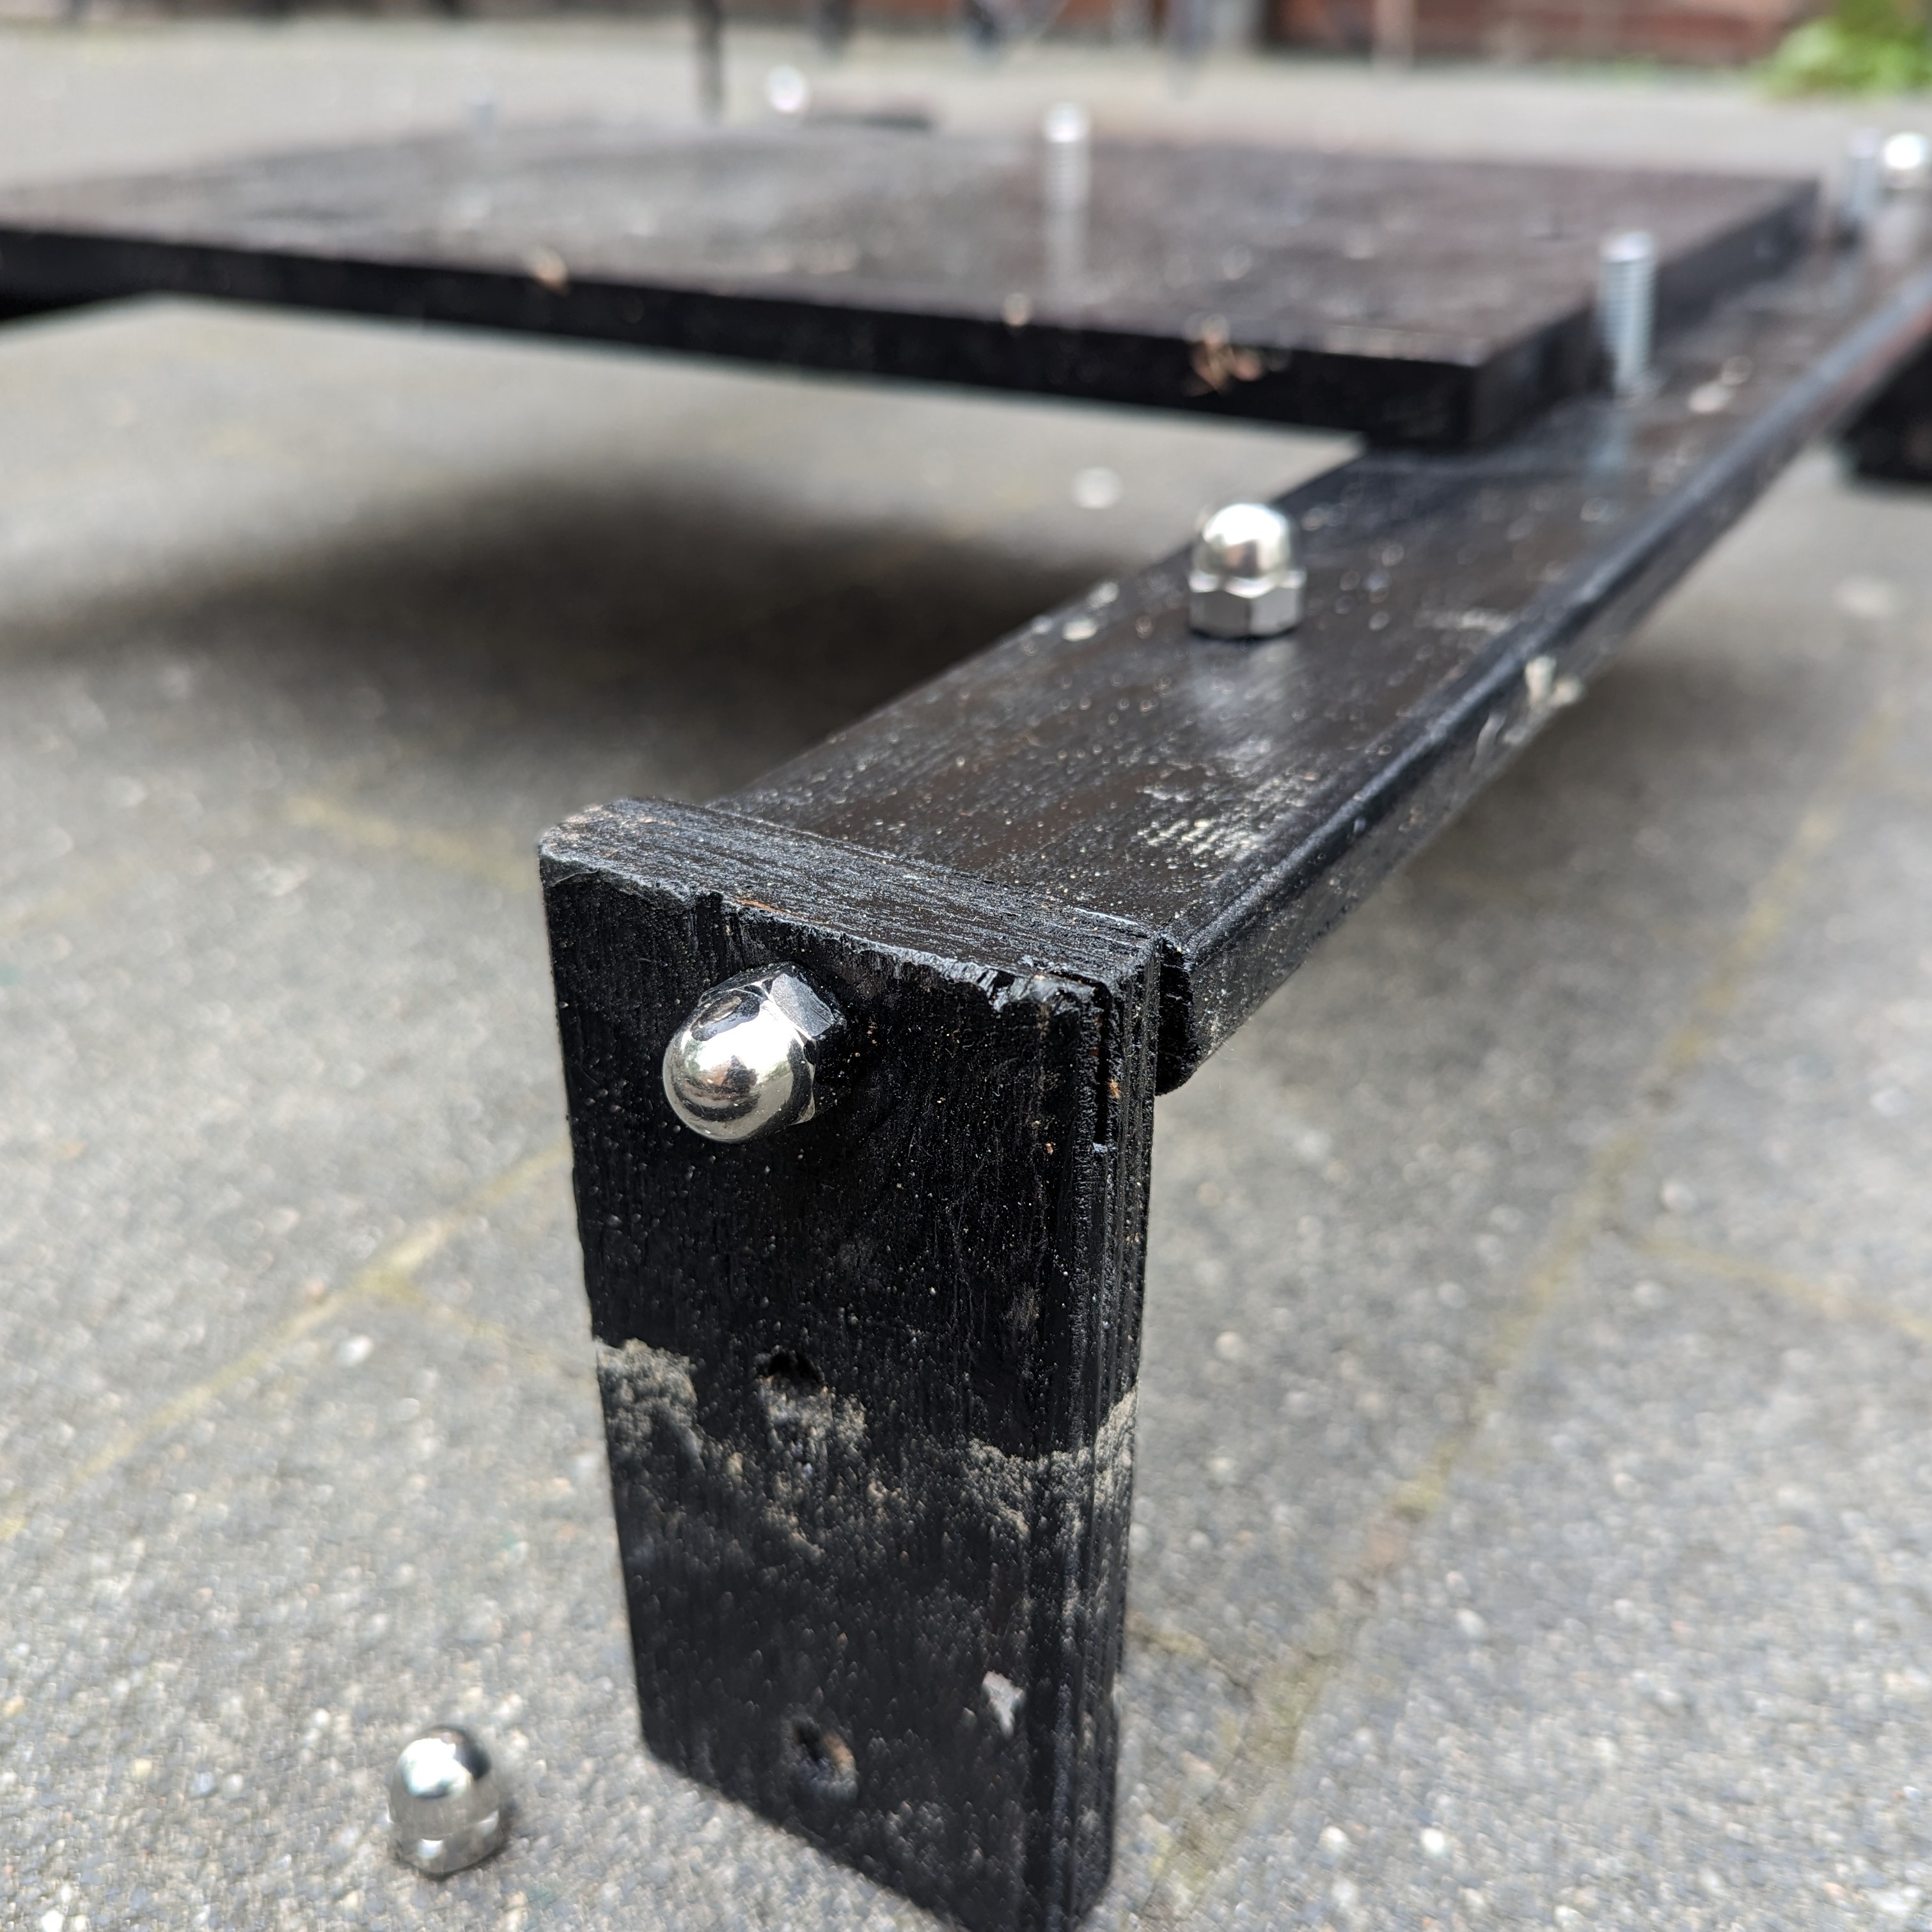
I attached a piece of square timber to each end of the long sides. I sawed the piece of square timber long and wide enough to accommodate the end of the tent poles in a recess. In order to have enough space in the hide, I decided to use 2 x 5 fiberglass tent poles with about 50 cm length of each tent pole. Bent crosswise, these provide me a floating hide with about 80 cm high in the middle of the dome.
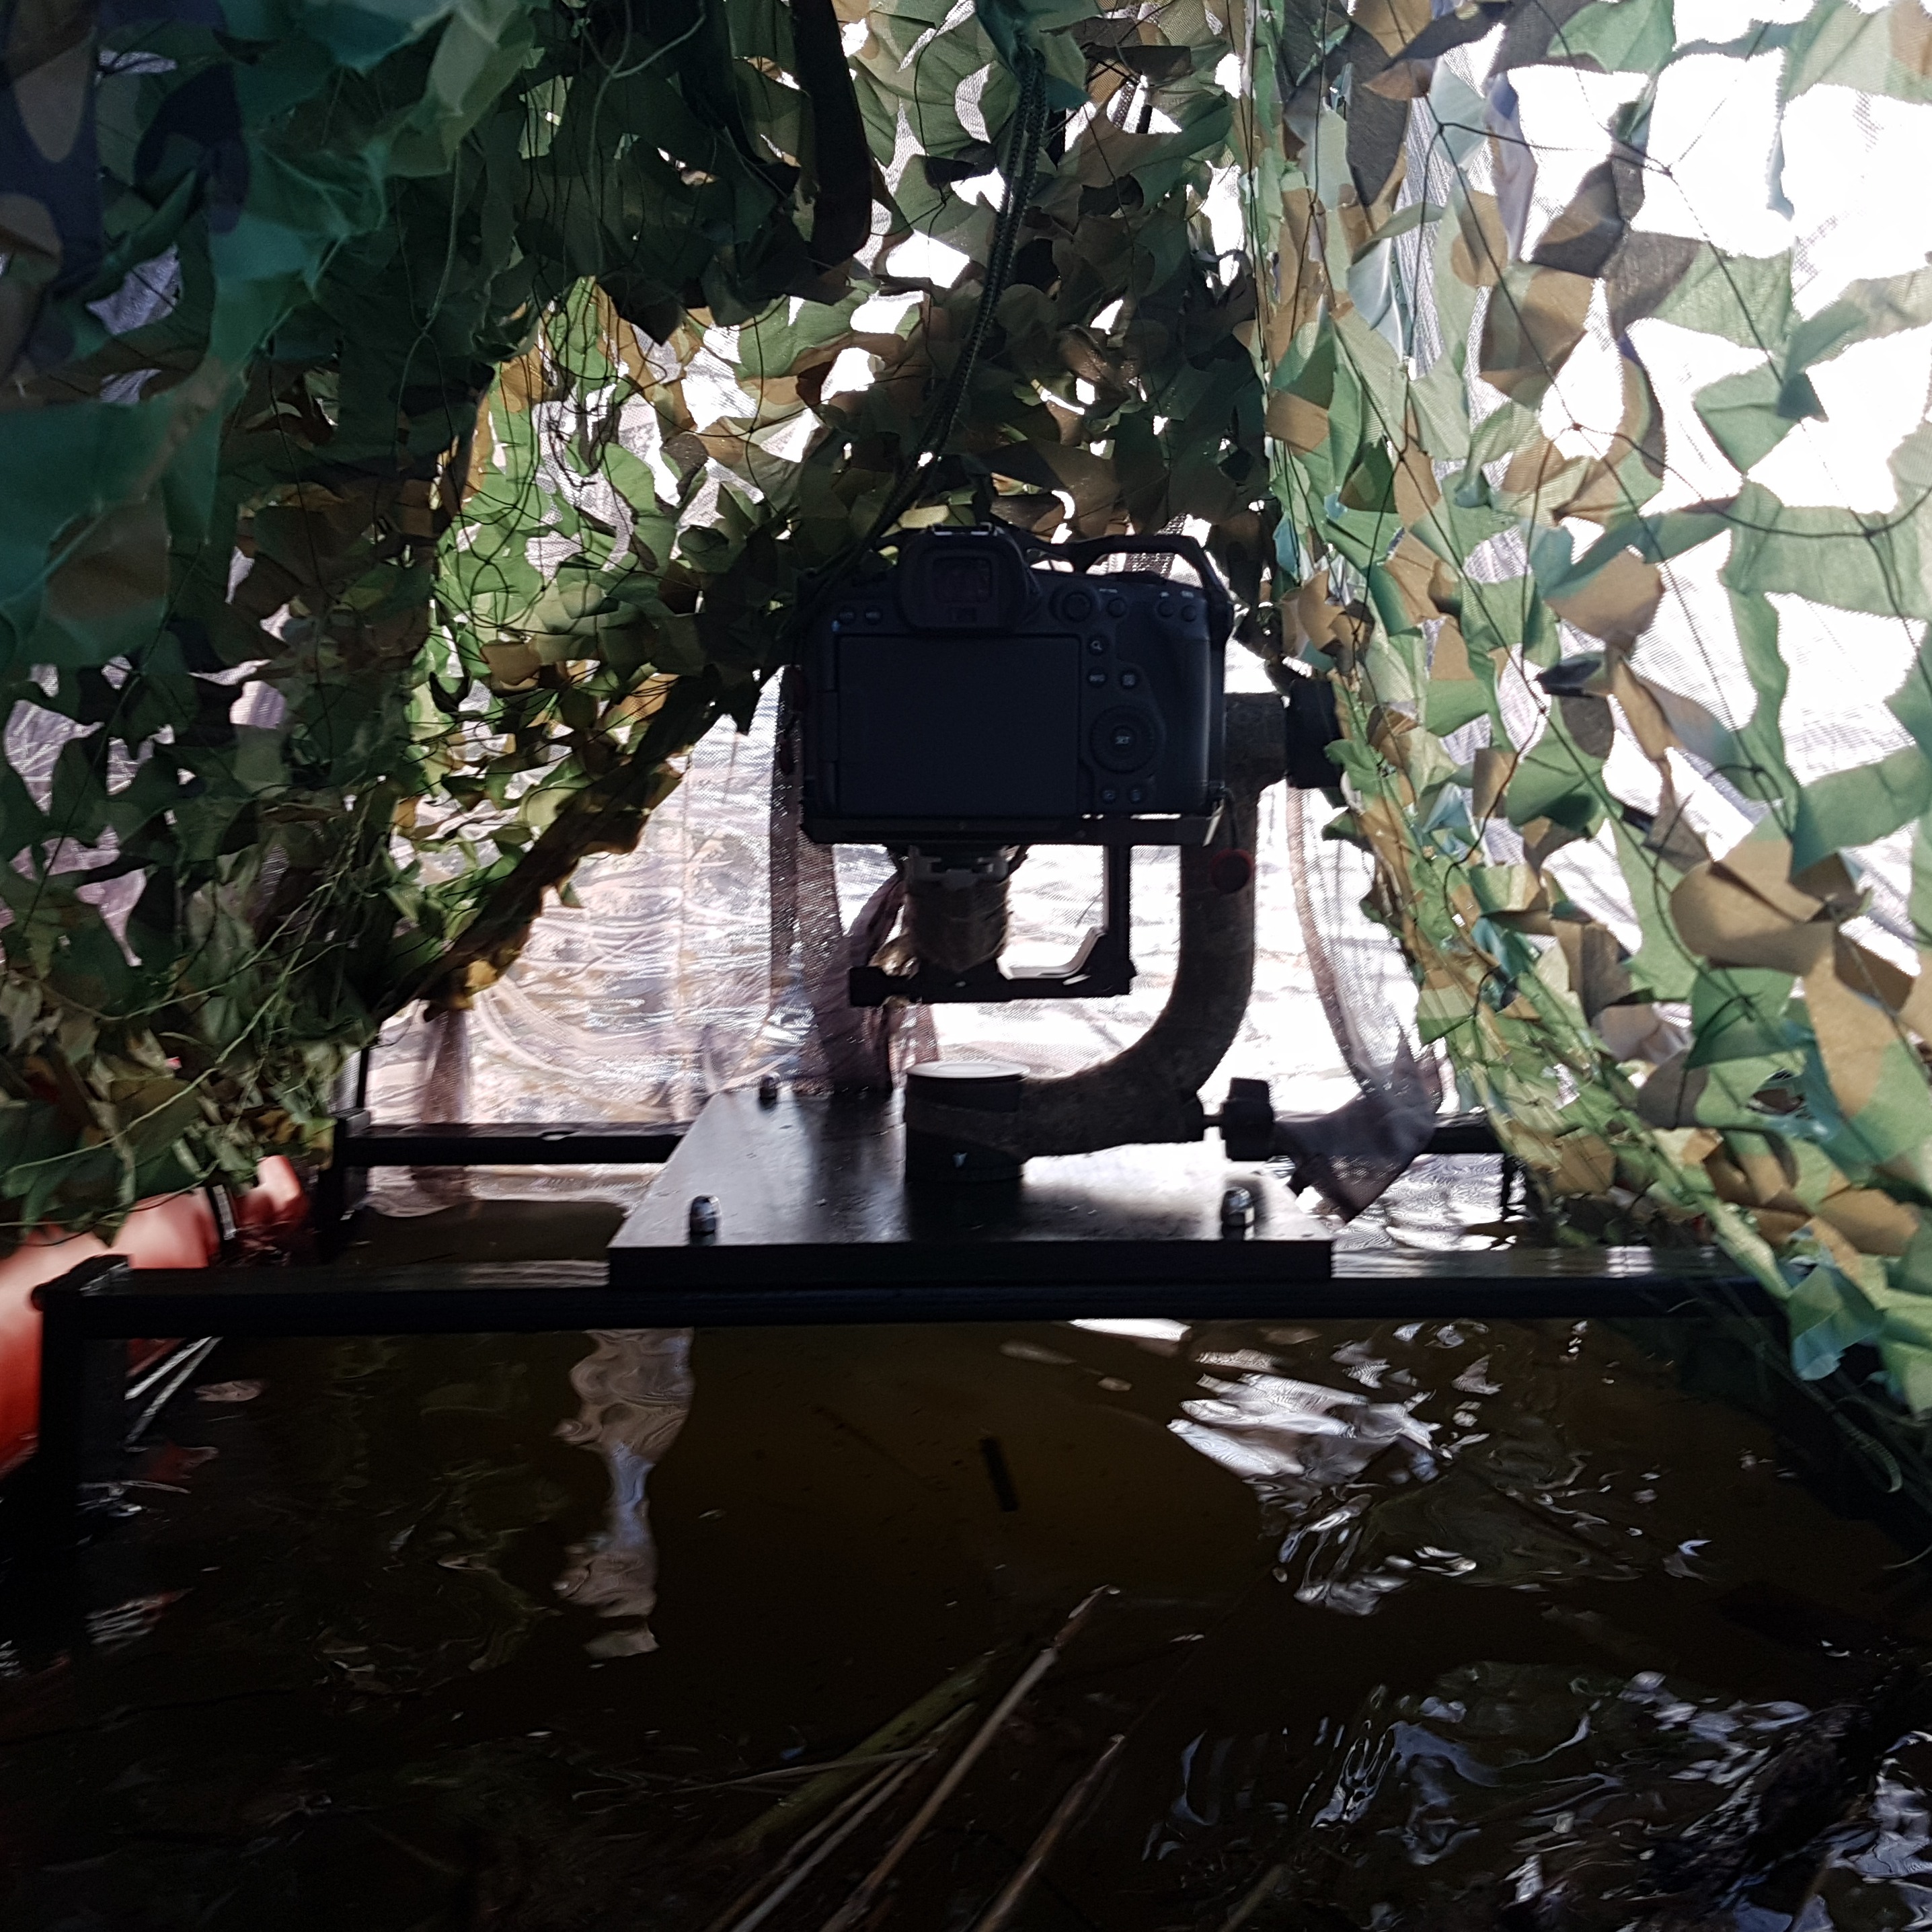
The two crossbars of my "A" carrier support a black painted MDF wooden plate which in turn carries a gimbal for the camera. There are several holes in the plate to attach the gimbal in different positions and thus be able to react flexibly to different lengths of camera-lens combination. I also have a good storage surface for accessories.
Inside the hide
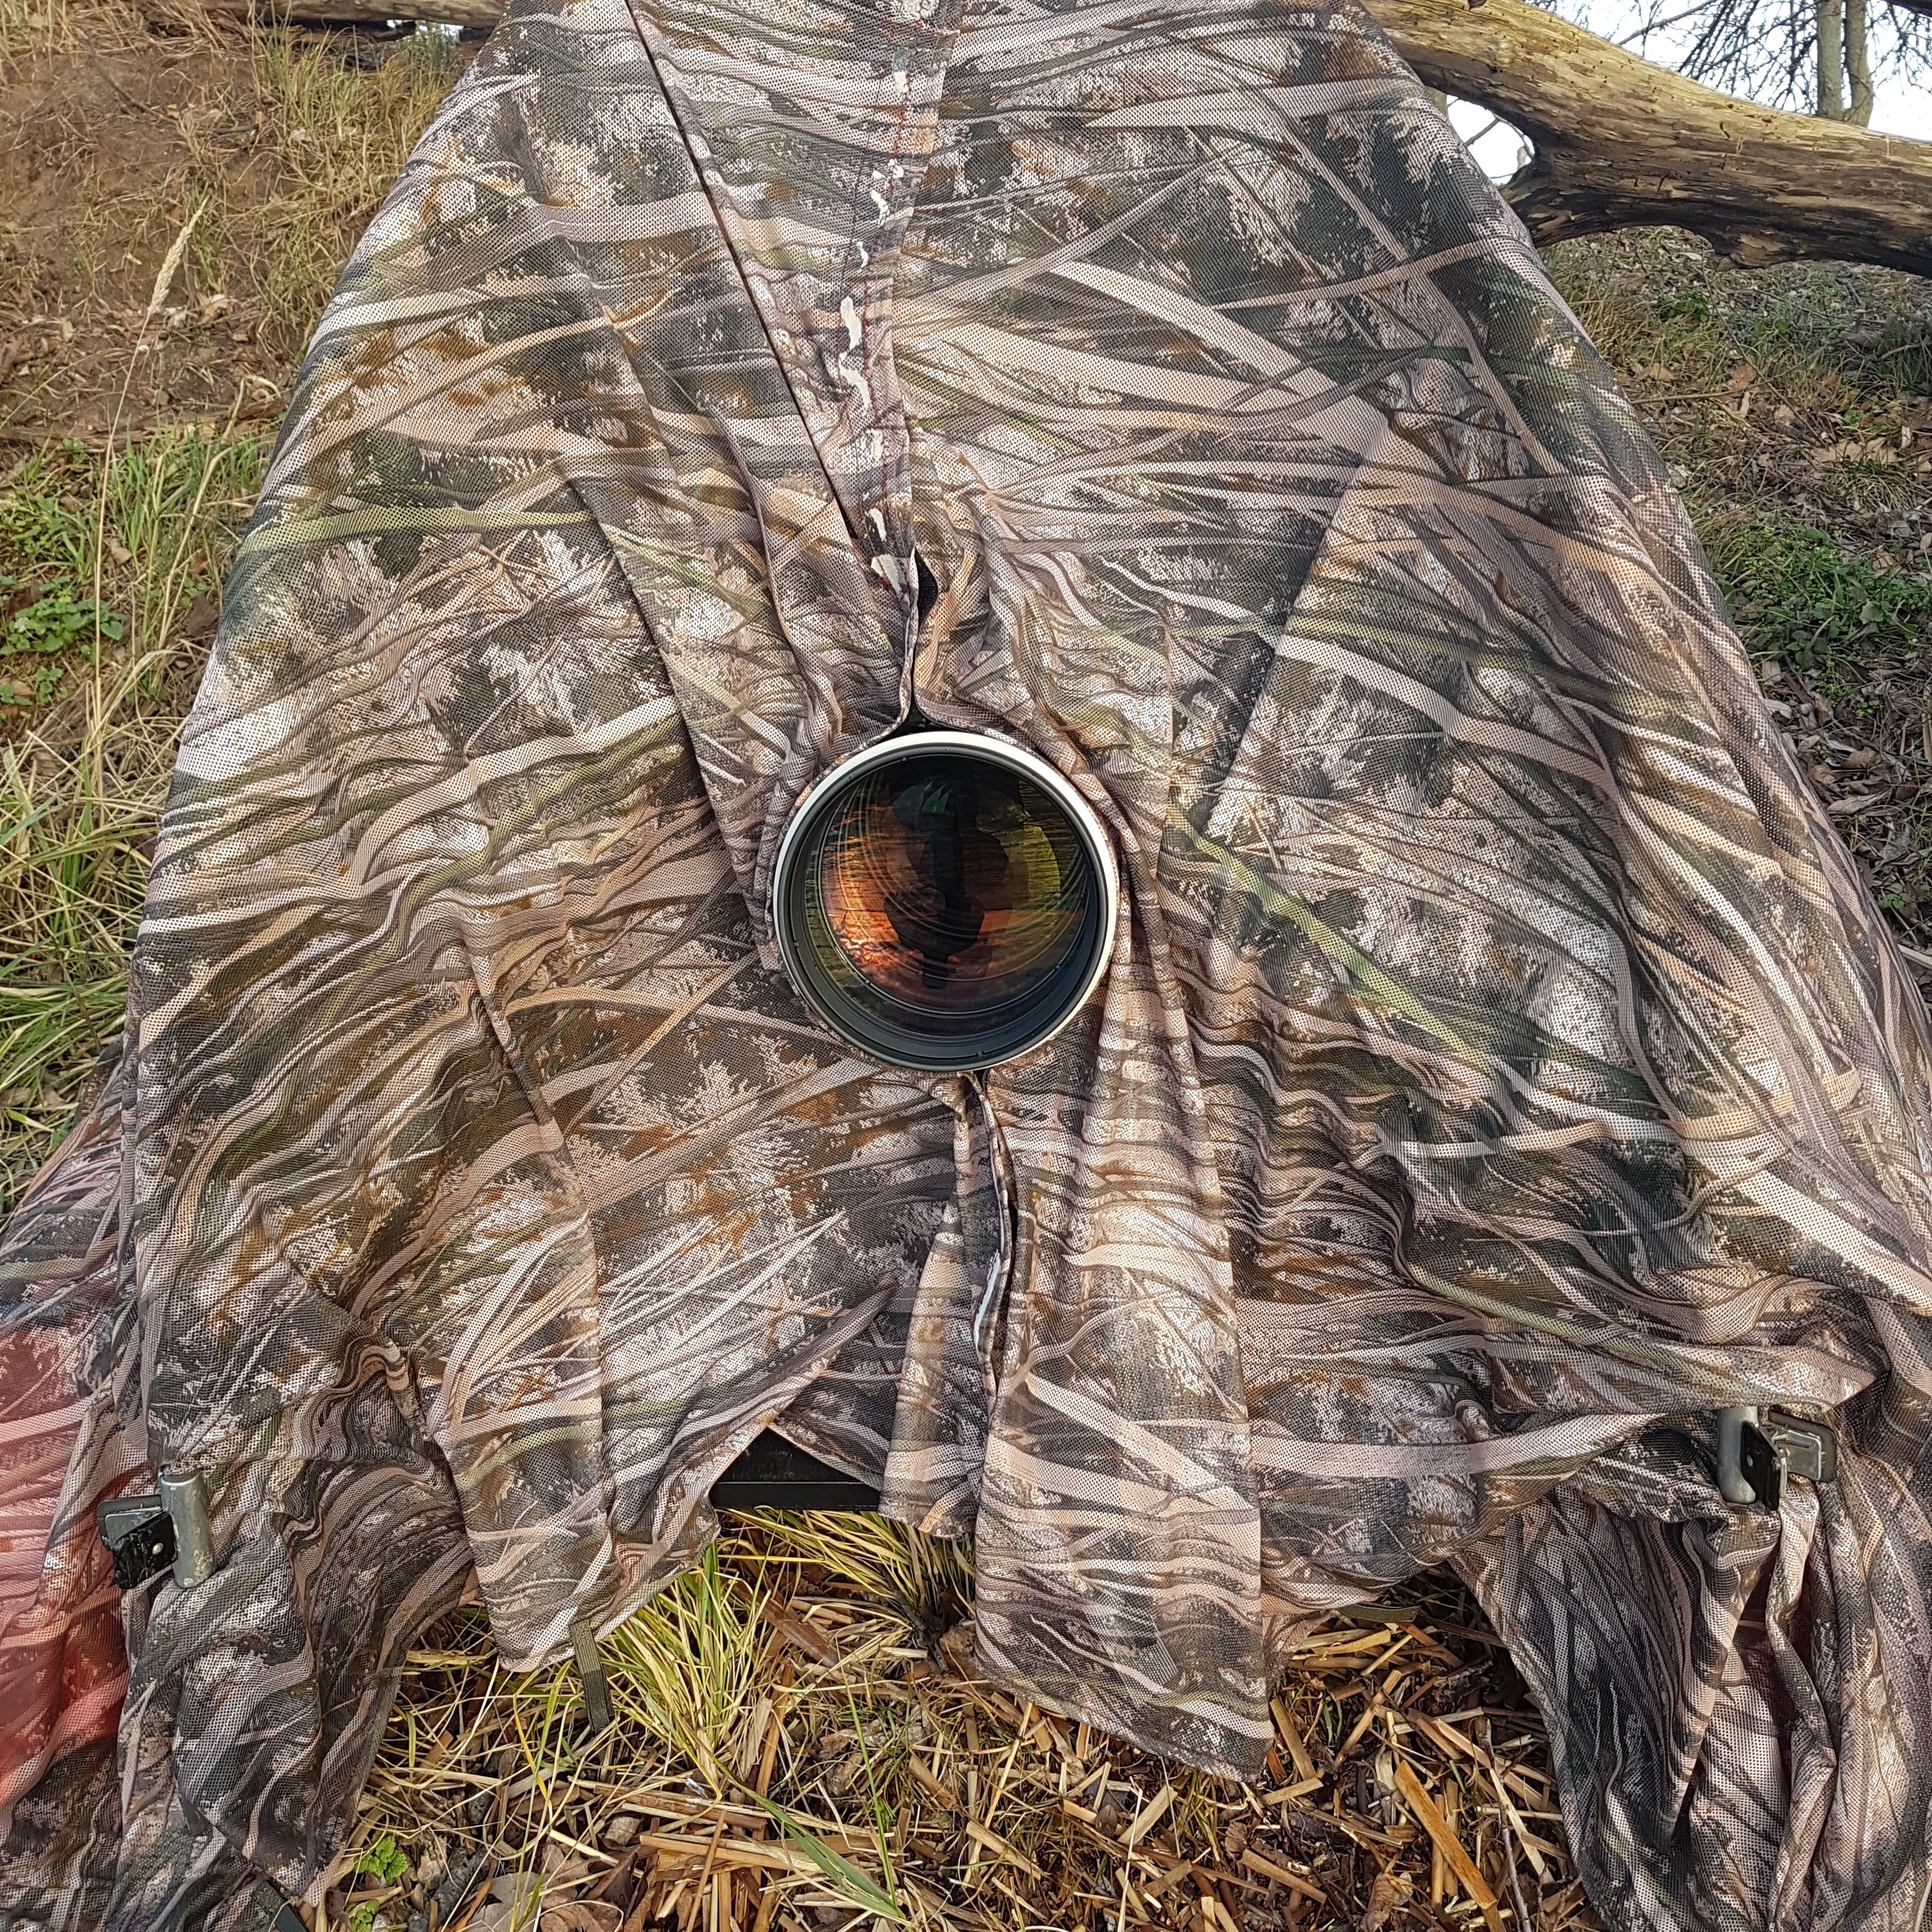
Now all that was missing was the camouflage net. I decided on a mixture of a light camouflage tarpaulin and a 3D camouflage net. I sewed two pieces of the camouflage tarpaulin canvas together and attached a Velcro fastener to one side to make the lens opening flexible for various lens diameter. The camouflage tarpaulin with the reed pattern is intended for outside use. As the fabric is translucent in the light from behind, I attached the rest of a 3D camouflage net to the inside to disguise my silhouette even in backlight or sidelight.
Another remnant of the 3D camouflage net is placed on the outside of the camouflage canvas.
Carrier detail
Carrier and inflatable floats
Assembled hide without camouflage net
AI Website Generator