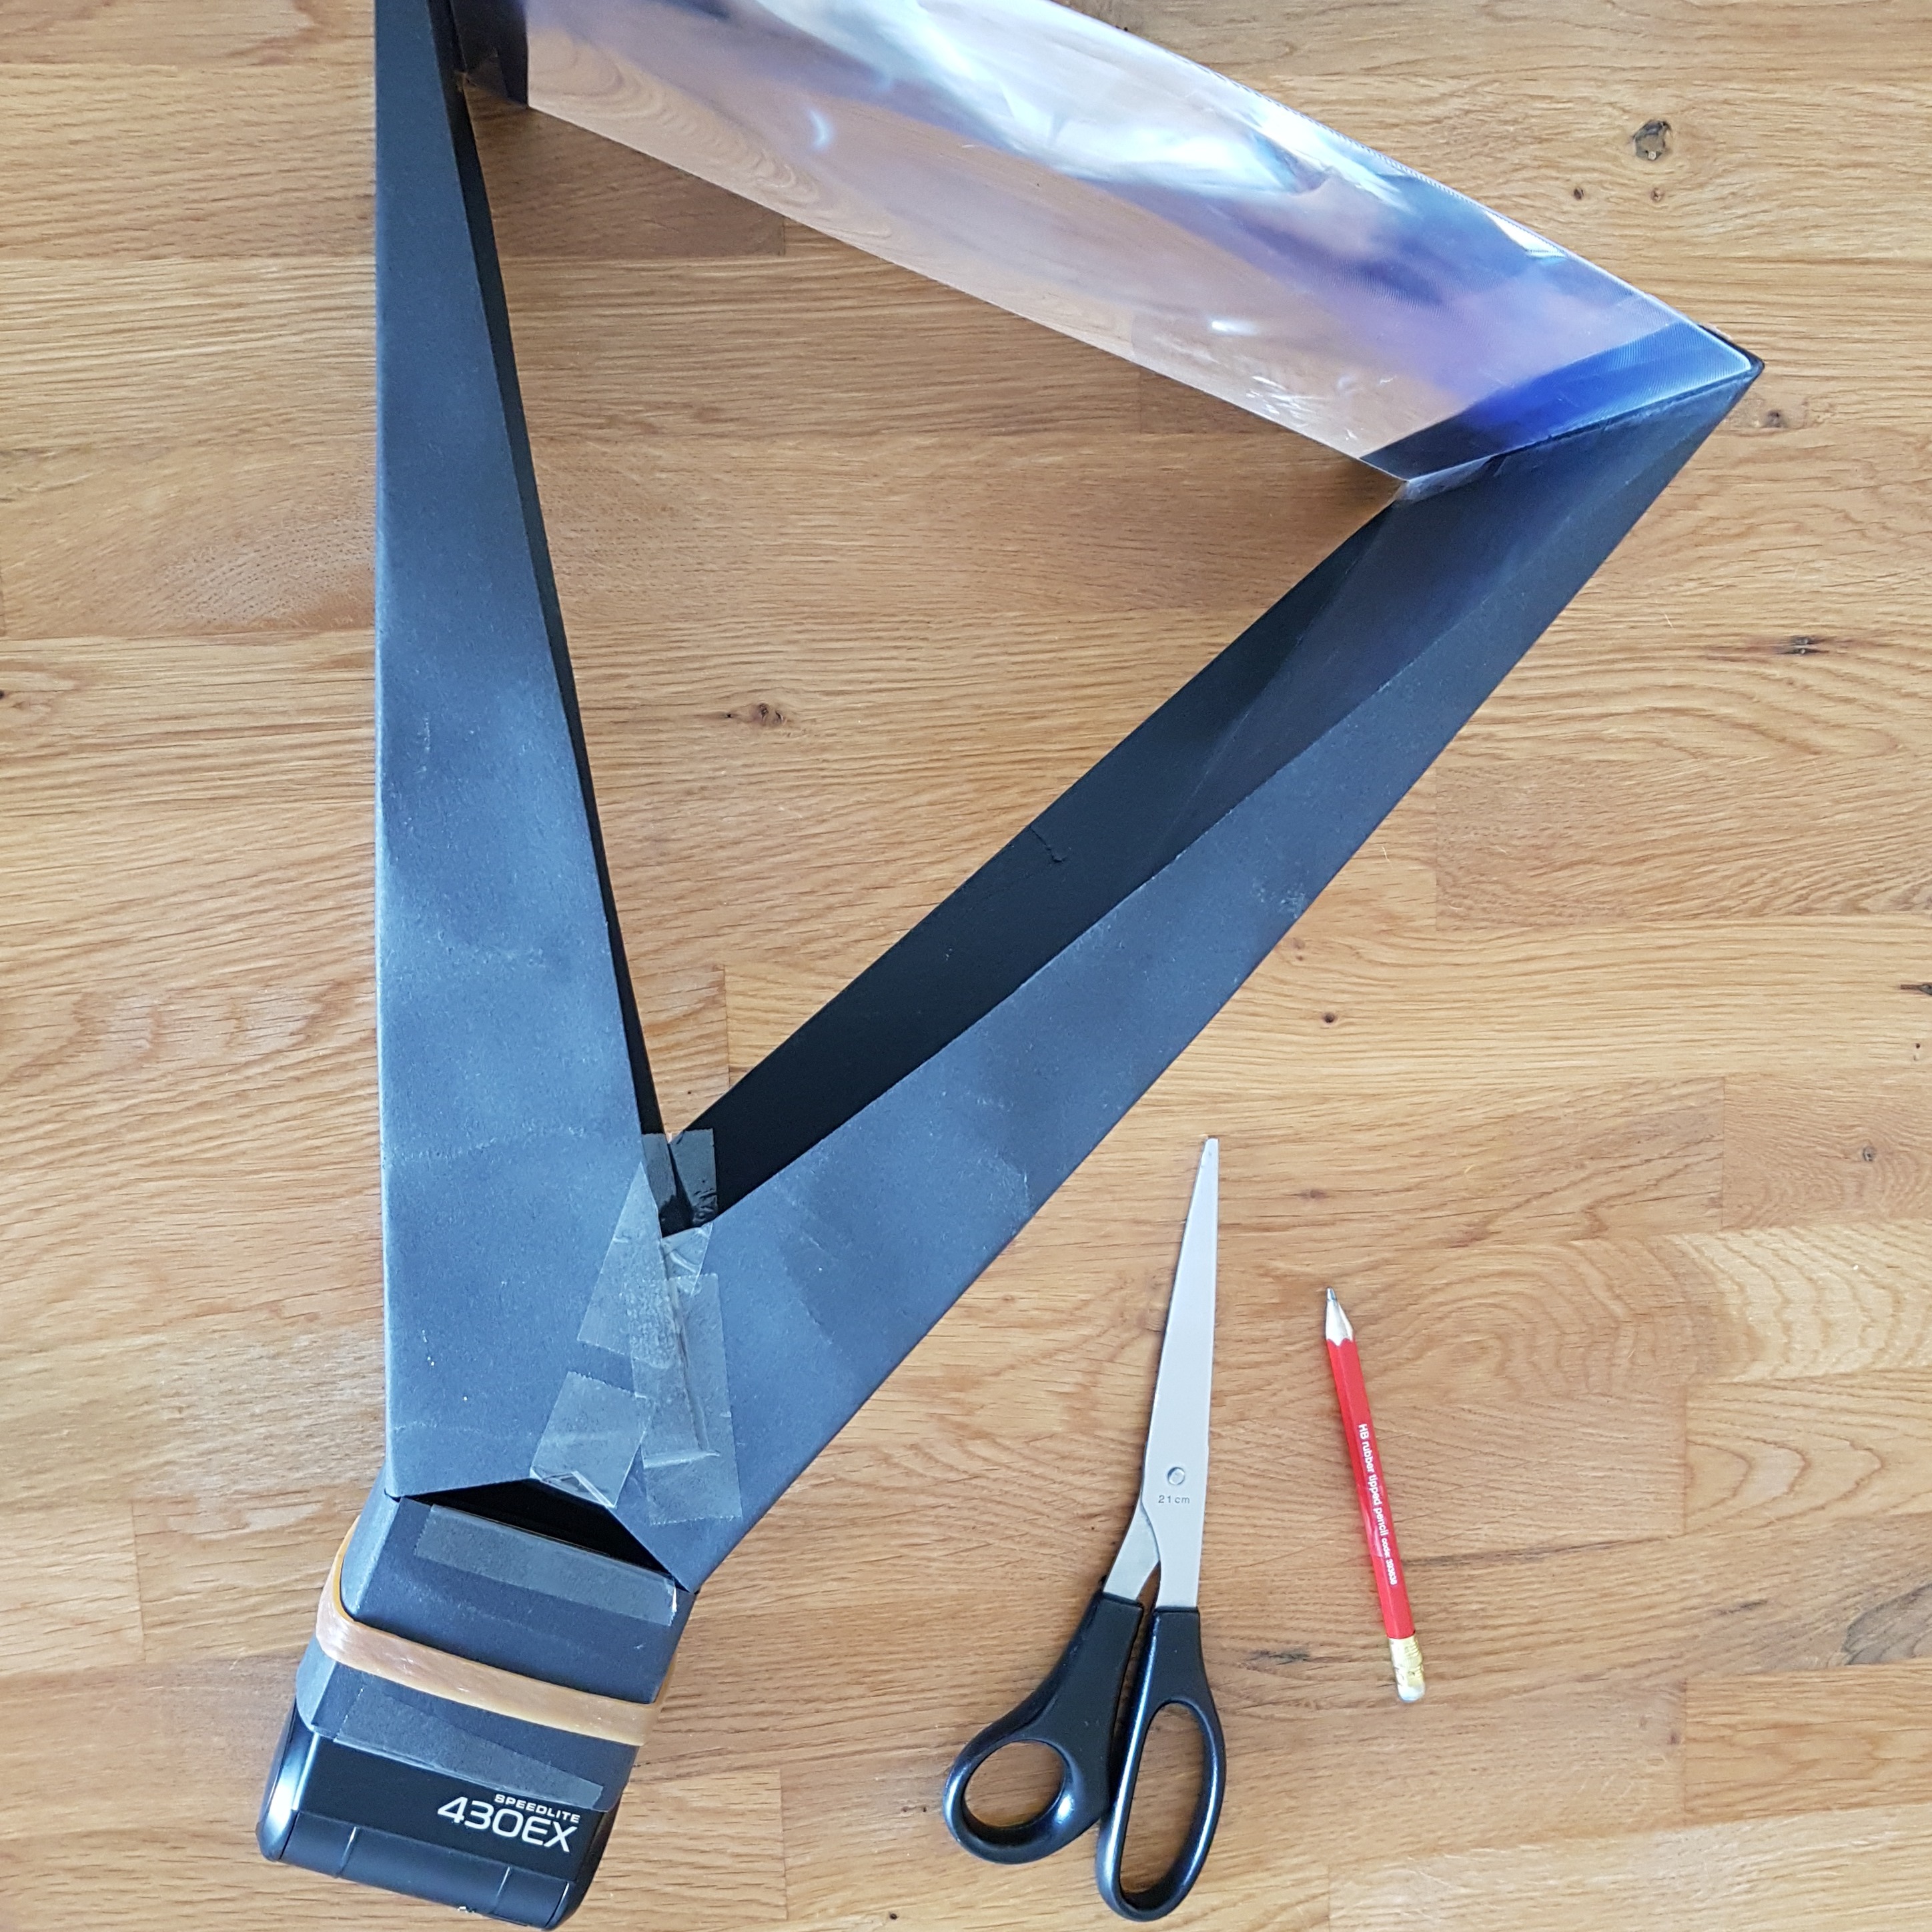
flashextender1

First flash extender made of paperboard

DIY Flash extender

Here is an interesting project for photographing birds in particular. Instead of an expensive MagBeam, you can also use an inexpensive Fresnel lens to focus the light from your flash. This allows you to take photos with a smaller aperture and a shorter flash duration. This gives you a greater depth of field and allows you to virtually "freeze" the movements of birds at a higher speed on a longer distance to your subject than the regular range of your flash.
On the left you can see my first flash extender made from paperboard as a first prototype.
flashextender2

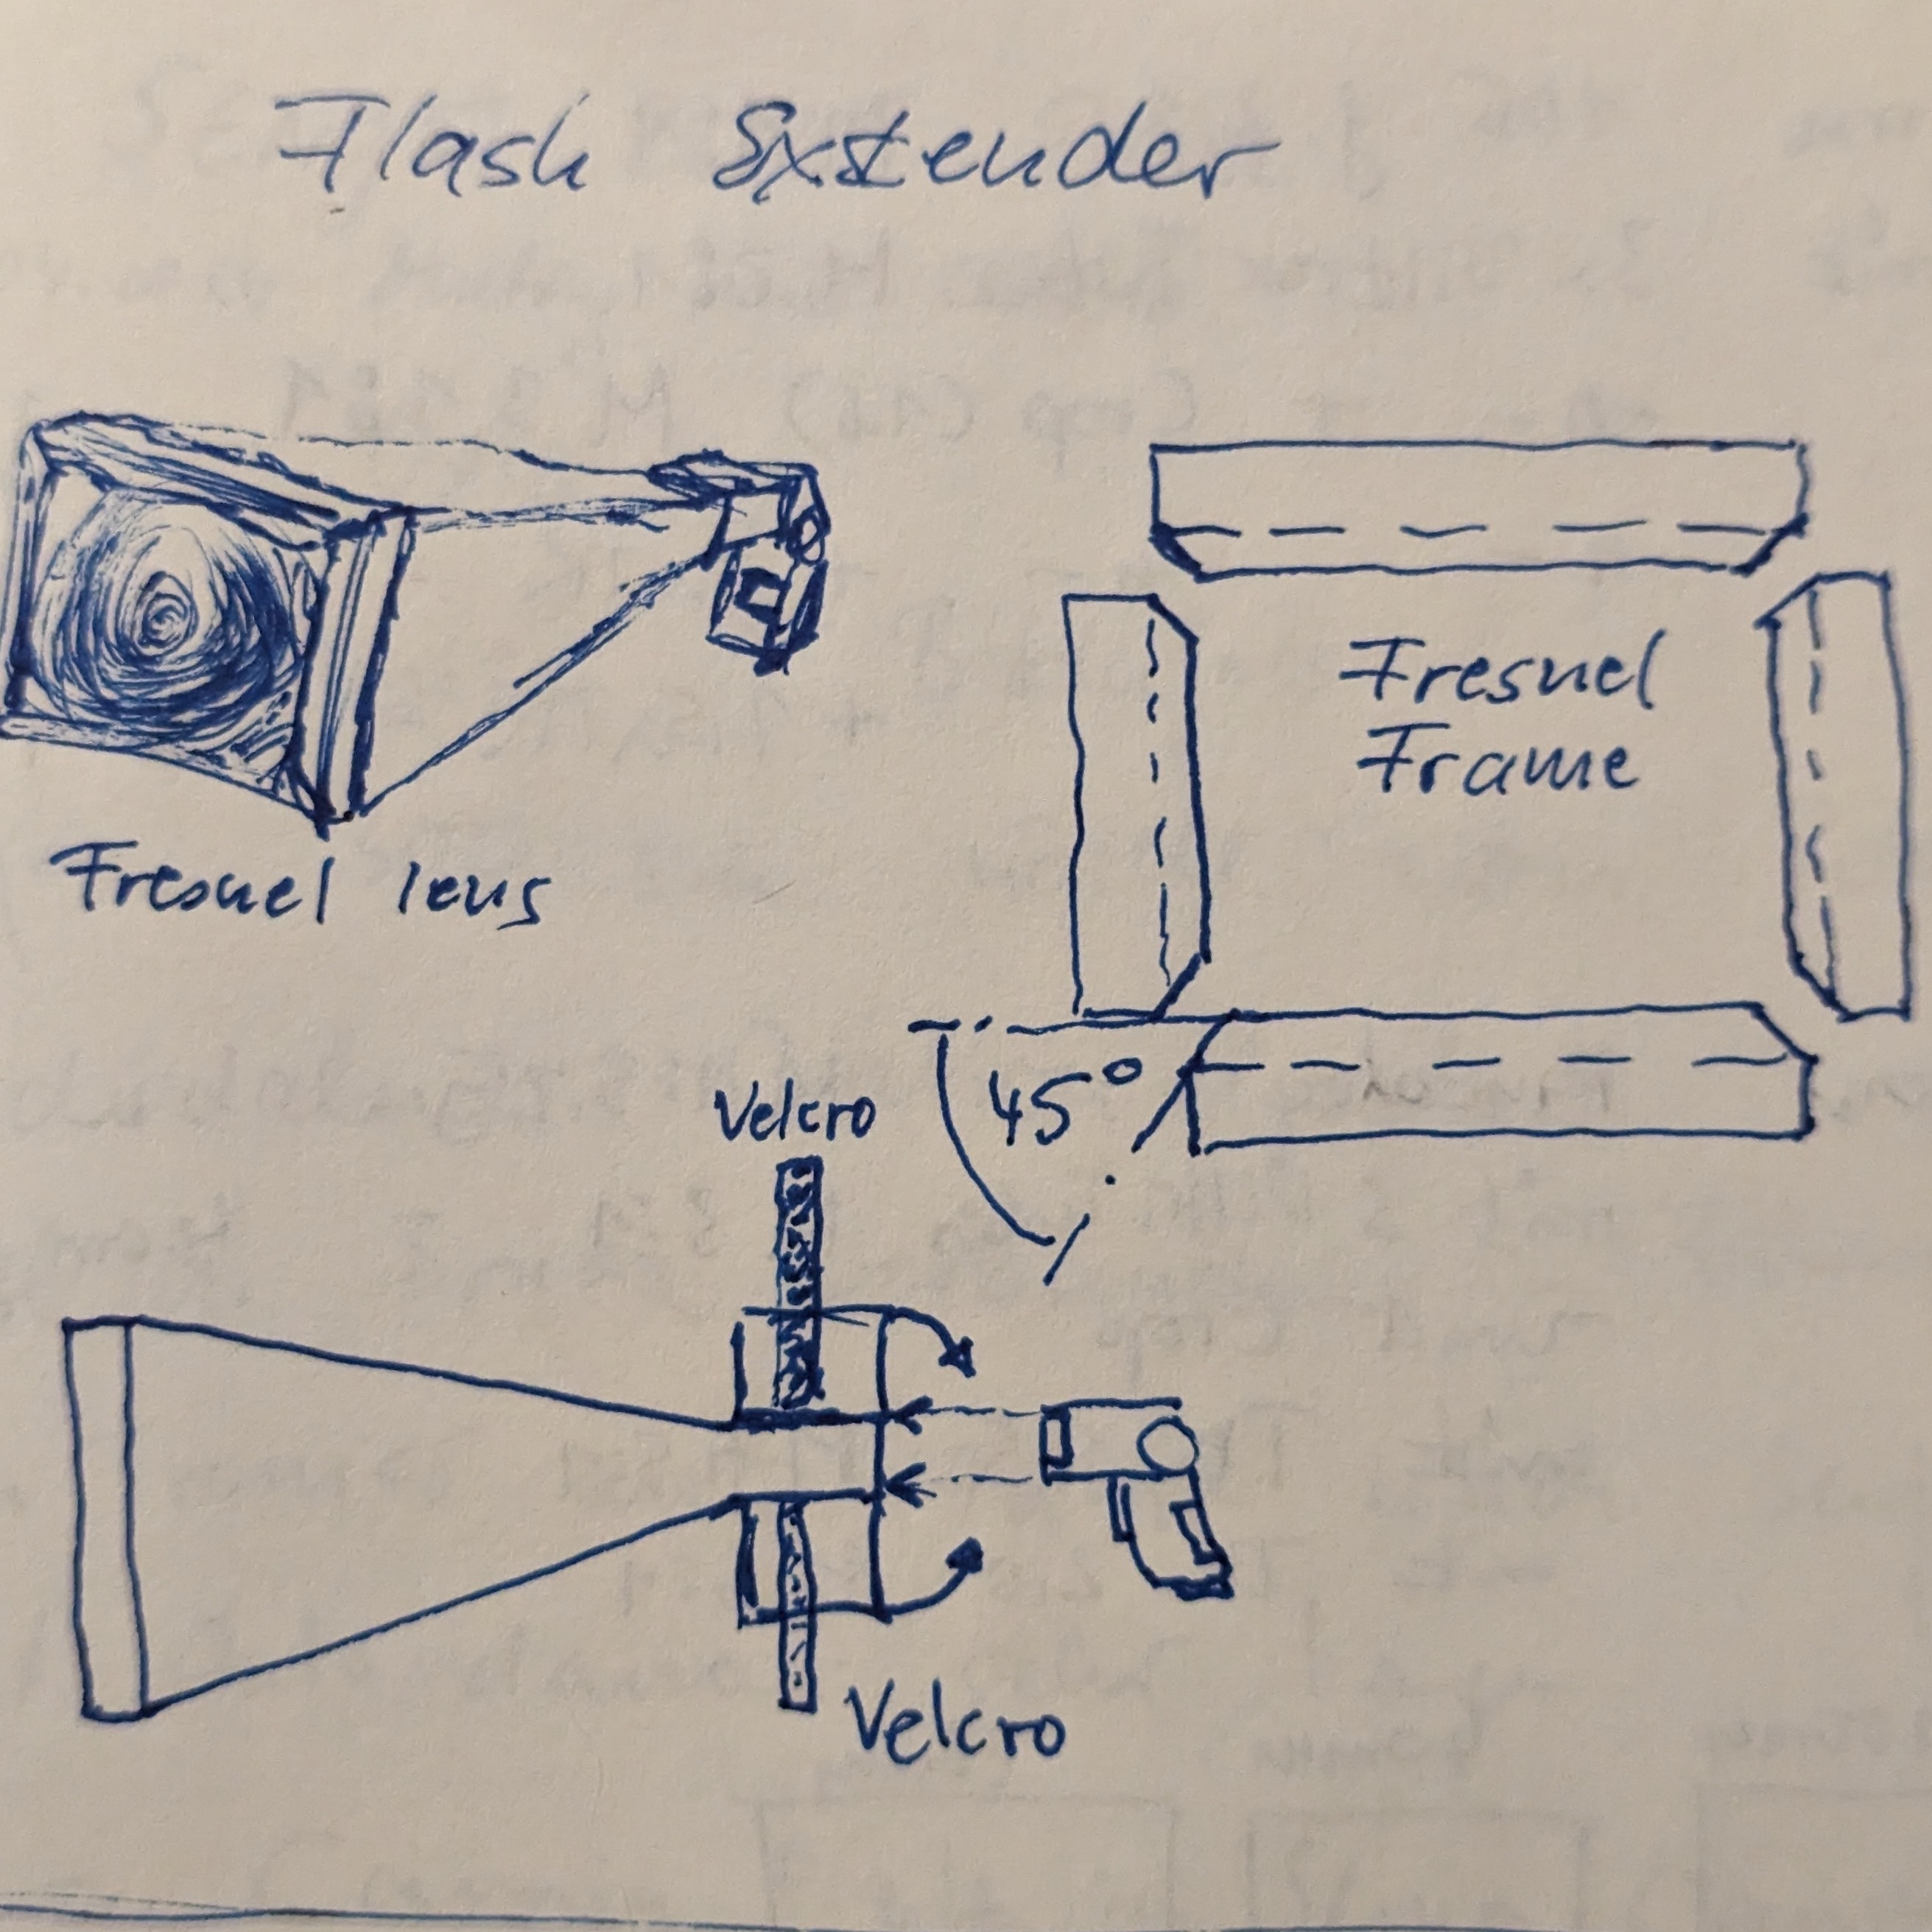
First sketch of my flash extender

What do you need:
- rectangular Fresnel lens with about 20-25 cm width
- a large paperboard, cardboard or foam core board, about DIN A3
- velcro, about 15 cm
- scissor, pencil, ruler, glue and duct tape

Safety Note: Be careful in sunlight. The Fresnel lens used in this project can focus enough sunlight to cause burns, melt your flash attachment, or set fires.

First, you need to determine the focal length of your Fresnel lens. This is the distance that the lens will project a sharp image of a distant object on a flat surface. I used the frame of a window and the wall on the opposite of the window about 5 meter away. The silhouette of the window frame create a nice image on the wall when I held the Fresnel lens about 20 - 23 cm in front of the wall. This is the distance you have to mount the Fresnel lens from the front of your flash.

Procedure:
(1) cut strips of your selected material (paperboard, cardboard, foam core), about 2.5 cm wide, to make a frame to fit around your Fresnel lens
(2) if you bevel cut the ends of these strips at a 45° angle, it will help position the strips when you assemble the frame

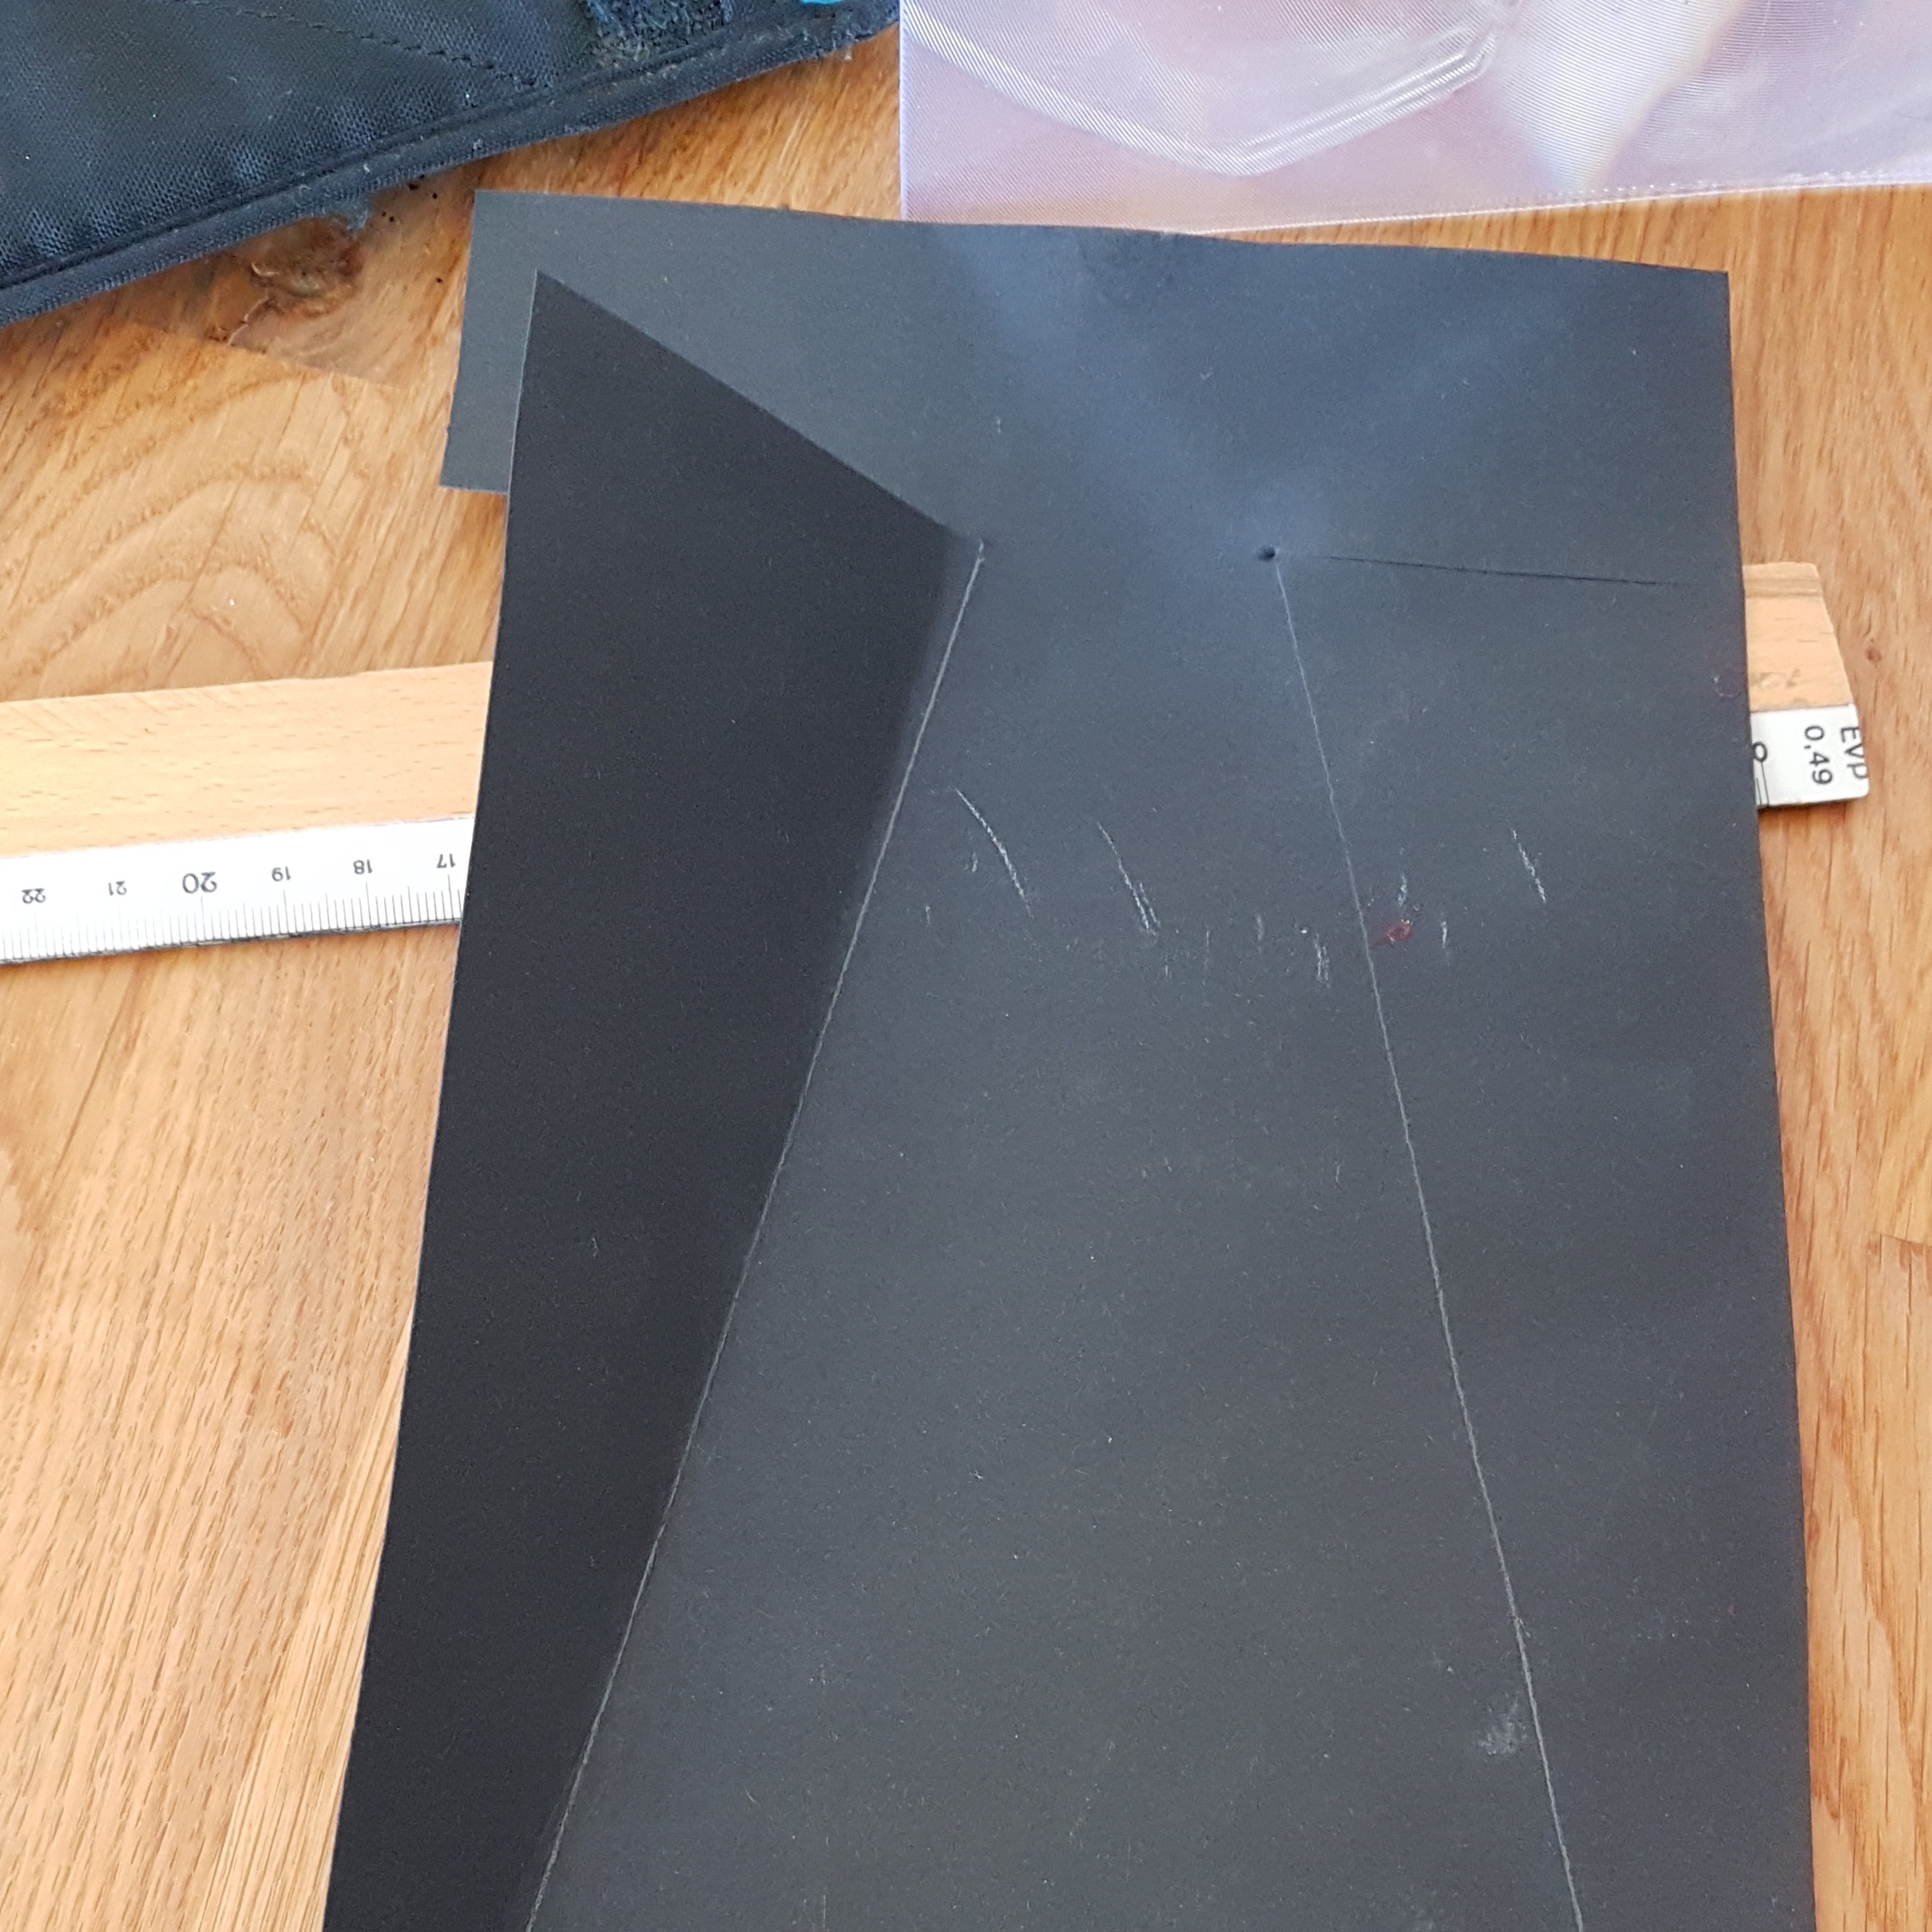
flashextender2

Pre-cut

(3) tape the frame pieces together, and tape the Fresnel lens to the frame
(4) once you have figured out the correct distance, cut the two side pieces from your material
(5) tape or glue the wide end of the side pieces firmly to the Fresnel lens frame
(6) tape the narrow end of the side pieces firmly to the flash body
(7) glue velcro on the narrow end of the flash extender that you can fix the extender on your flash light

Test your flash extender and optimize:
Ideally mount your camera with the external flash and assembled flash extender on a tripod. Select a test subject in size of a medium size bird and position the subject about 5 to 8 m from the camera. Make measurements and take notes so that you can reproduce the setup in any case. 
You will take a series of pictures with different lens aperture/flash power combinations. In your lab notebook, record the shutter speed (same for all shots), lens aperture, and flash setting you use for each shot.

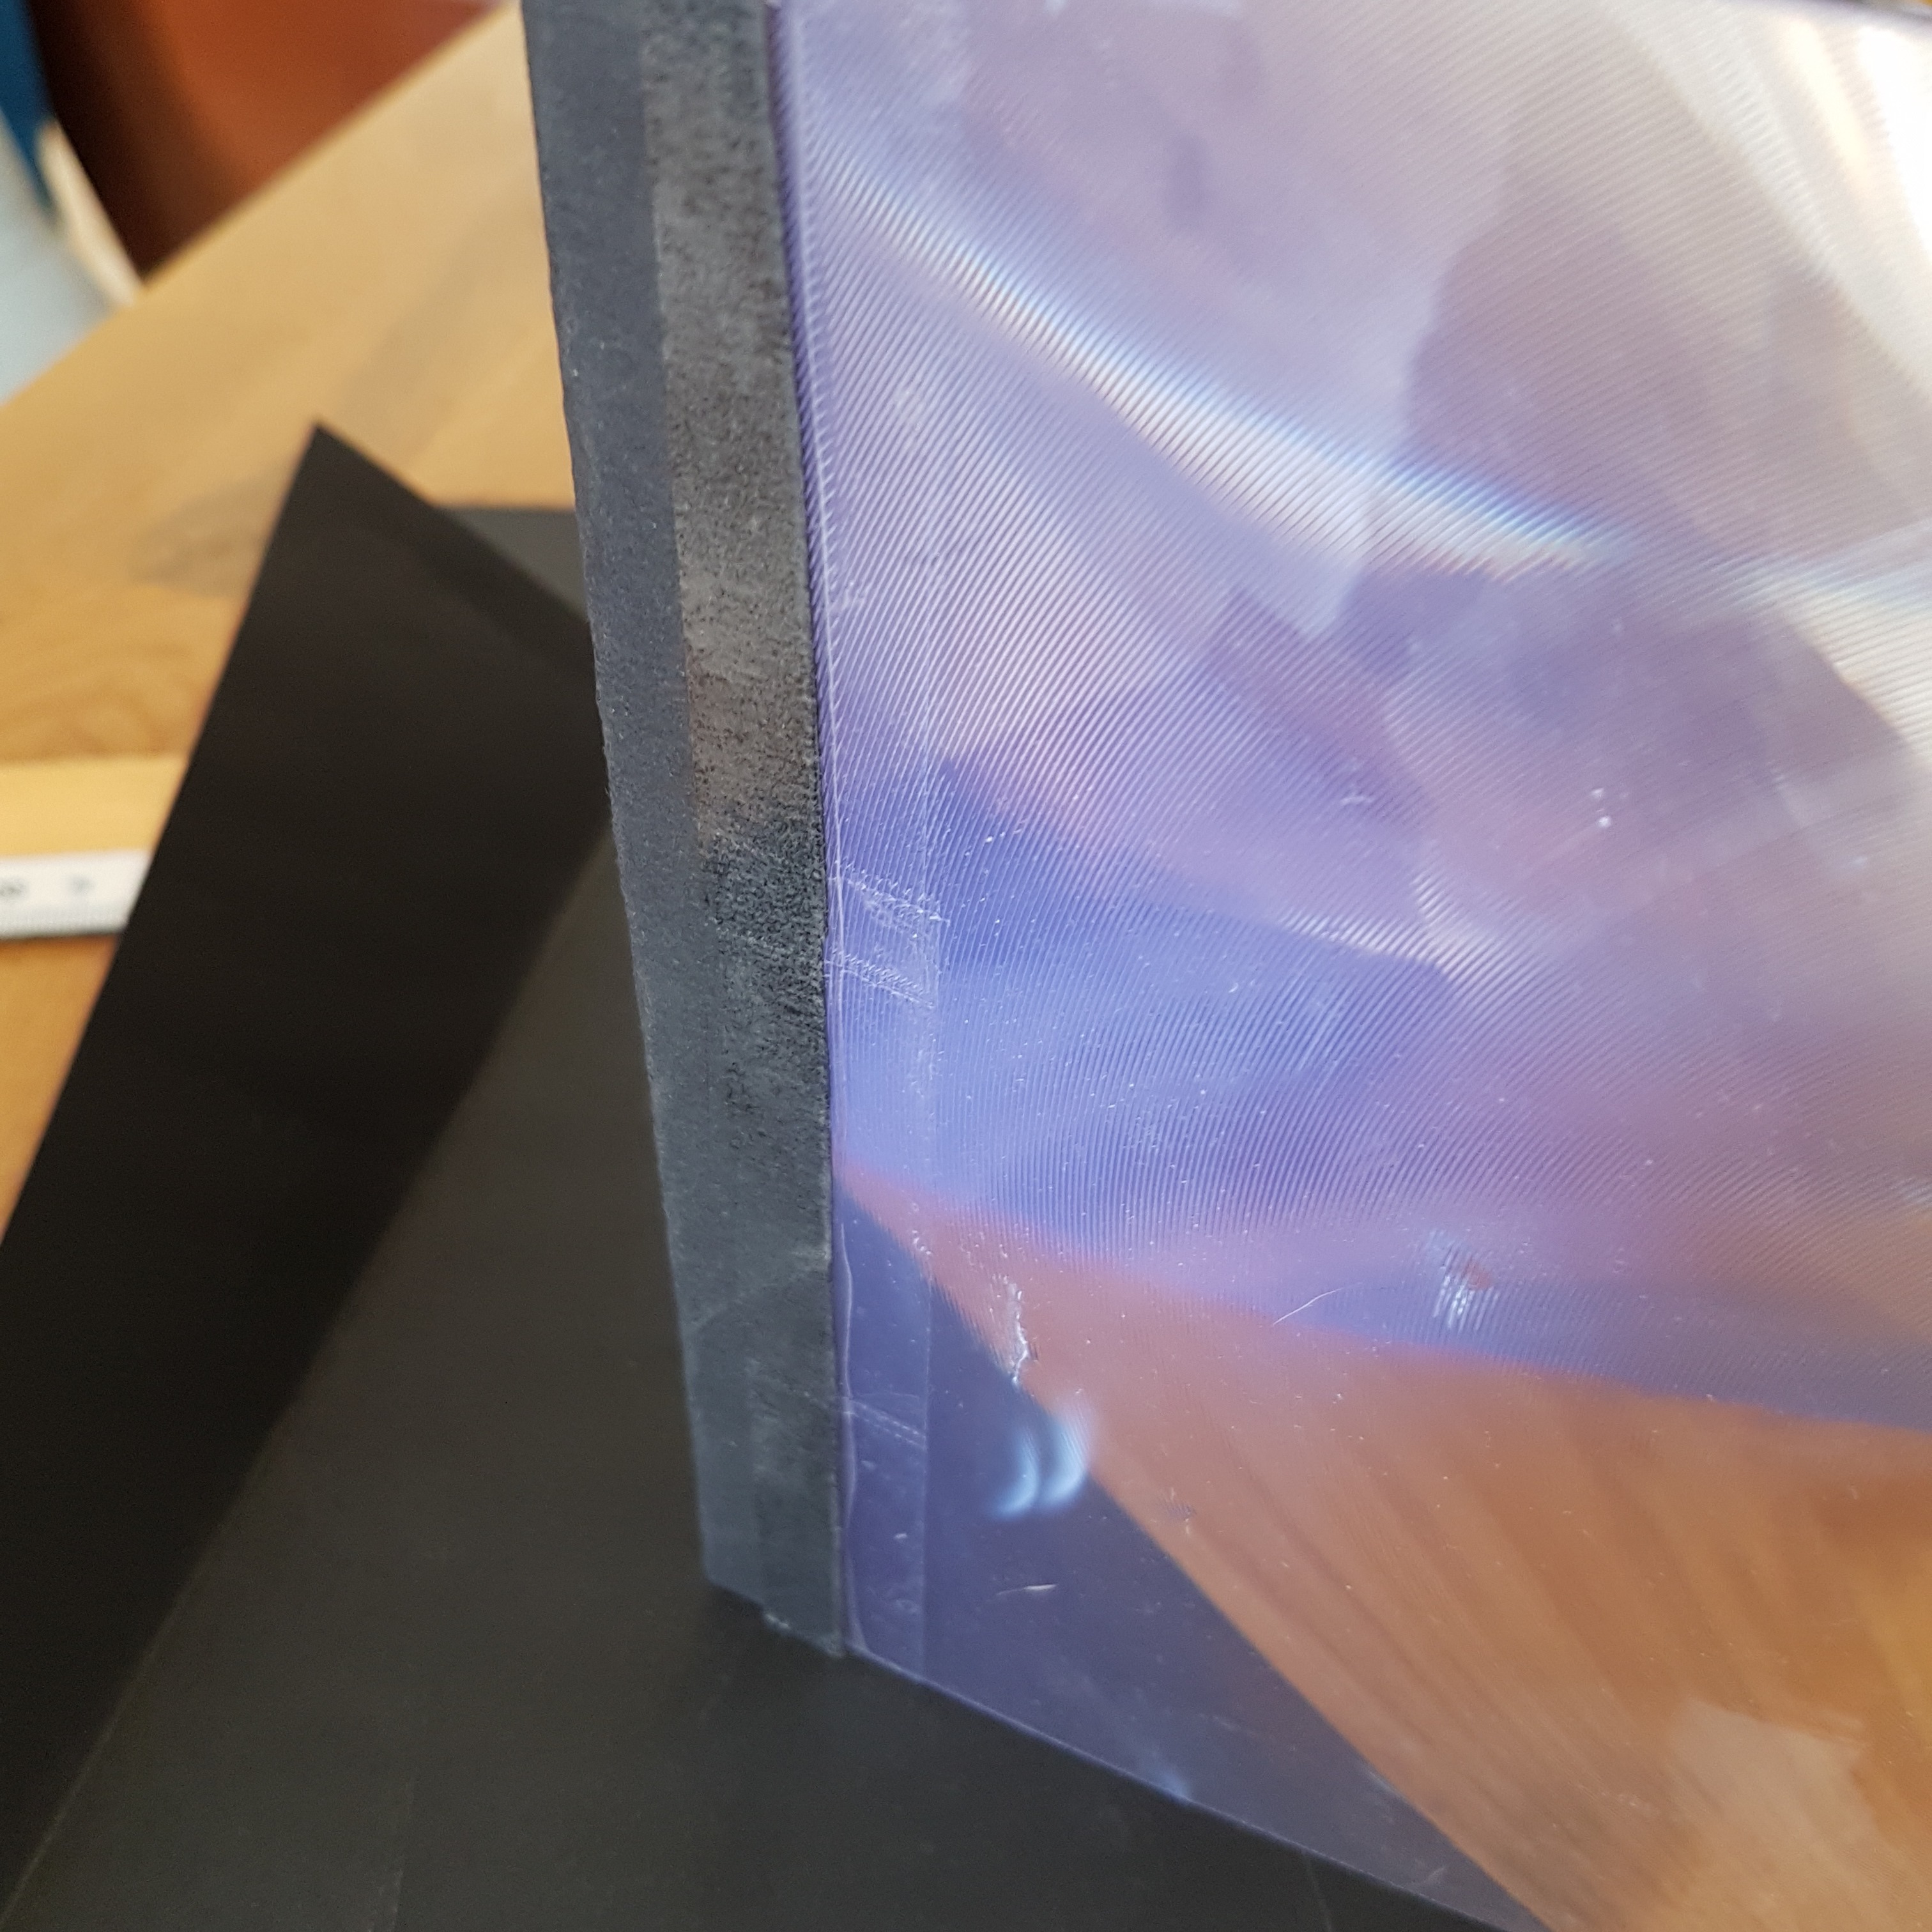
flashextender3

Framed Fresnel Lens

- Use your camera's manual mode to set the shutter speed and lens aperture.
- Choose the highest shutter speed that will synchronize with the flash (usually 1/60 or 1/100 s). - You will keep the shutter speed constant.
- Start with the lens stopped down to the smallest aperture.
- With your flash in manual mode, set it to the lowest flash power (1/16 or 1/64). Take a picture.
- Increase the flash power in steps, taking a picture each time.
- When you have gone through all the flash power settings, open the lens aperture one stop, set the flash back to the lowest power, and take another set of pictures.
- Repeat the test without the flash focuser.
- Remember to record the settings used for each picture in your notebook!
- Use the exact same process to produce the images for comparison. If you use a digital camera, use the same software settings when preparing pictures for printing. If you use a film camera, have all of the pictures developed and printed with identical processing.

Compare the images side-by-side for:
- exposure (does the main subject have sufficient lighting?),
- depth of focus (how much of the main subject is in sharp focus?),
- uniformity of lighting (how much of the entire frame is well-illuminated?).

From your comparisons, determine which flash power settings produced the best pictures both with and without the flash focuser.

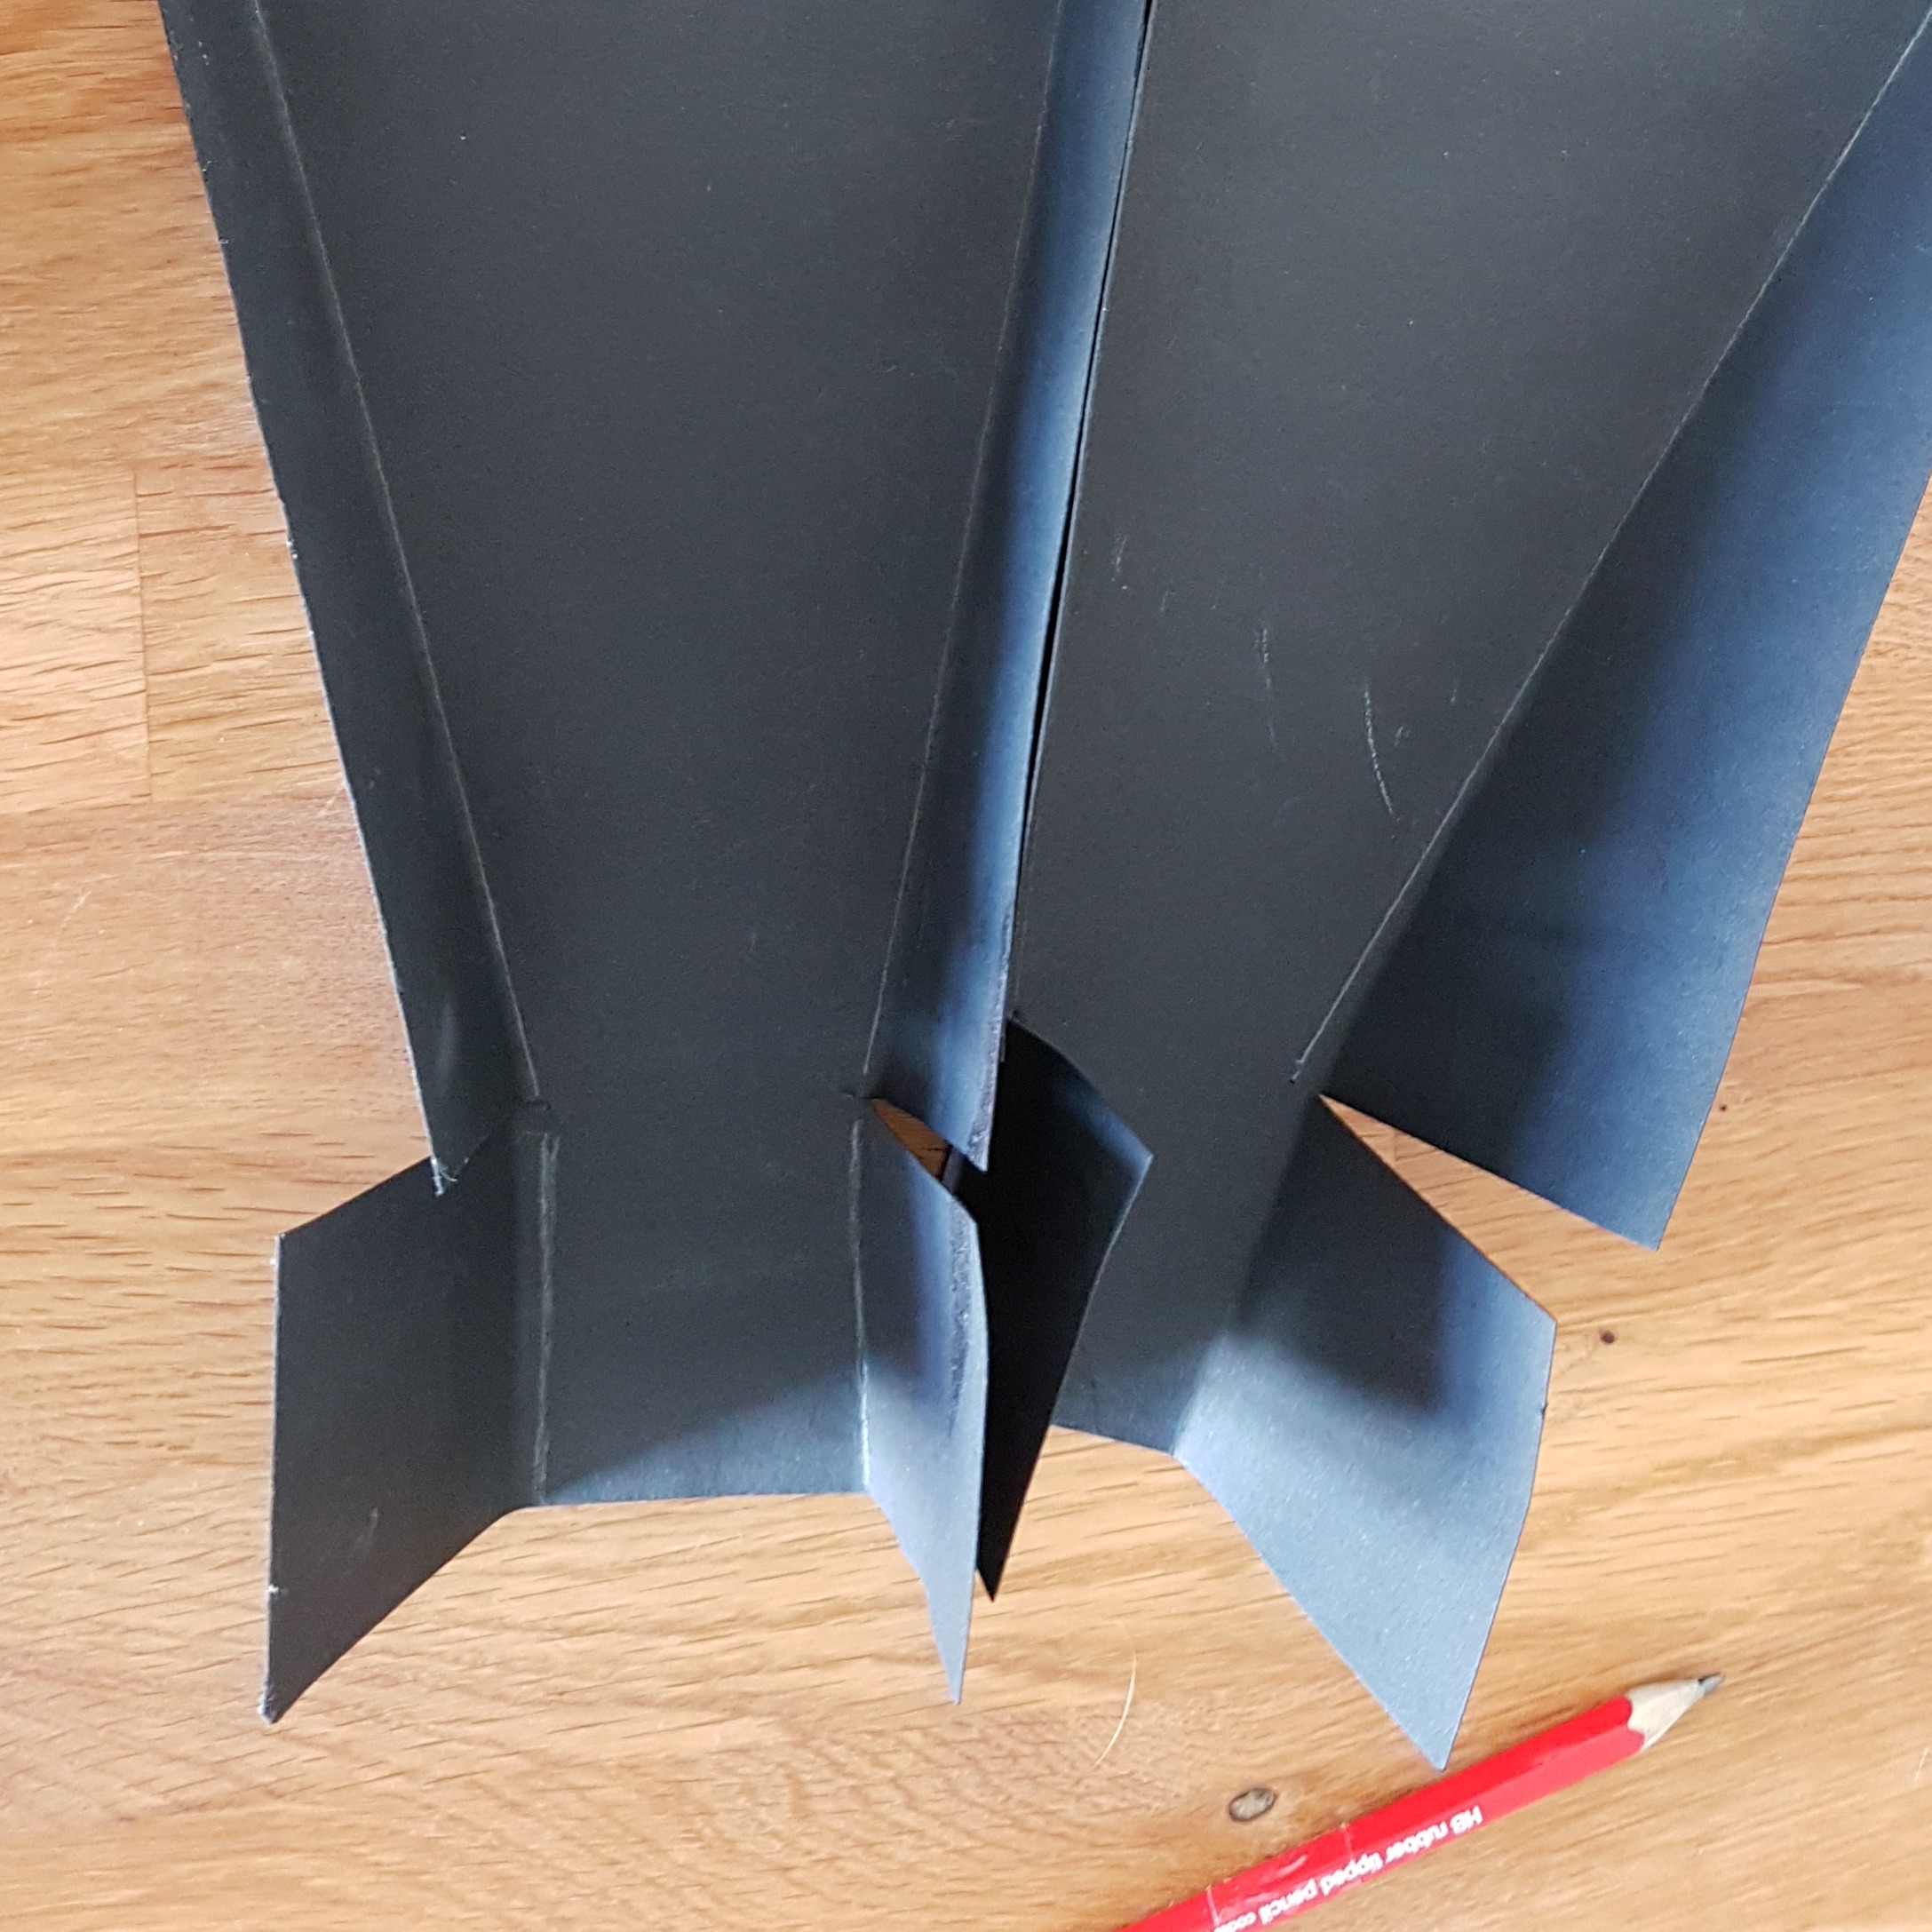
flashextender4unten

Folded side panels

Further ideas to optimize your setup:
In the experiment described above, the flash-to-subject distance was held constant, and the lens aperture was varied. Repeat the experiment at various flash-to-subject distances to determine the range over which the flash extender will work.

Since the materials for making a flash extender are inexpensive and readily available, you could make several, using Fresnel lenses of different sizes. How is the size of the lens related to the factor by which flash range is extended? How is the power of the lens related to the factor by which flash range is extended? How is the size of the lens related to the optimal position from the flash?

What percentage of the field of view is adequately illuminated when using the flash focus extender? Design an experiment to find out.

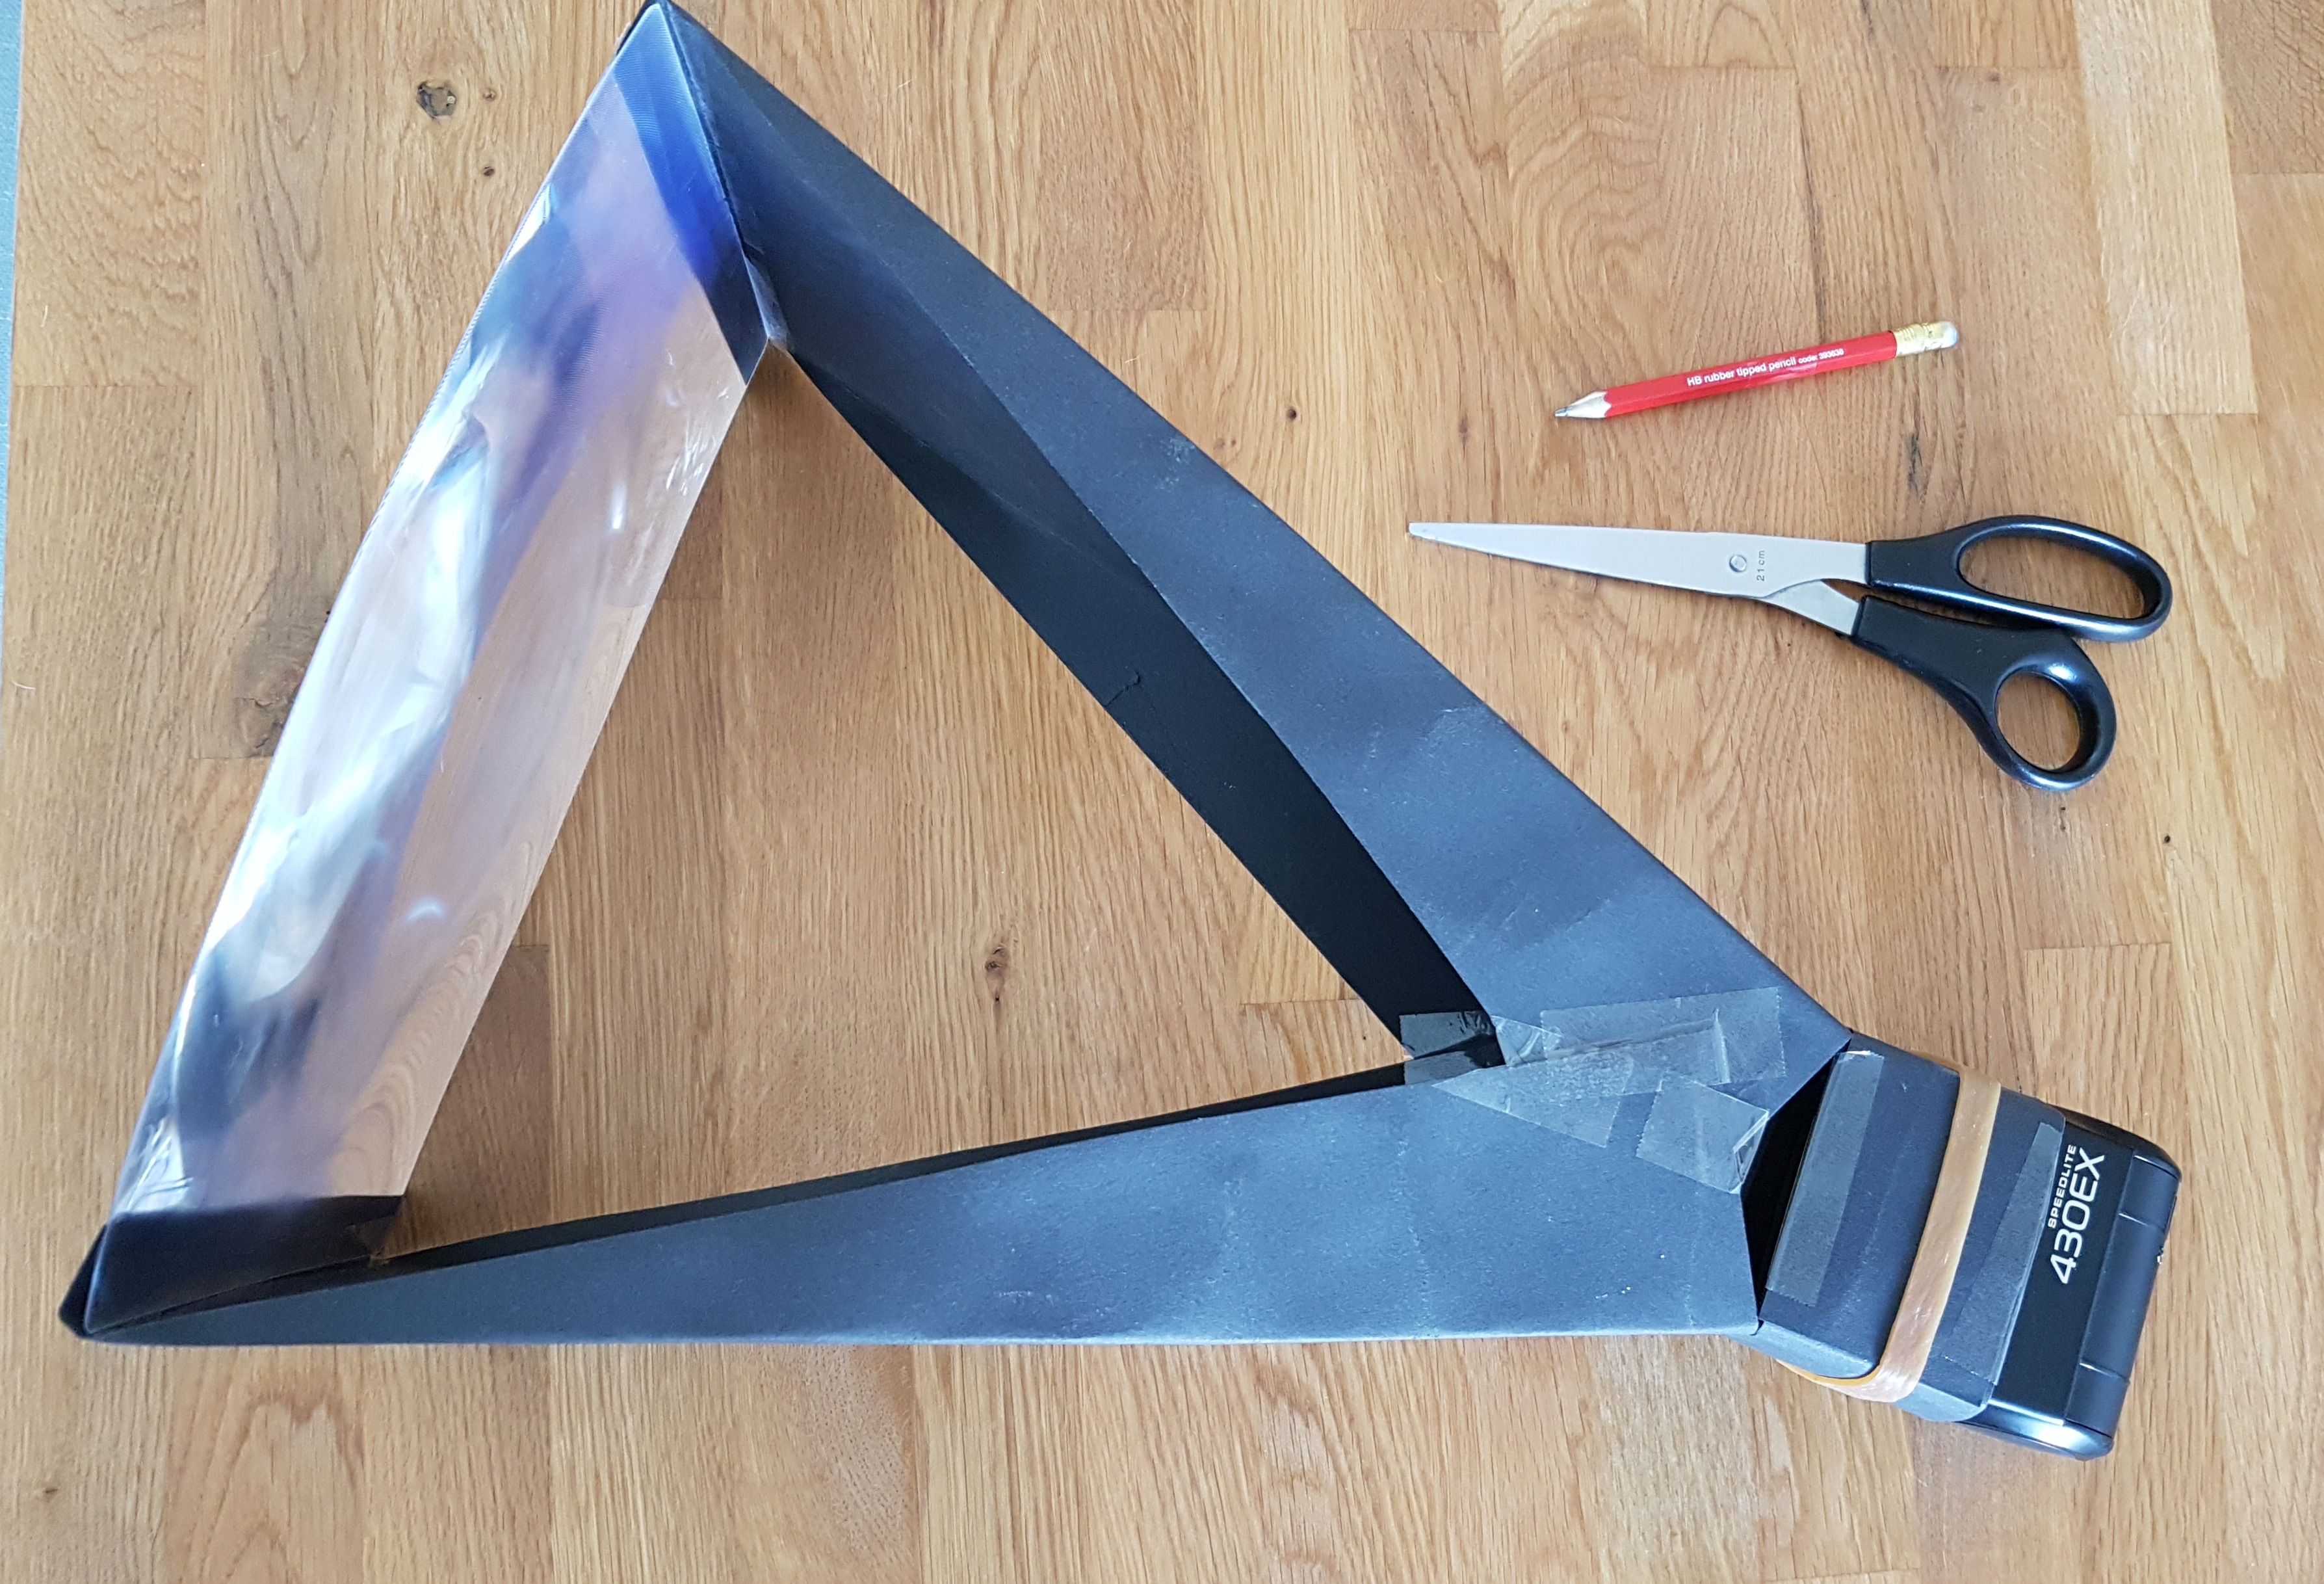
flashextender1rotated

Final flash extender

Comments are welcome, write me ...

© Copyright 2024 Ronald Becker - All Rights Reserved

Website Builder Software