CamRangerMini 1

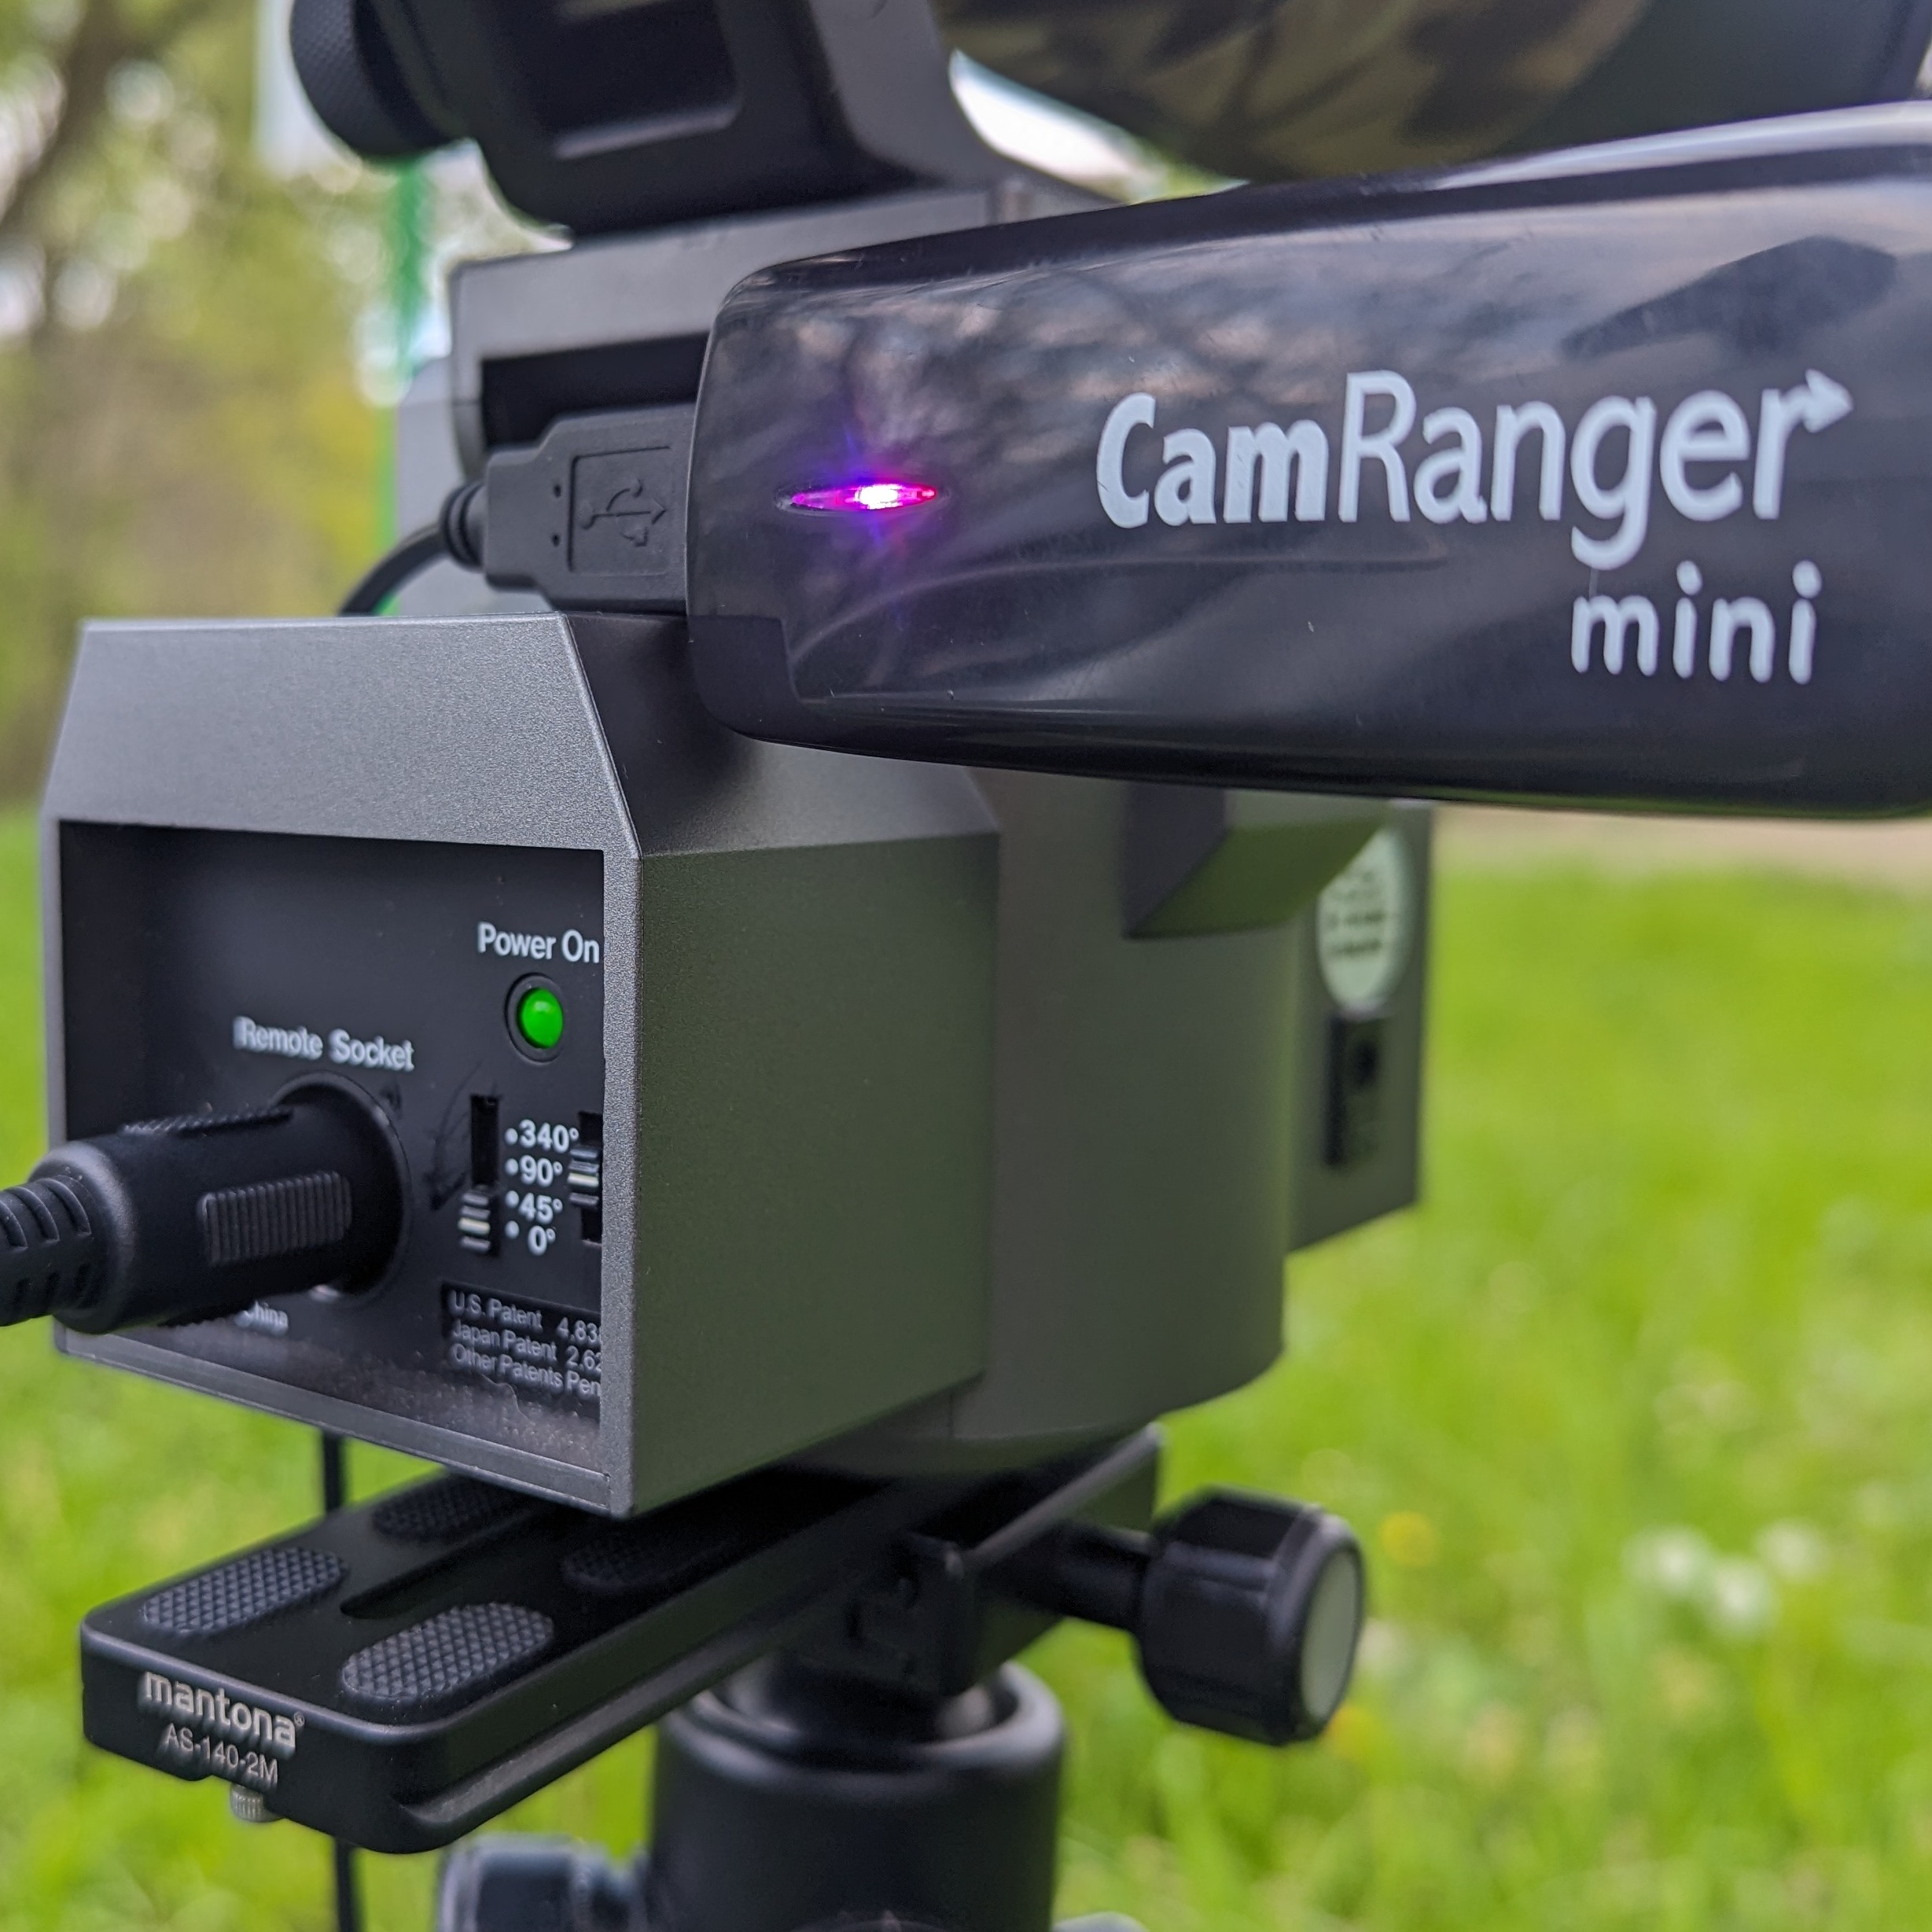
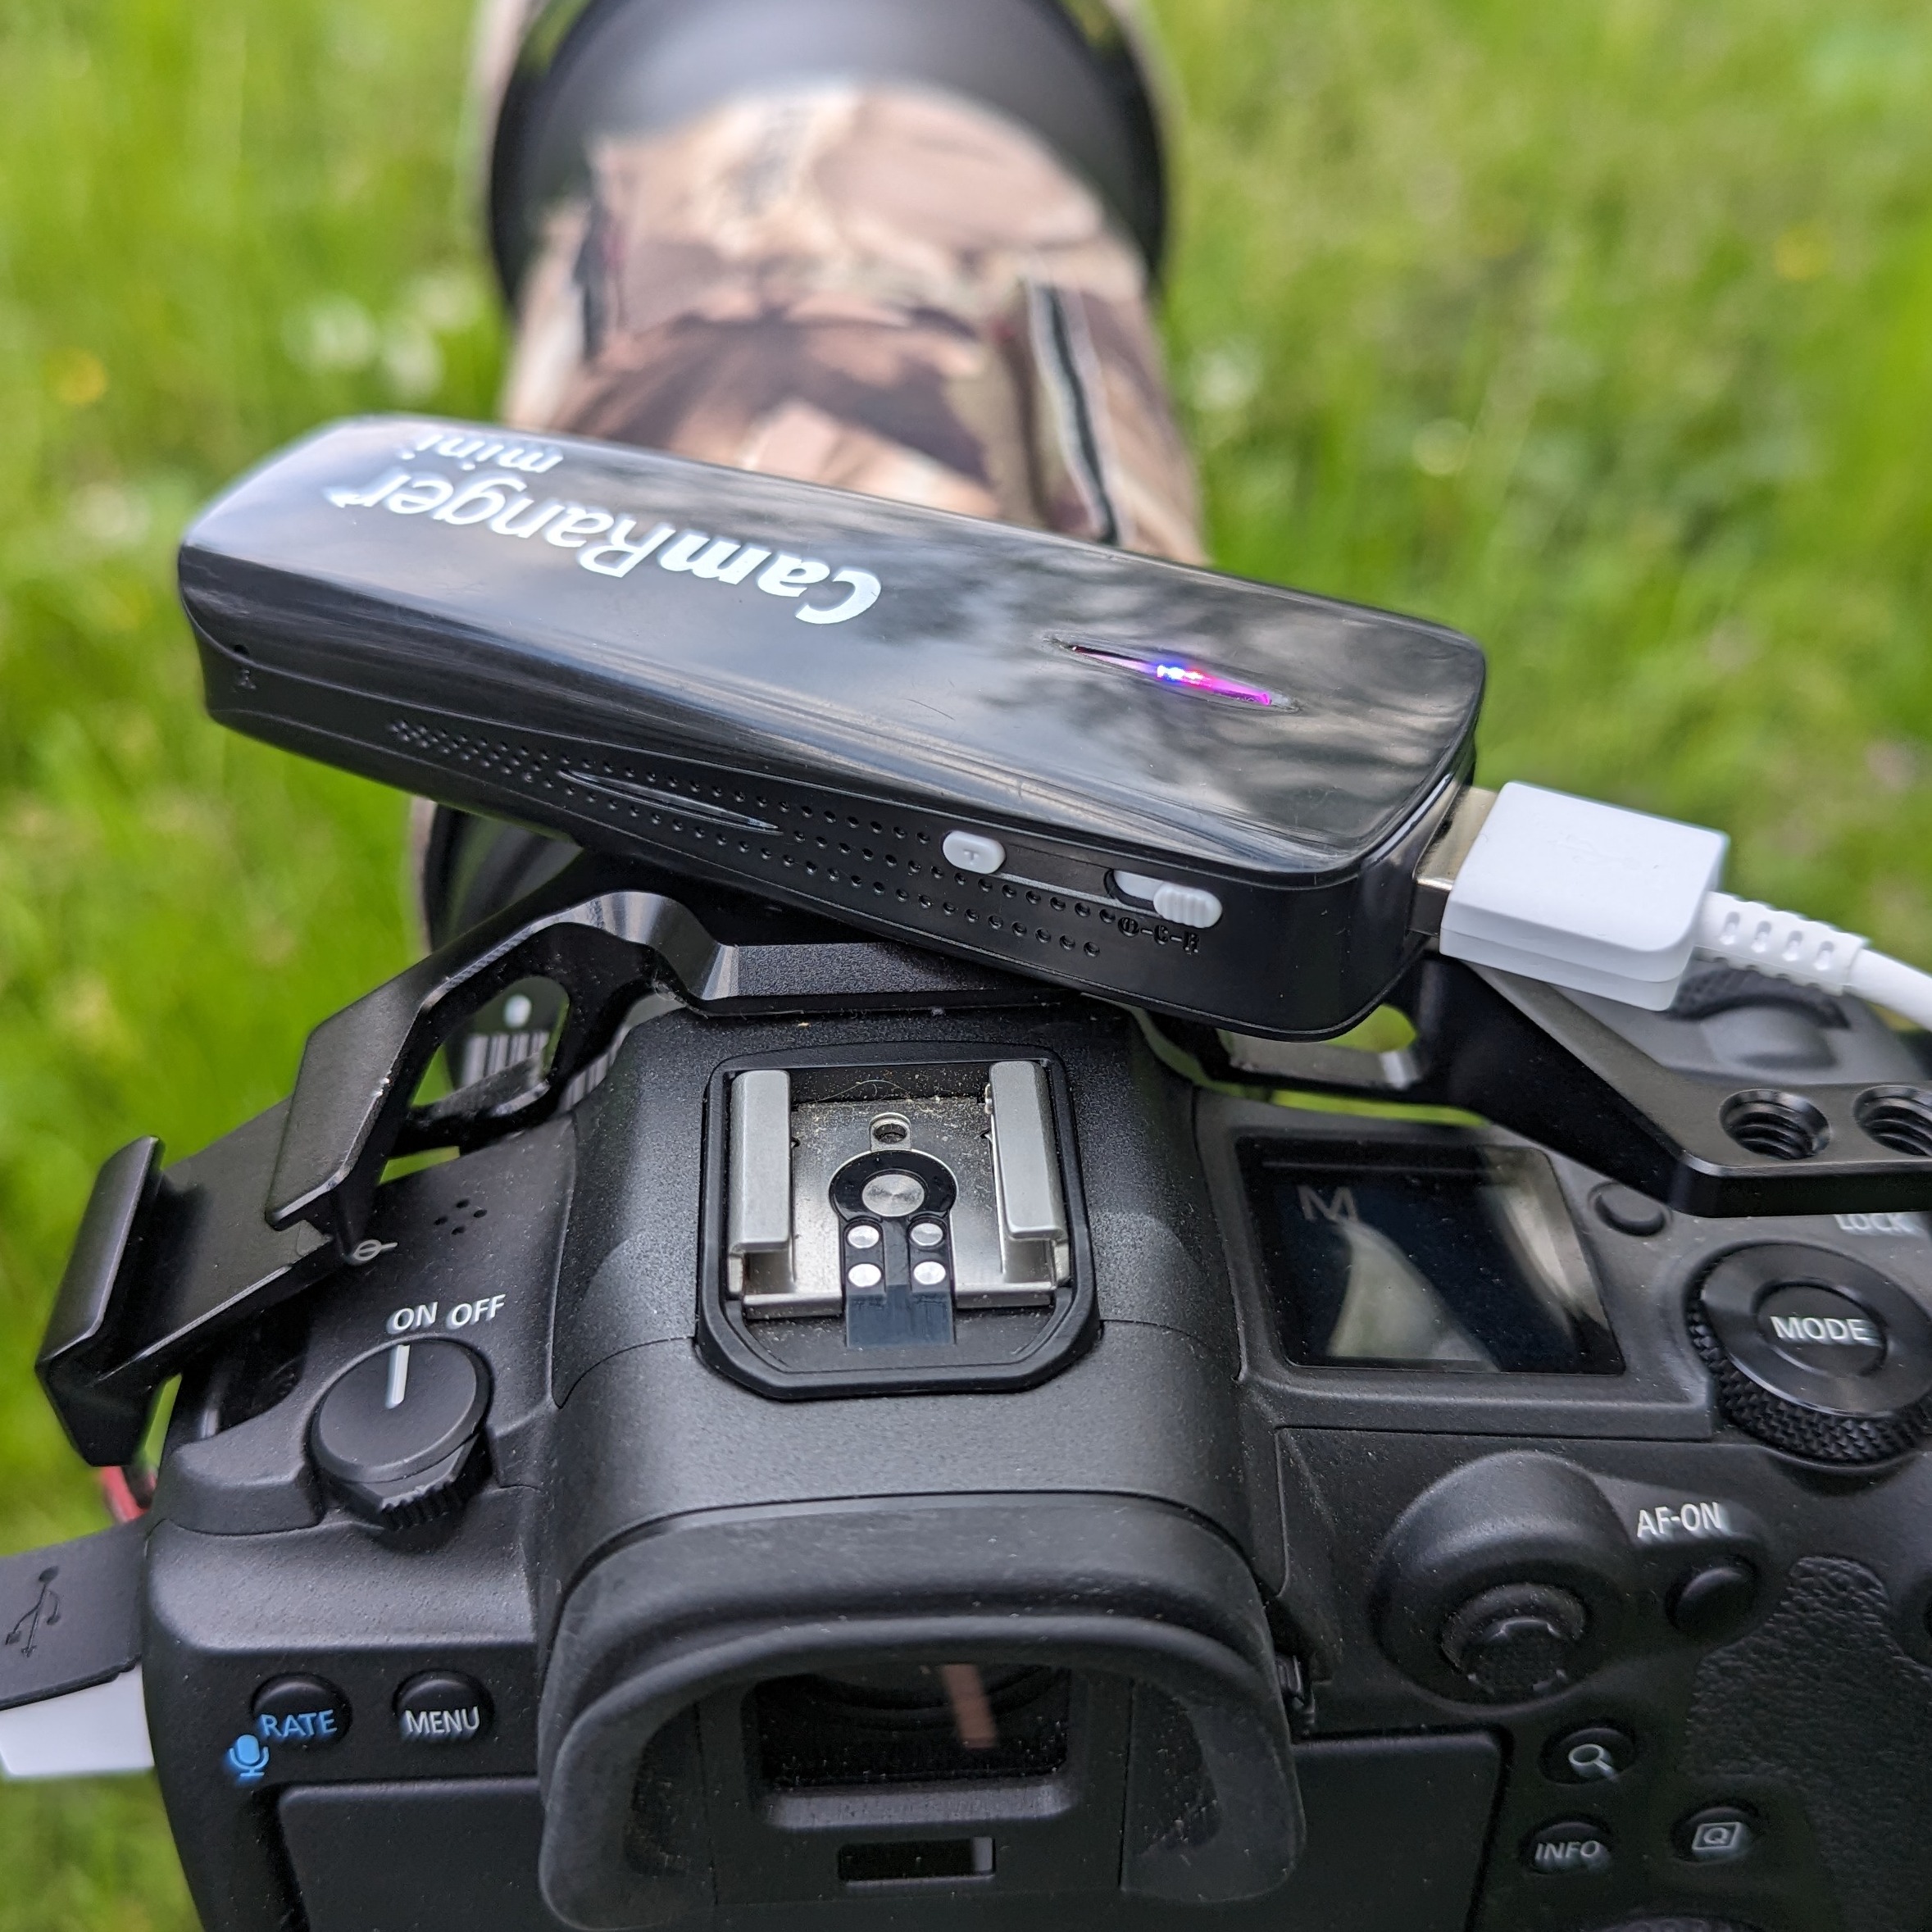
CamRanger Mini connected

Cam Ranger - Another not exactly inexpensive option for remote control?

To trigger your camera remotely, you formerly used a cable release or a cable remote release. Nowadays, there are various ways of triggering your SLR camera remotely and, in some cases, operating it. A wired remote shutter release is an easy and cheap way to operate your camera from a distance. The distance determines the length of the cable. You simply connect the remote release to your camera and can then press the shutter release from a distance. That's it.
Some cameras support infrared remote shutter releases. These small devices send infrared beams to the camera to activate the shutter release. This enables wireless remote control, but requires line of sight between the remote trigger and the camera.
Some cameras support Bluetooth remote controls. These devices connect wirelessly to the camera and allow you to control it remotely.
Many modern cameras offer the option of connecting to a smartphone or tablet via WiFi. With a corresponding app, you can then change settings, operate the shutter release and even display live views on your mobile device. But as you probably know, the WiFi method is very energy-hungry.
CamRangerMini 2

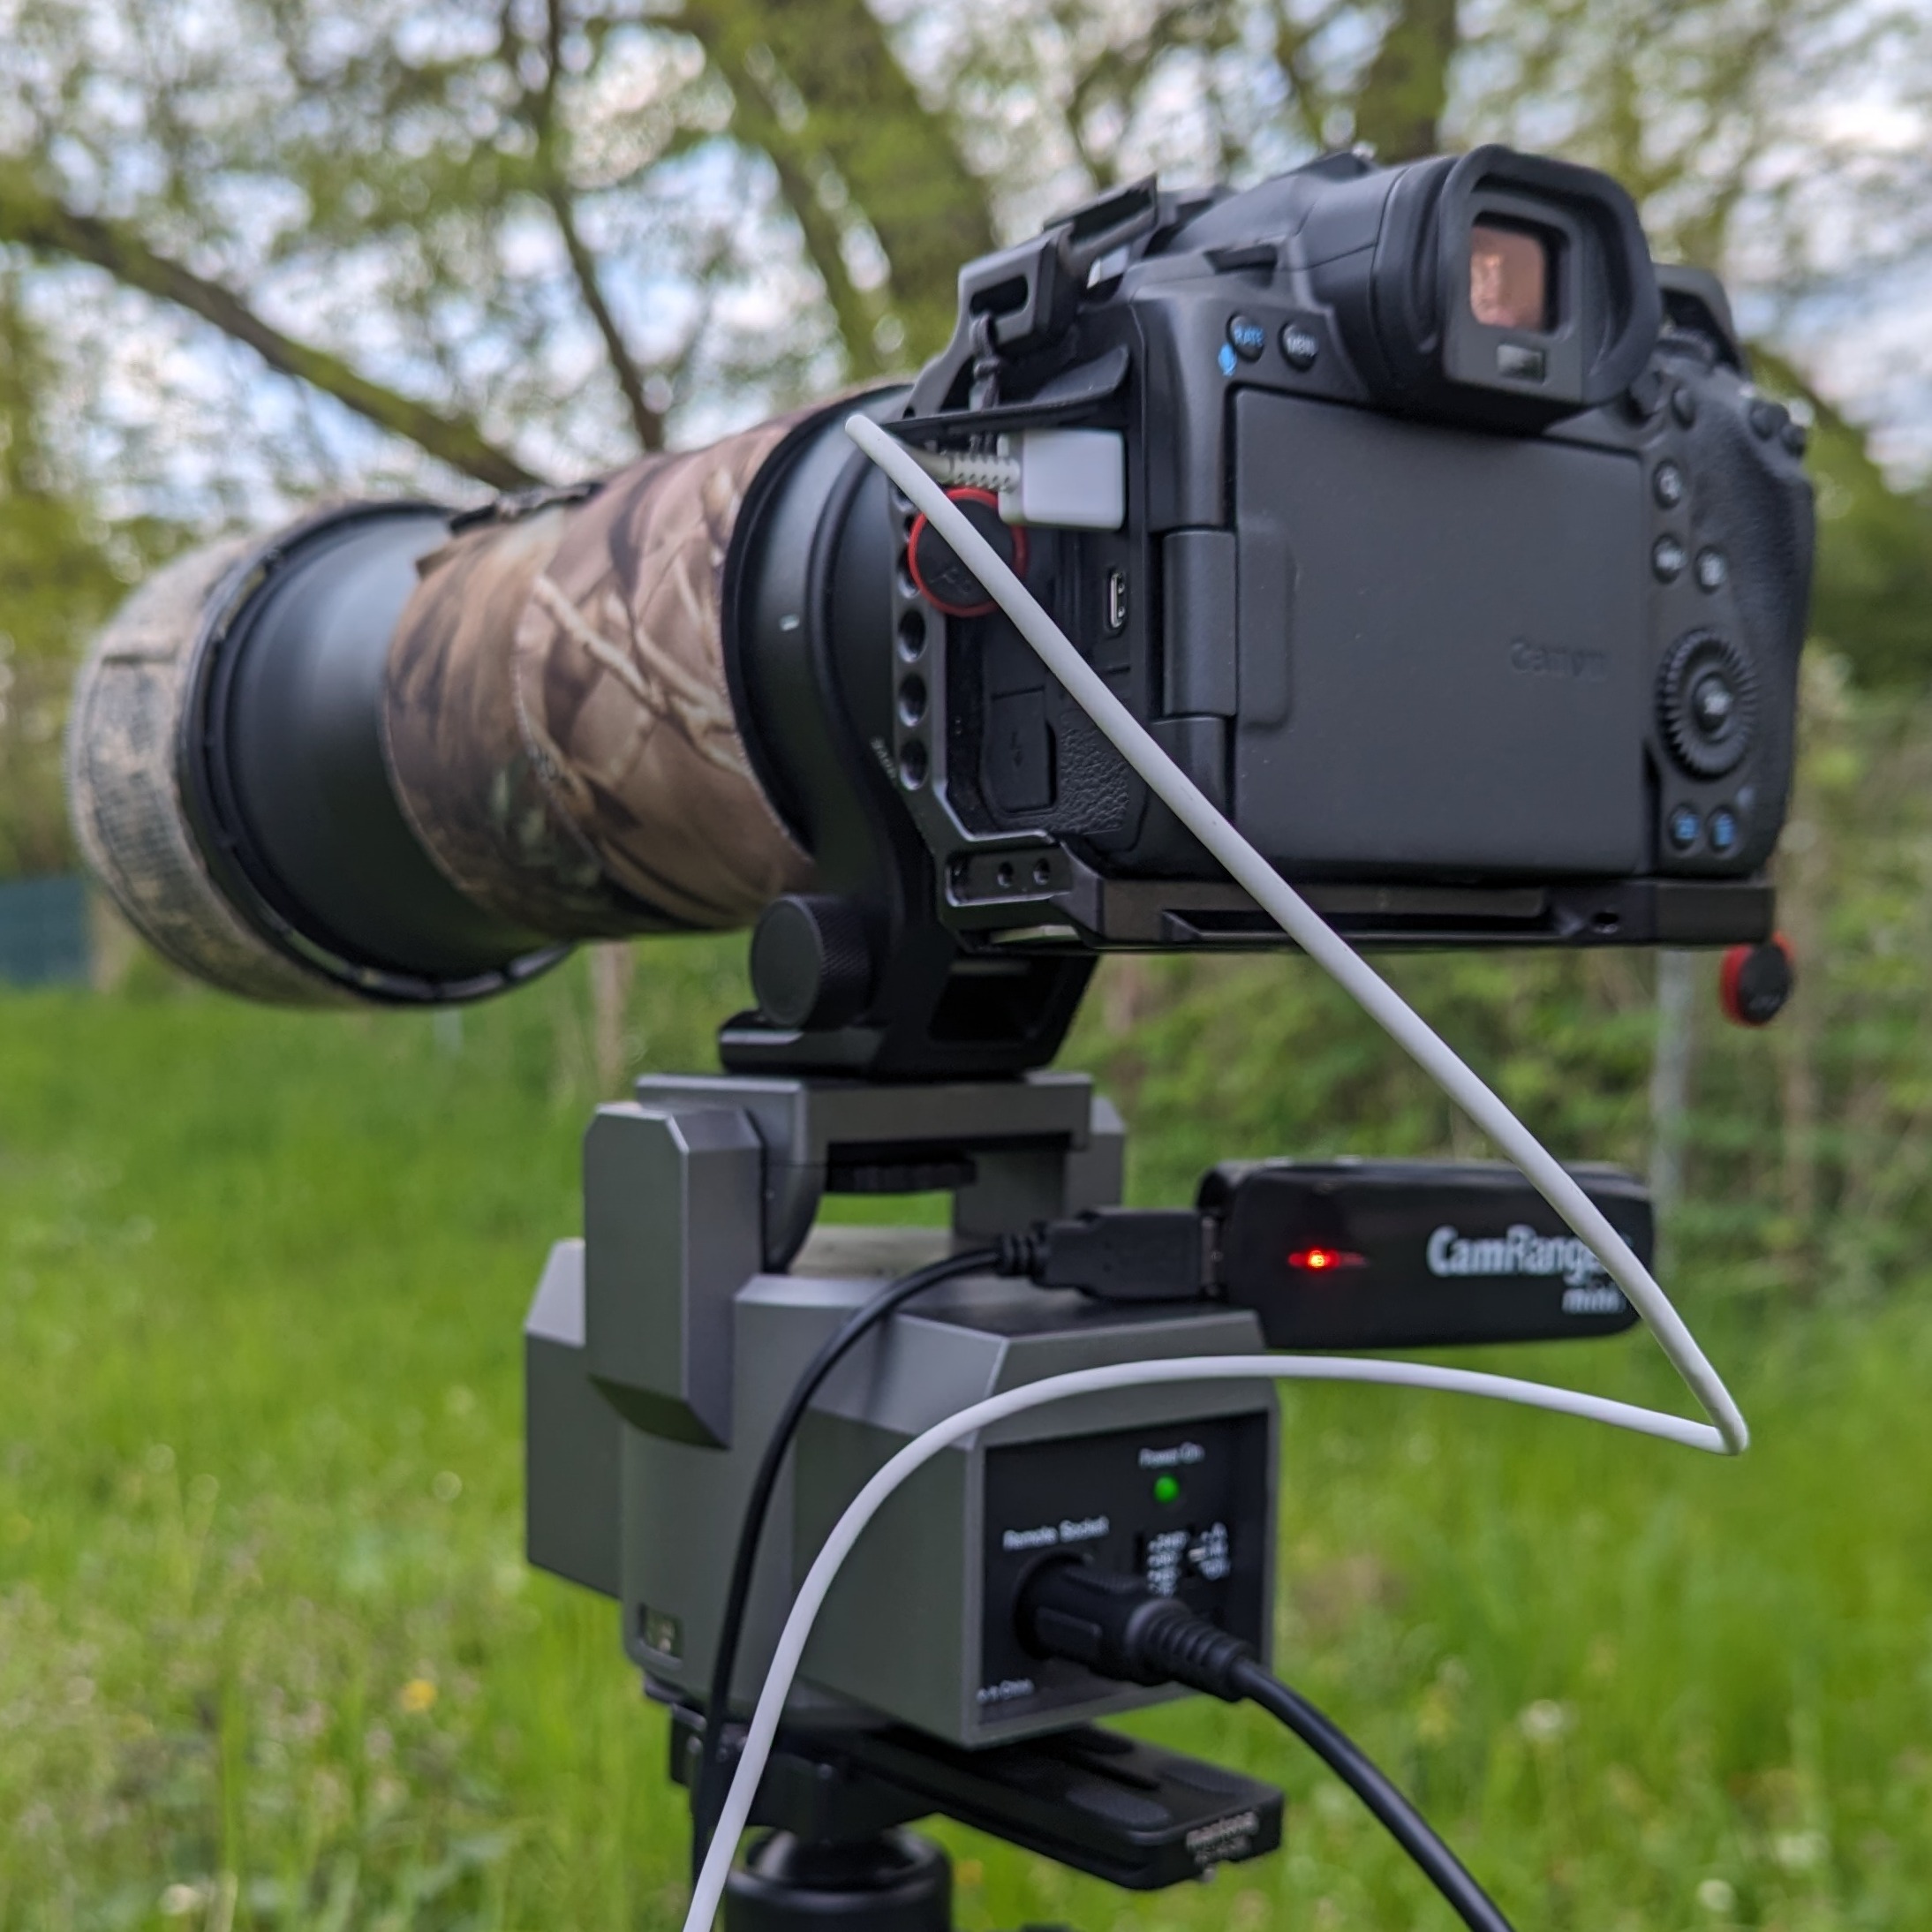
CamRanger Mini and motorized tripod head

Many camera manufacturers offer their own apps that have been specially developed for remote control of their cameras. Depending on the model, these apps can offer various functions, including setting exposure, focus and more.
Wireless remote triggers are a popular and reliable method of controlling cameras remotely. These devices use radio technology to communicate wirelessly with the camera. They usually offer a good range, which means you can control your camera from a greater distance compared to some infrared options or wired remote triggers. Unlike infrared remote triggers, wireless remote triggers do not require a direct line of sight between the remote trigger and the camera. This makes them particularly useful in situations where a line of sight is not possible.
Another advantage is that some radio remote triggers offer advanced functions, such as the ability to control the exposure time, set interval shots for time-lapse or activate the autofocus from a distance.

CamRangerMini 3

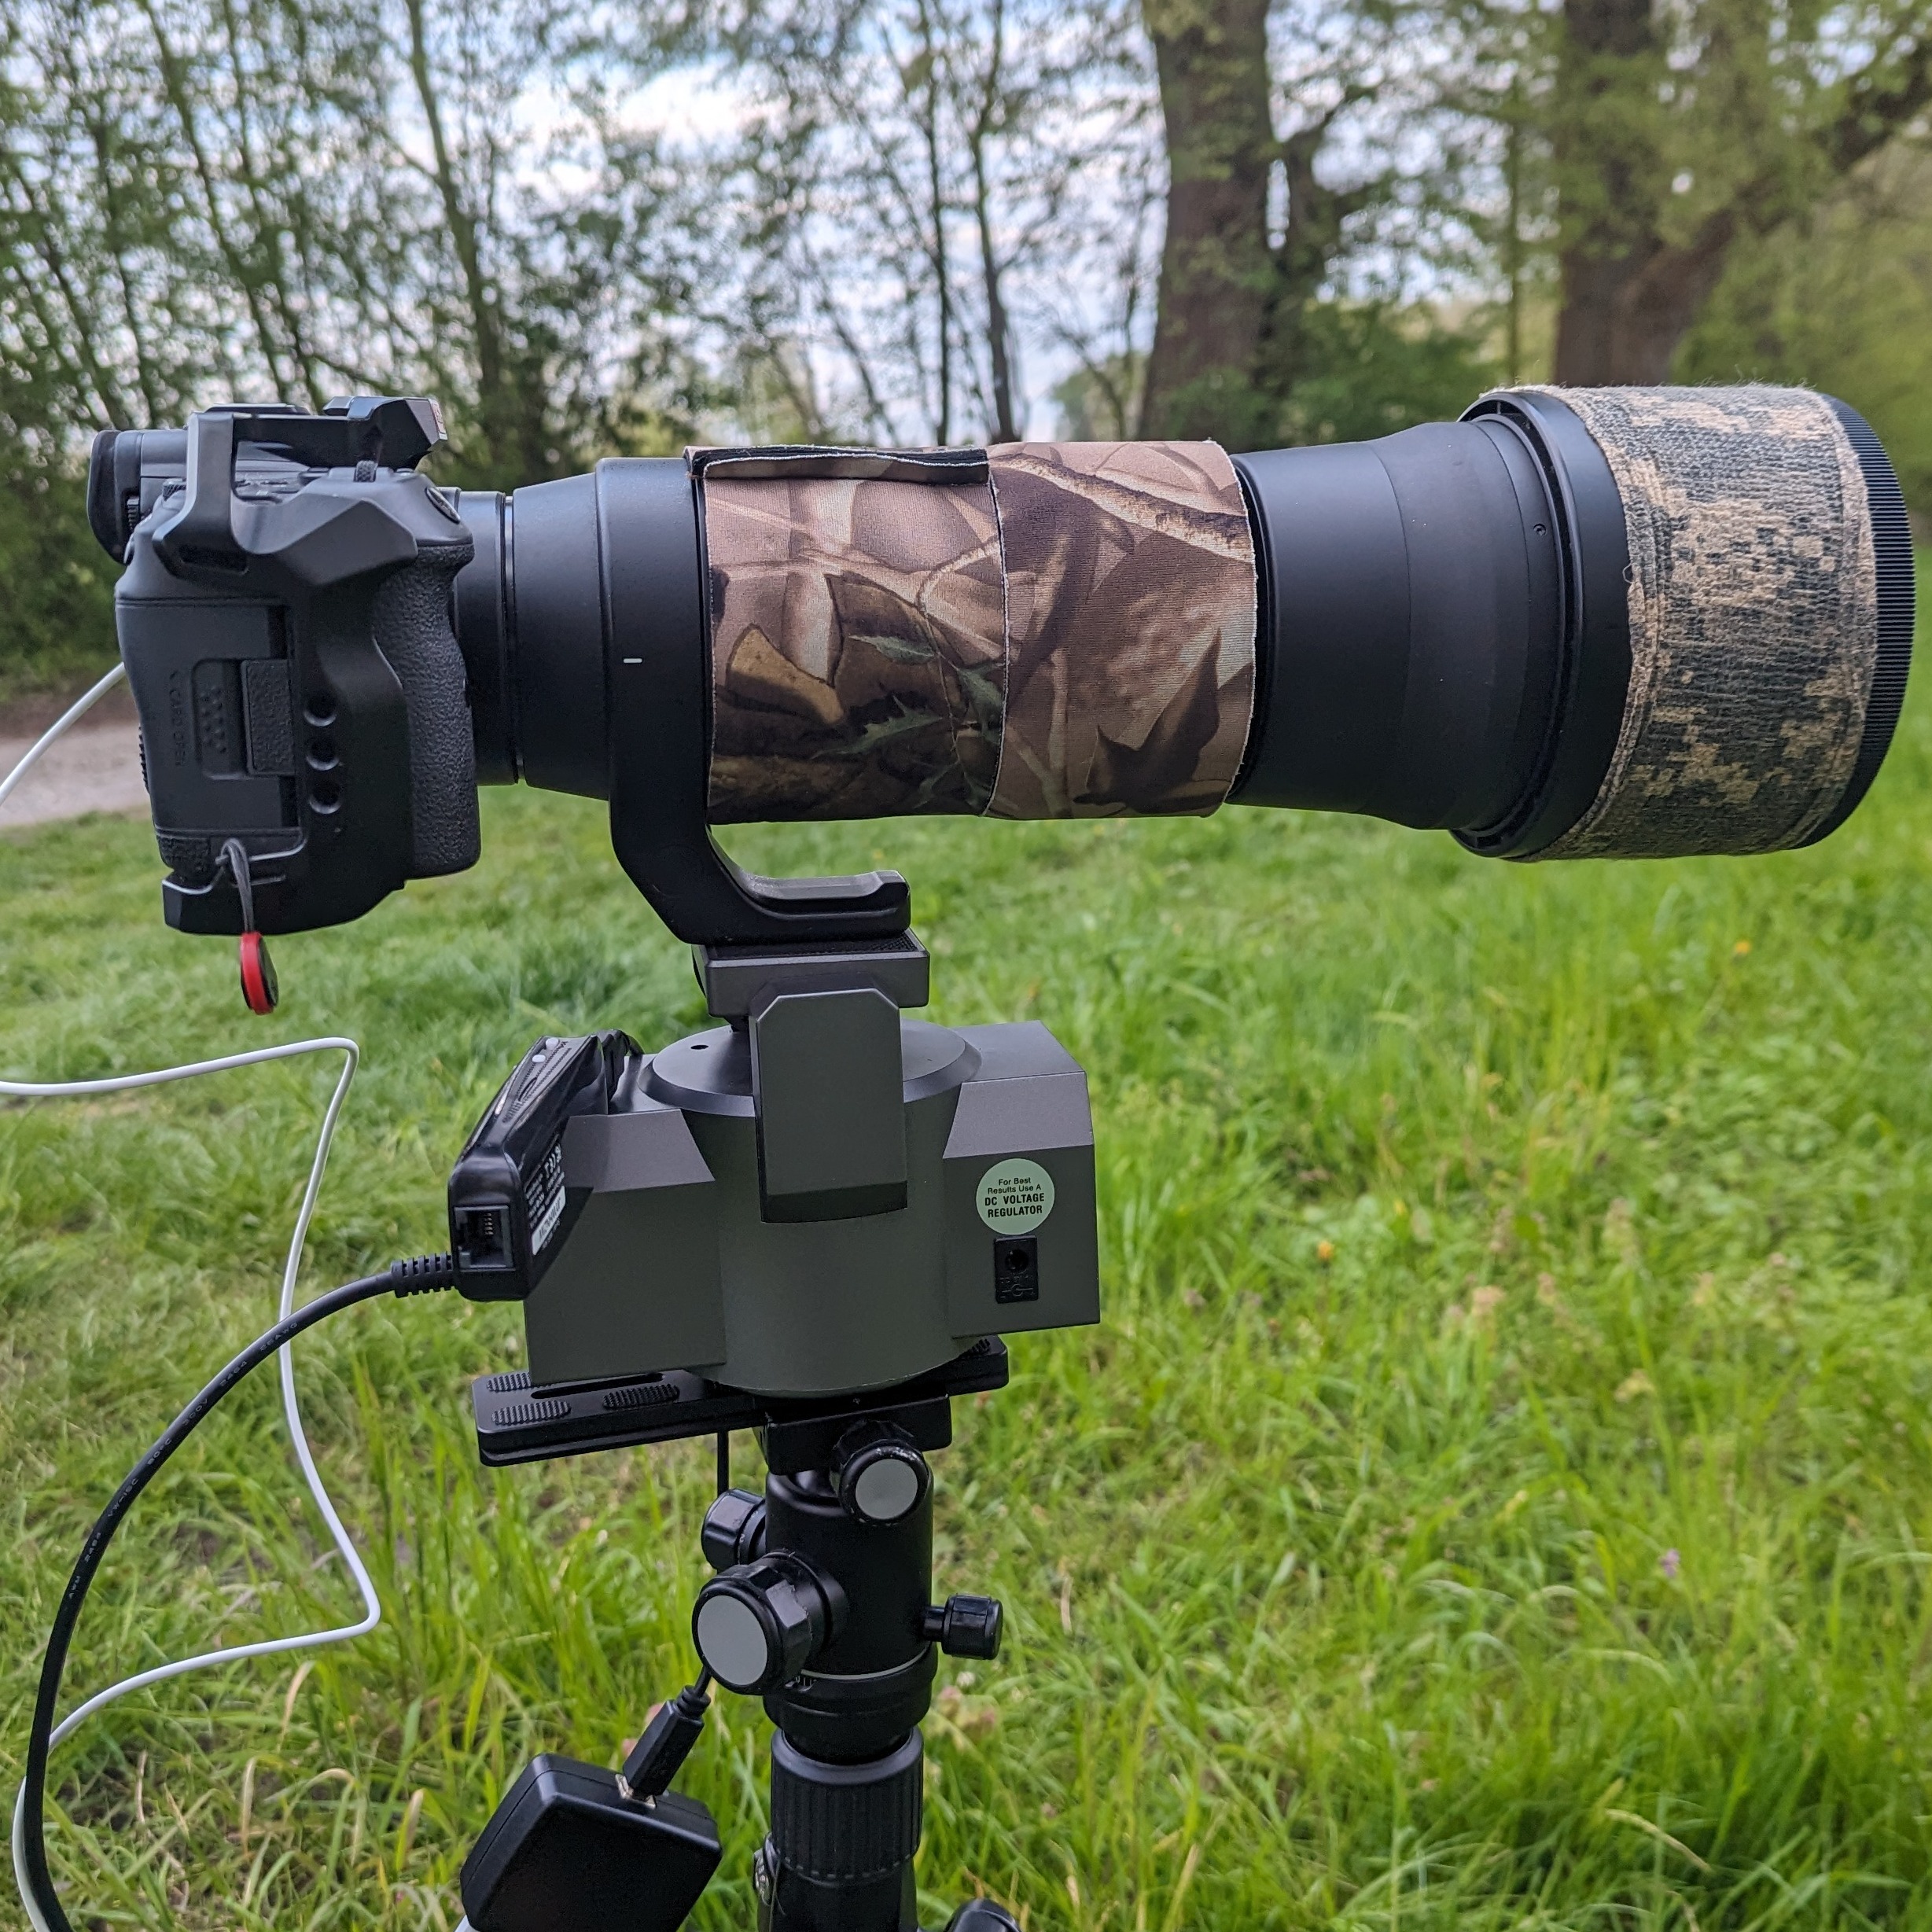
Detail of the motorized head

Another option to consider is the CamRanger, which is now in its second generation. It is not necessarily cheap but in combination with a pan and tilt unit it is worth considering if you also want to control the viewing direction from a long distance. The CamRanger is a wireless camera control and image transfer device specifically designed for remote control of Canon / Nikon / Fuji and Sony cameras via a mobile app (iOS and Android) or a computer (Mac or Windows).
The CamRanger allows you to control your camera wirelessly from a distance. You can press the shutter button, adjust focus, change exposure settings and more, all from a mobile app. One of the standout features is the live view. You can see the live image of your camera on the screen of your mobile device in real time, which is especially useful if you have placed the camera in a hard-to-reach place.

CamRangerMini 4

Side view of assembly

The CamRanger offers advanced functions such as focus stacking and time-lapse recording. Interesting for all those of you who still use an older camera model that does not yet offer focus stacking in the camera software. The images captured by your camera are transferred wirelessly to your mobile device via a WiFi connection. This allows you to quickly preview and evaluate the captured images. Depending on the environment, signal strength, other WiFi transmitters in the area that could interfere and depending on your mobile device and its transmission power, more than 50 m is no problem according to the manufacturer.

The CamRanger supports the automatic exposure bracketing function (HDR), which combines several shots with different exposures to create an image with an extended dynamic range.

As already mentioned, the CamRanger was developed for Canon, Nikon, Fuji and Sony camera owners. It is compatible with a large number of these cameras. There is a list on the official CamRanger website where you can check if your camera is supported before you buy. Whether you buy the CamRanger Mini version or the normal 2nd generation model, you can find out beforehand on the manufacturer's website using a short questionnaire for the purchase decision.

CamRangerMini 5

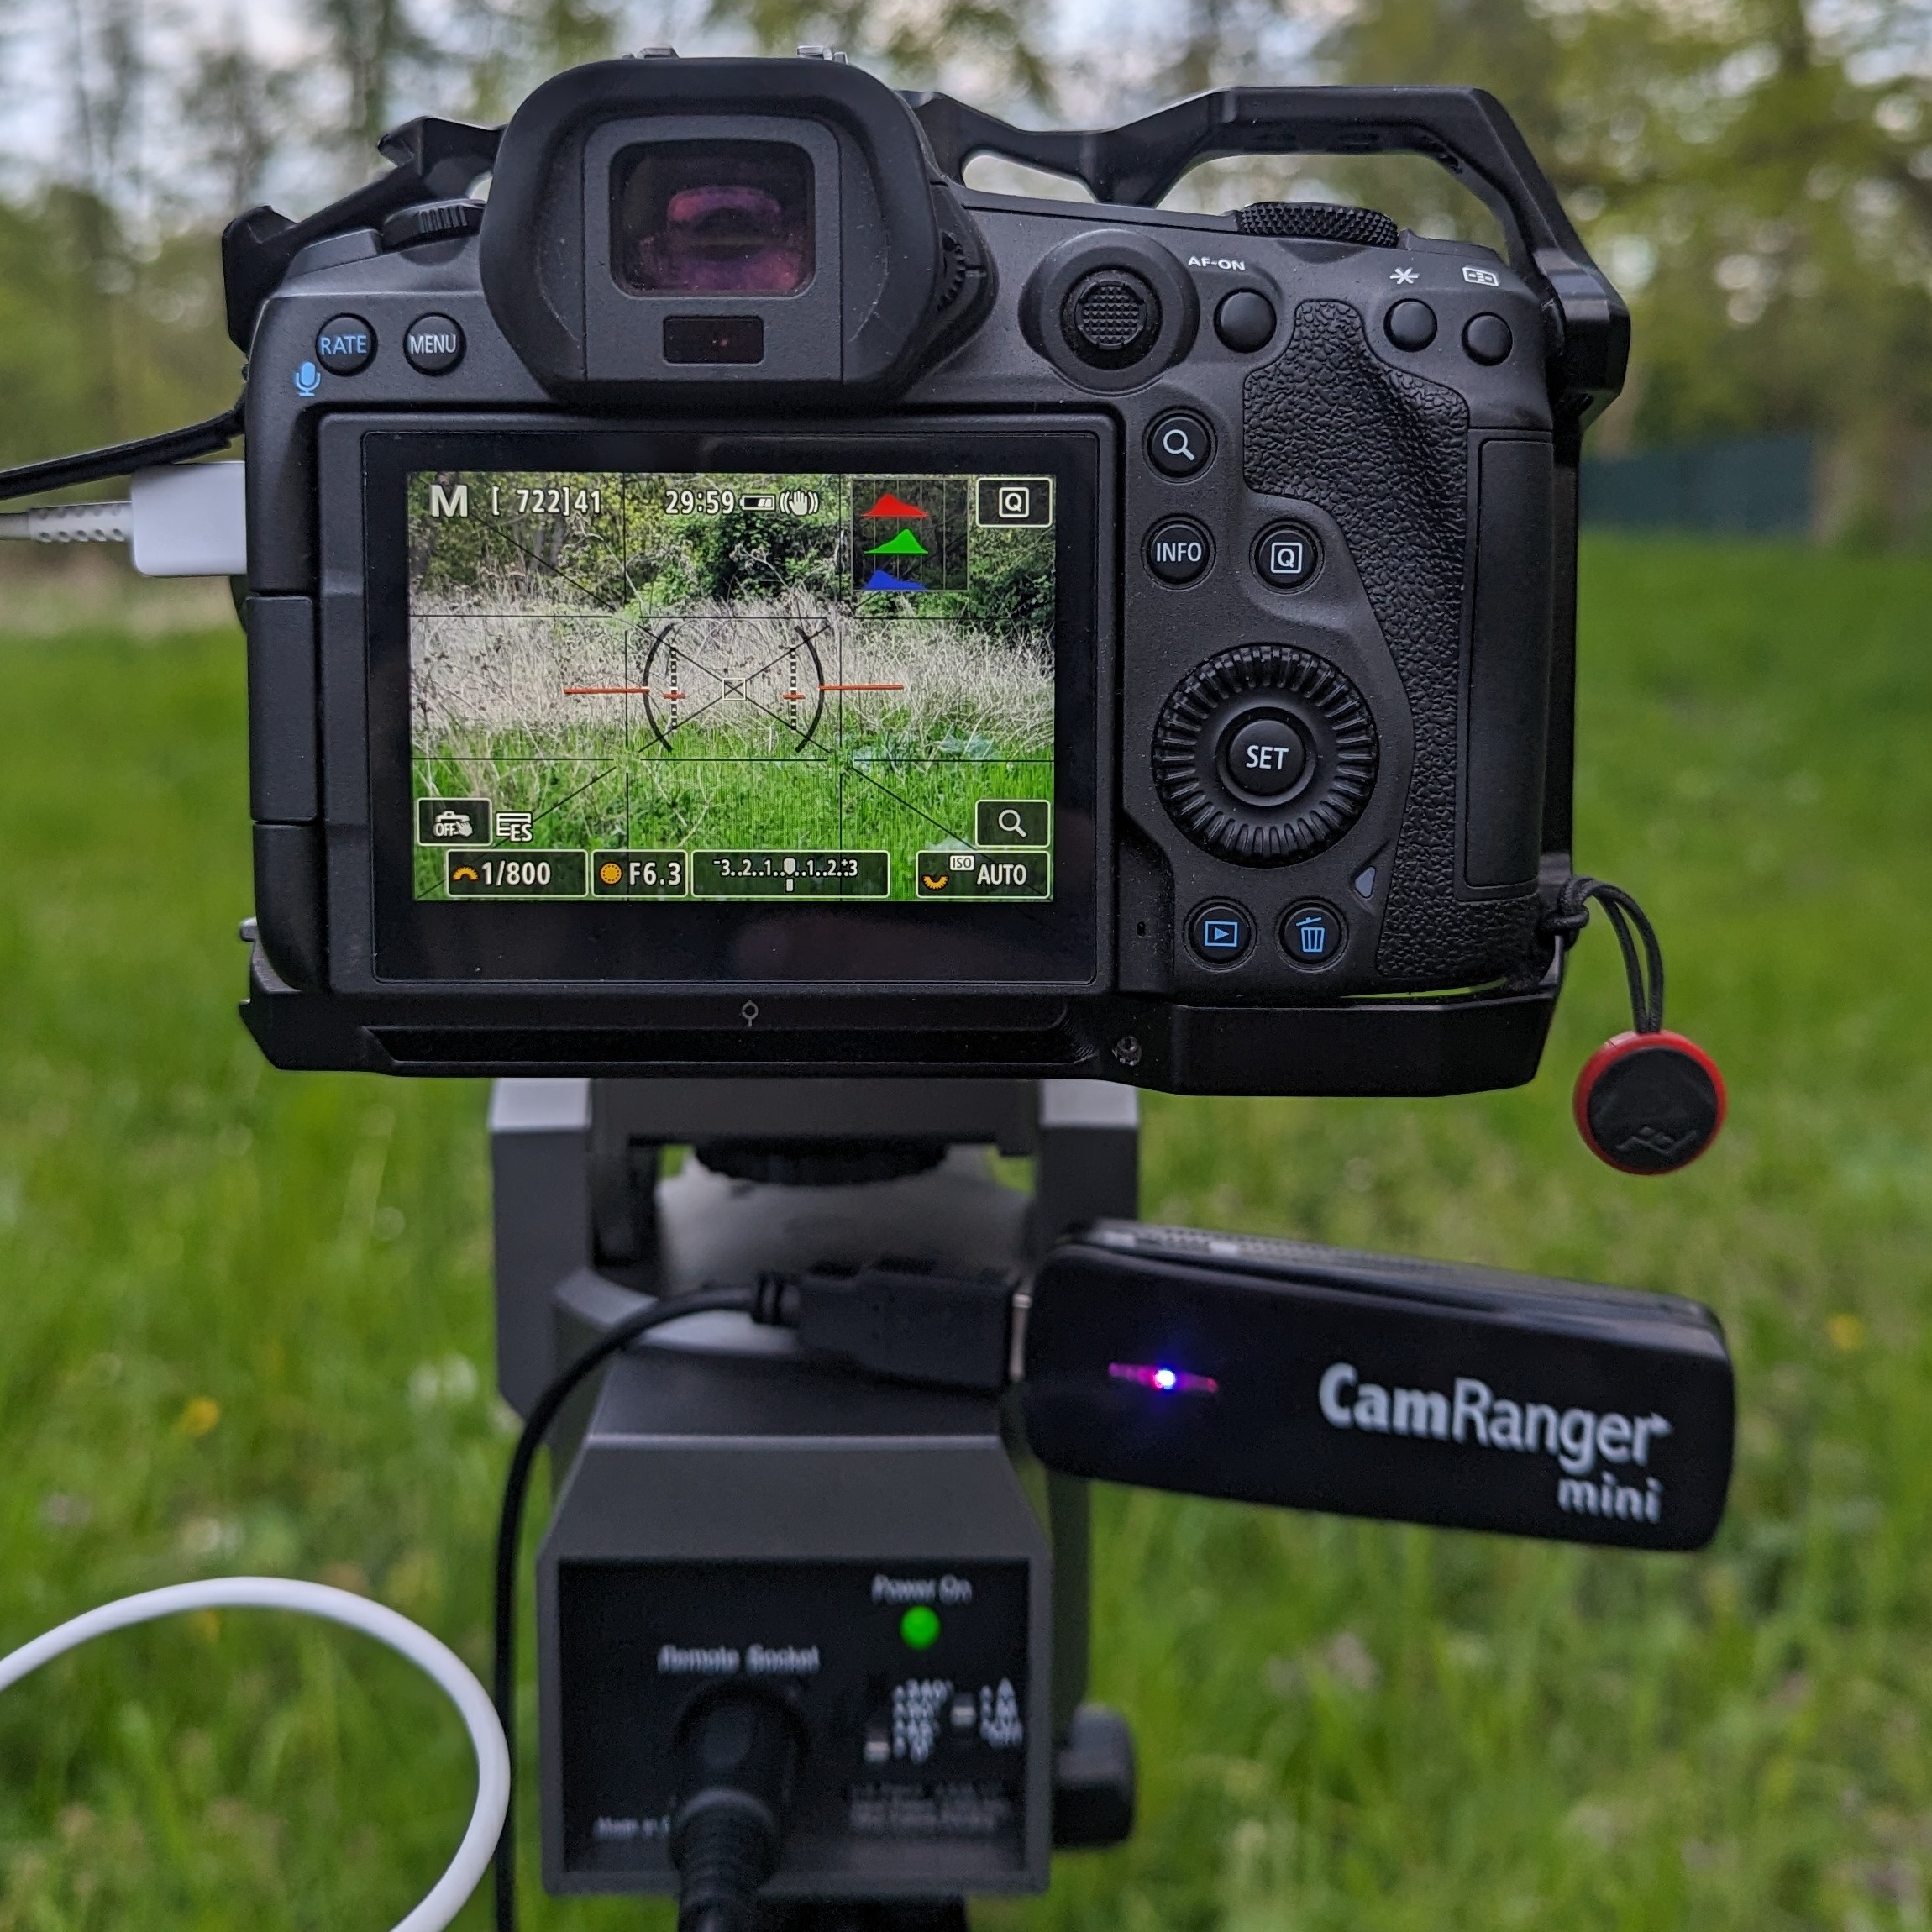
Rear view of assembly

I personally use the CamRanger Mini in conjunction with the motorized tripod head. I bought the CamRanger Mini primarily to establish a secure connection to my camera from a long distance and to operate it. I can then bring my camera closer to a specific location that is regularly frequented by animals and then move away and hide again. The live view is helpful when I don't have a direct line of sight to the camera. With the help of the motorized tripod head, I can also change the viewing direction at any time. At least horizontally by 360°. Vertically by only +/-15°. Unfortunately, the maximum payload of 2.5 kilos is not generous, but for most camera-lens combinations it is perfectly adequate.

CamRangerMini 6

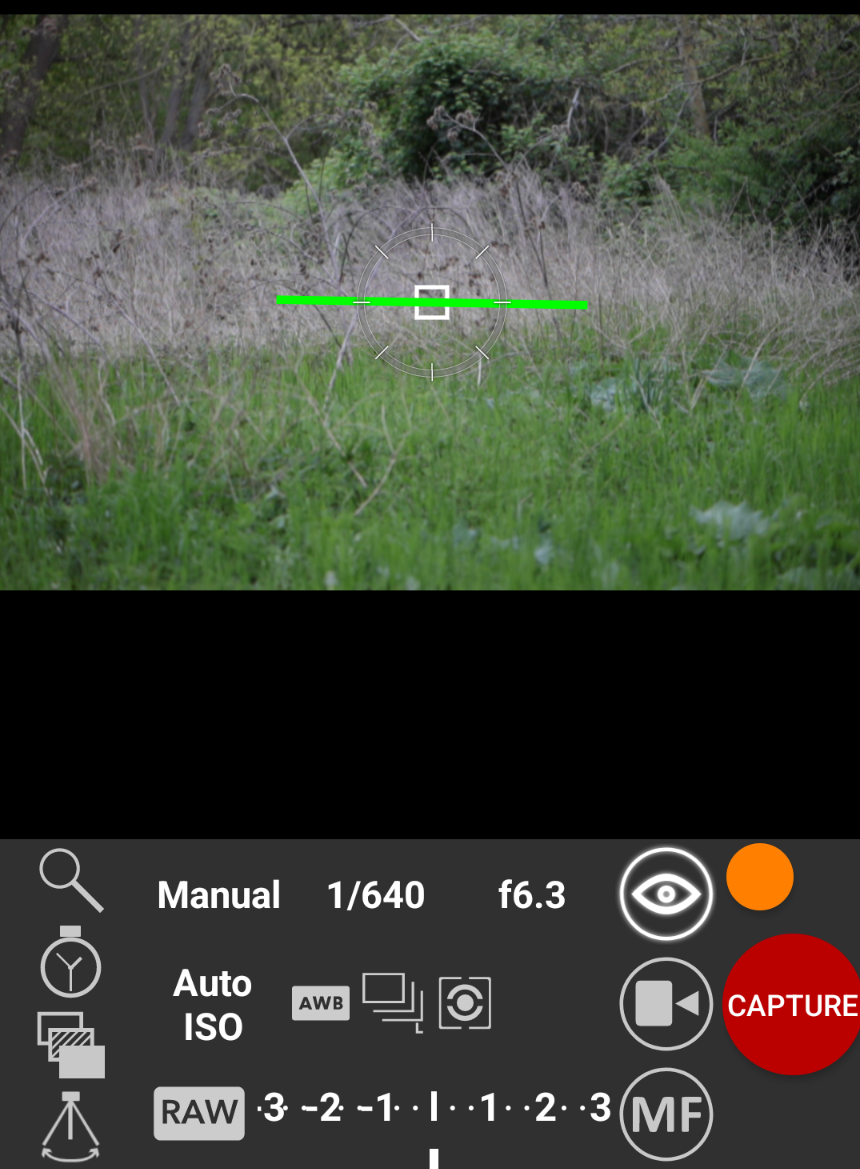
Screenshor of CamRanger Mini app in live view mode

An example of the use of the CamRanger Mini
A feeding station for birds in the garden offers a good opportunity to test the CamRanger.

Set up the unit according to the operating instructions. With a little practice, this can be done within a few minutes.
Download the "CamRanger Mini" app if you have not already done so. Attention, there is a separate app for the CamRanger Mini as the name of the app already describes.
Activate WLAN in the cell phone.
Switch on the CamRanger Mini.
Select and connect the WLAN of the CamRanger in the cell phone.
Start the CamRanger Mini app.
Switch on the live image and check the image section. Correct if necessary. Either manually using the tripod head or using the motorized tripod head.
Check exposure settings (observe histogram) and adjust if necessary.
Deactivate Live View to save power.
Wait for the right moment.
Release the shutter.
The image is then transferred directly from the camera to the app on the cell phone and can be viewed here.

CamRangerMini 7

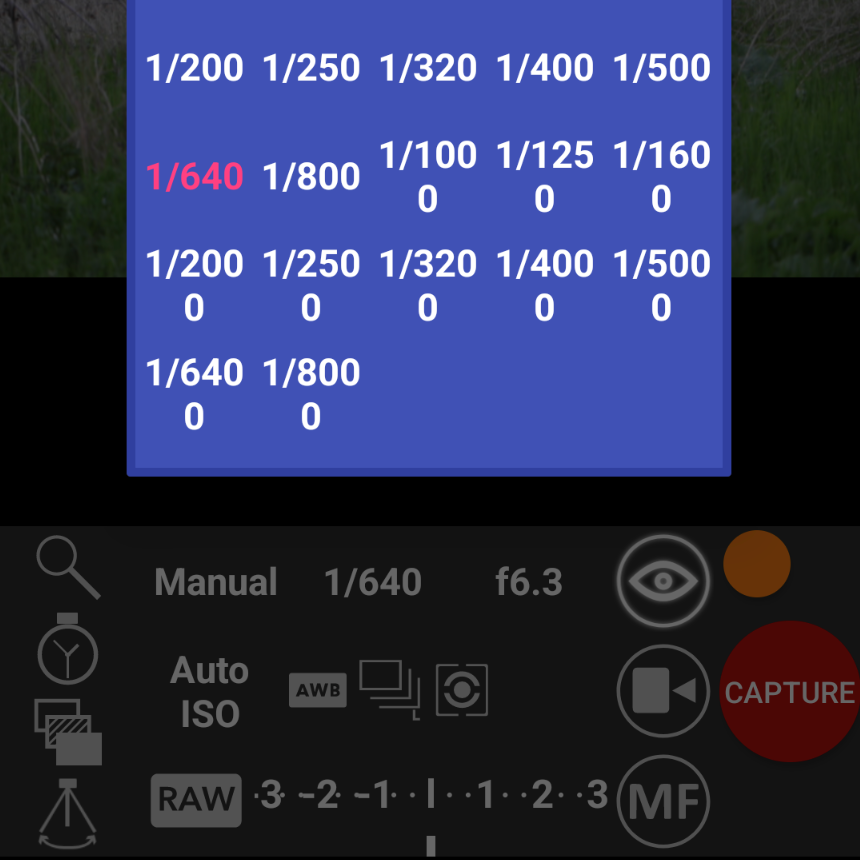
Shutter speed adjustment

My conclusion on the use so far
The purchase is worthwhile for anyone who wants to control their camera remotely from more than 10 m and a maximum of 100 m. I have not reached 100 m although the manufacturer also advertises this as the range for the mini version. I reached about 50 m in good conditions.
The exposure time, aperture and ISO can be controlled remotely. This is great as the lighting situation can change over time. You can take photos or record a video. The live view gives you a view of the current camera image and allows you to observe the action almost live despite the obscured view of the camera. The motorized tripod head is only worthwhile if you want to hold the camera flexibly at the location to track the animal. However, this is not so easy due to the slight delay in the transmission of the live image and especially when using a telephoto lens.
The fully charged integrated battery of the CamRanger Mini lasts about 2-3 hours before it needs to be recharged. However, you can also use a power bank as a power supply.

Please note, I bought the CamRanger Mini myself. This report was not supported by the manufacturer.

CamRangerMini 8

First shot with my CamRanger Mini of a shy little owl

Comments are welcome, write me ...

© Copyright 2024 Ronald Becker - All Rights Reserved

No Code Website Builder